Last night I did a few shots of the Sadr region and the Andromeda galaxy from my balcony using my new vintage lens, SMC/Super Takumar 200mm F/4. As my balcony is directed to the South and I cannot see the North Star (Polaris) from there, I had to polar align my mount using the drift align method and reduce the exposure time to 120 seconds for Sadr and 60 seconds for Andromeda on 200mm focal length. I have no idea how the final pictures will look like because I will process them while writing this post. So, if you are interested in how my astrophotography post-processing on macOS using Capture One looks like these days (2018), read on! Plus, it is the first field test of my new astrophotography gear, the SMC/Super Takumar 200mm F/4.
Preparing TIFF files/frames (lights, darks, flats)
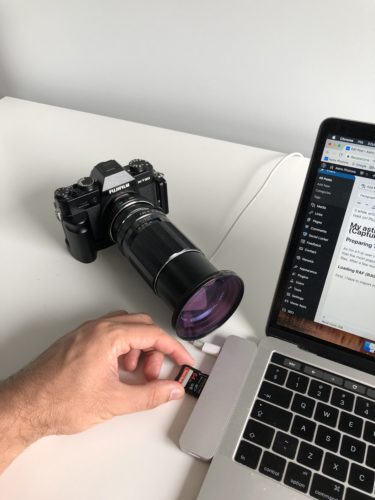
Before buying my Fuji X-T20, I dug about the best software for RAW processing for this system. Some sources tell that the most popular one on the market, the Adobe Lightroom, is not the best choice for processing Fuji RAF (Fujifilm's compressed RAW format) files. After a few reviews here and there, I decided to get Capture One. But before using it, as I shotted yesterday only lights and darks, I have to take flat frames.
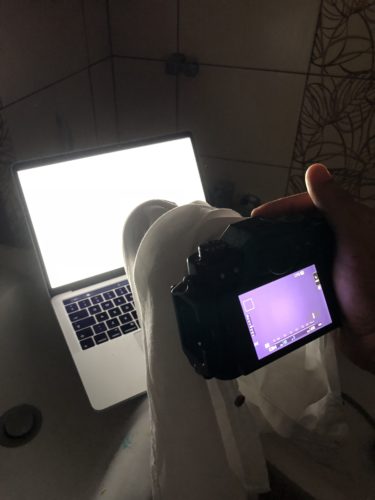
I take my flats the simple way: white t-shirt, white notebook screen, and a dark room. It works like a charm.
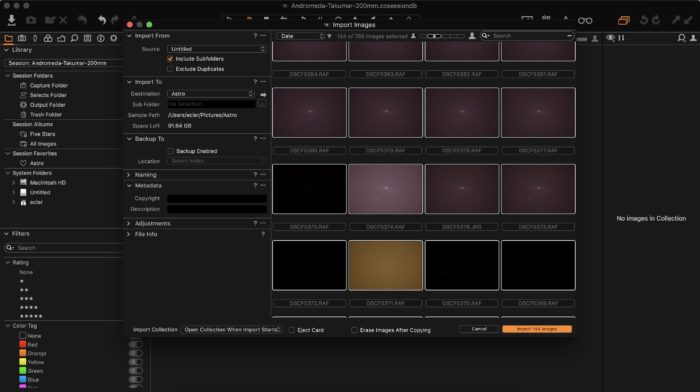
Loading RAF (RAW) data into Capture One
First, I have to import my images into Capture One.
Applying essential corrections and exporting TIFFs
In my current workflow, Capture One serves me as an exporter from RAF to "normalized" 16-bit TIFF files. By "normalized" I mean files that are corrected by following Starry Sky Stacker developer suggestions:
- applying lens corrections
- setting identical white balance (daylight)
- reducing contrast
- turning off sharpening and noise reduction
I employ those corrections to one frame and then copy and paste those settings to every other light, dark, and flat frame. Then, I export all the frames as 16-bit TIFF files to retain as much data from RAW as possible.
Those TIFFs I need for the next step:
Stacking with Starry Sky Stacker
In the current version of Starry Sky Stacker (1.1.3), if I want to make use of flat frames, I have first to create a master-flat frame, and then use it with lights and darks to produce a final frame. It cannot be done as one streamlined process like Batch Preprocessing in PixInsight. So the first step is generating a master-flat frame.
Creating a master-flat frame
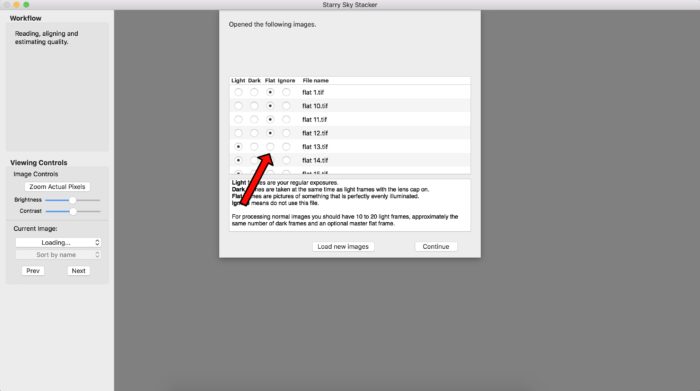
I load my 27 flat frames into Starry Sky Stacker:
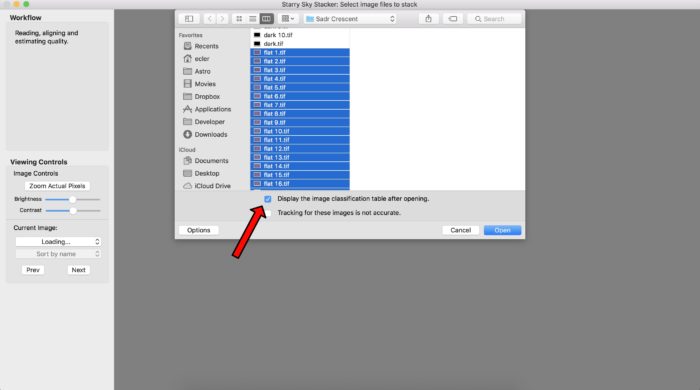
Be sure to check the box "Display the image classification table after opening." If not, Starry Sky Stacker may not recognize your flats as flats.
After a few seconds, the program produces a master-flat frame.
I save it and move to the next phase:
Combining lights, darks, and flats to create a master frame
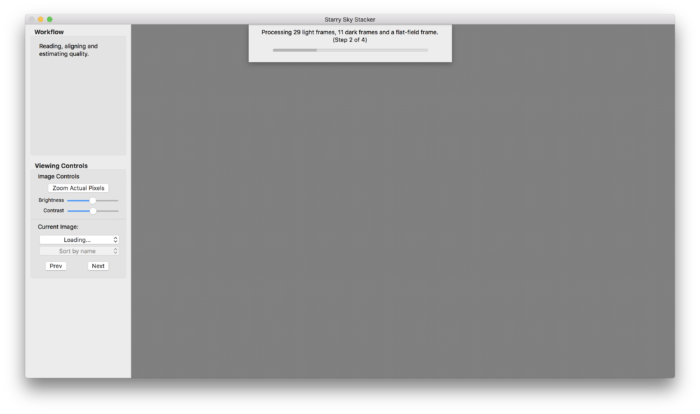
I load all my light, dark, and the master-flat frames into Starry Sky Stacker.
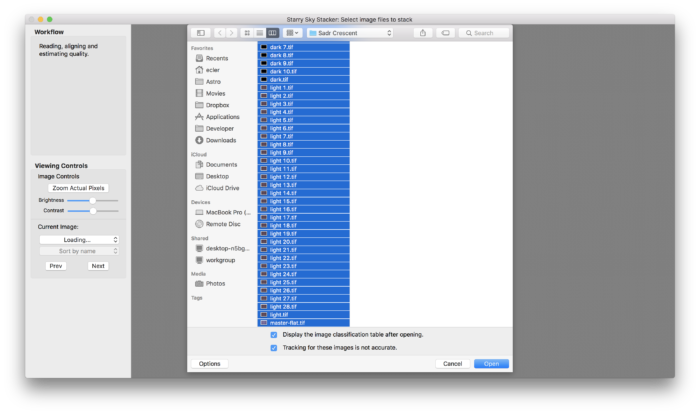
Loading light, dark, and the master flat frames into Starry Sky Stacker. As my tracking was not accurate last night (shot from a balcony without seeing the North Star (Polaris)), I check the proper box.
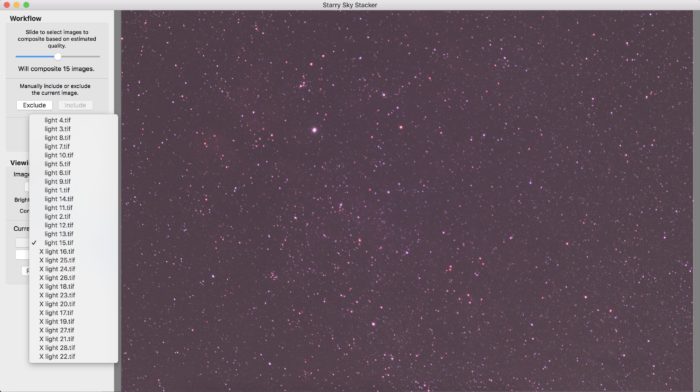
I always trust the program with its automatic quality classification. But if you want to, you can include or exclude specific frames.
I click "Composite" and export the final master-frame using the median algorithm.
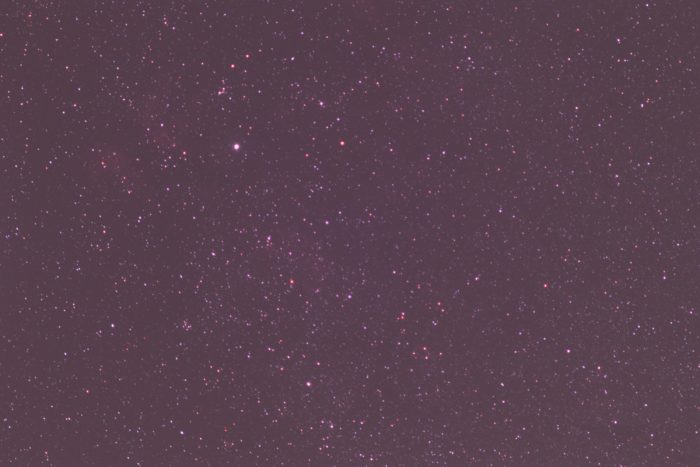
The final master frame, unedited. 15 light frames, 11 dark frames, and a master-flat frame by Starry Sky Stacker 1.1.3, median algorithm.
Editing in Affinity Photo
When the science part is over, it's time for some art! Where stacking is a straightforward process, there is no right or wrong way to enhance details in your master astrophotos. Give ten people RAW data, and everyone will process it differently, and none of their pictures will not look the same. I think that's the beauty of astrophotography: it combines science and art perfectly.
I open the master frame in Affinity Photo and do the first step:
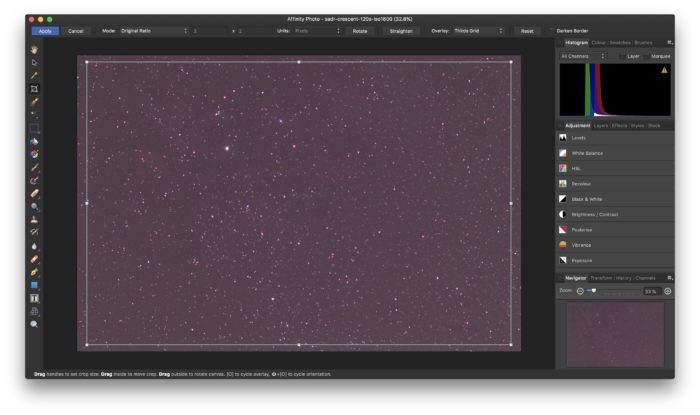
Cropping edges (removing stacking artifacts)
Usually, tracking is not perfect, therefore stacking is not perfect at the sides of a master-stack file. The best way is to crop and get rid of that part of the image.
Stretching and normalizing histogram
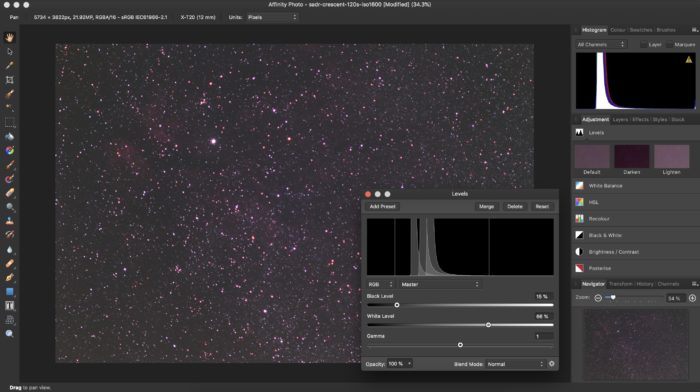
Next, I stretch the histogram with "Levels" adjustment.
I modify the black and white levels and adjust red, green, and blue channels. Compare the above two images. It's just one adjustment, and what a difference it makes in a picture.
Brightness and contrast
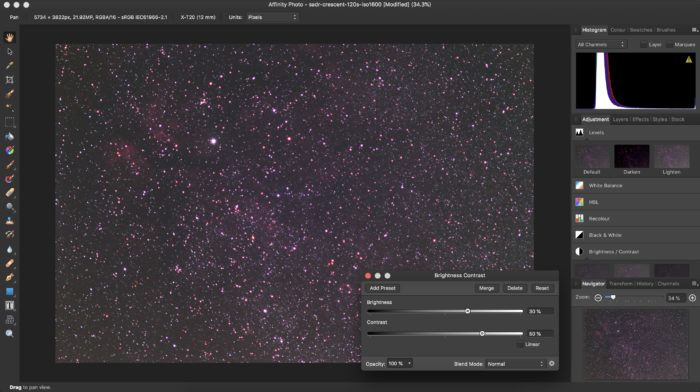
I increase brightness and contrast levels. There are not any rules for this, just use your eye and sense of beauty.
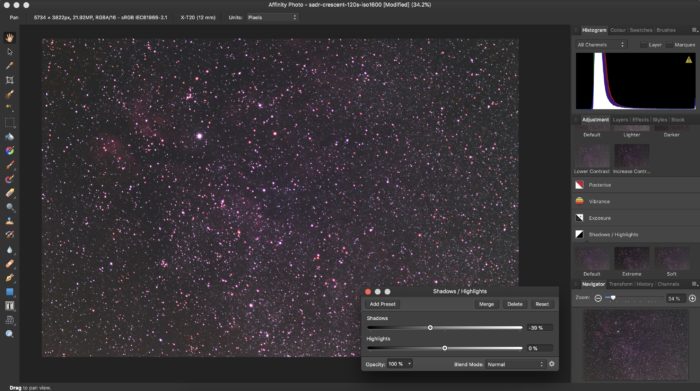
Shadows and highlights
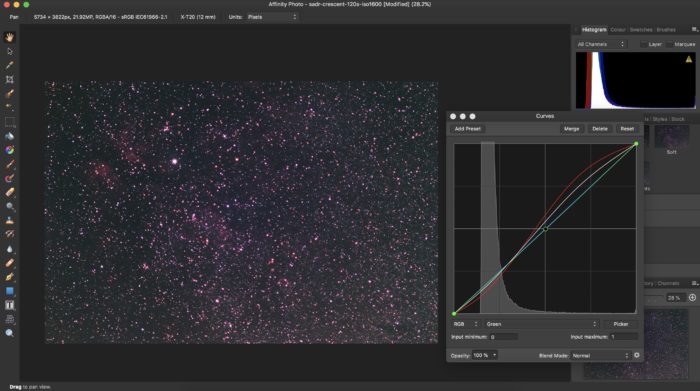
Curves adjustments
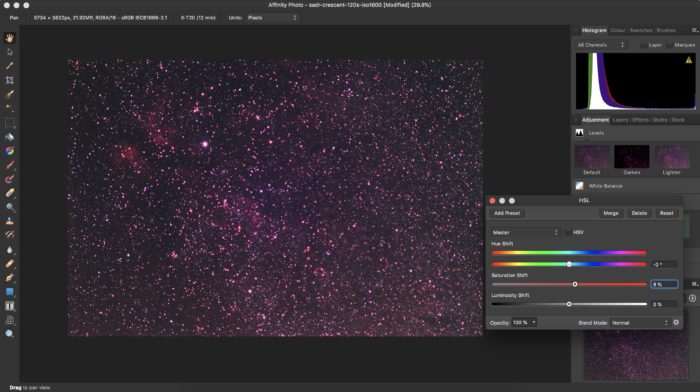
Saturation
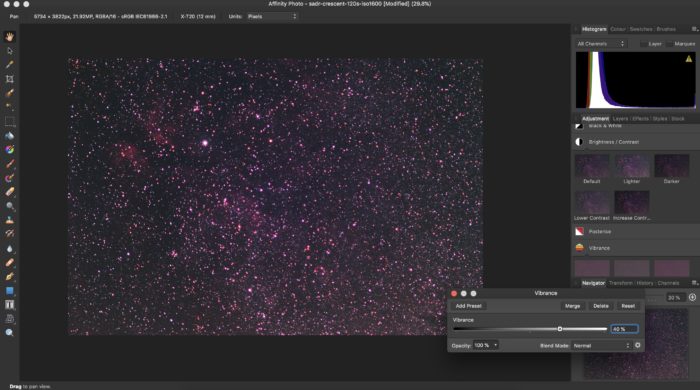
I increase the vibrance (saturation/"popping") level. Maybe 40% is a little too much in this case, but I just love this nebulosity in the upper-left corner. Also, the Crescent Nebula is starting to appear!
Final touches
At this point, I consider the picture to be almost finished. I apply some minor tweaks (normalizing histogram once more, sharpening, denoising), add my signature, and voila! Bortle class 5 balcony picture captured with a lens from 1970 on a mount with imperfect polar alignment. I think it's OK.
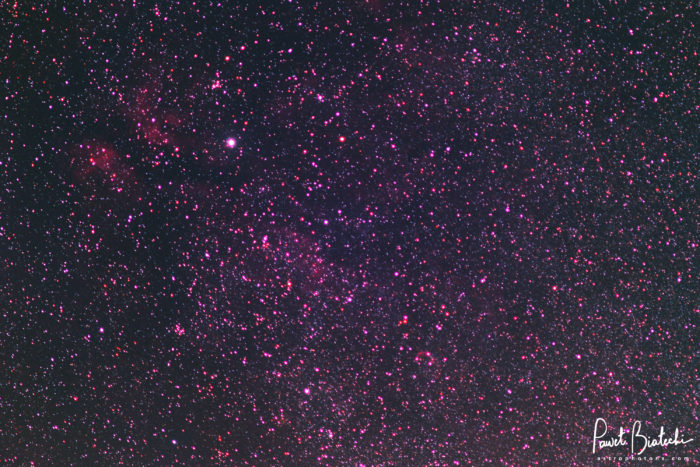
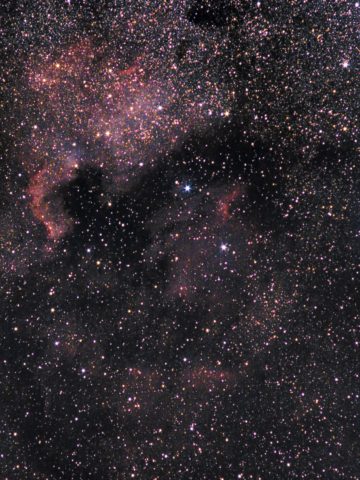
Fornax Lightrack II, Fuji X-T20, SMC/Super Takumar 200mm f/4. 15 x 120s, ISO 1600, 11 dark frames + the master-flat frame. Processed on macOS with Capture One, Starry Sky Stacker, and Affinity Photo.
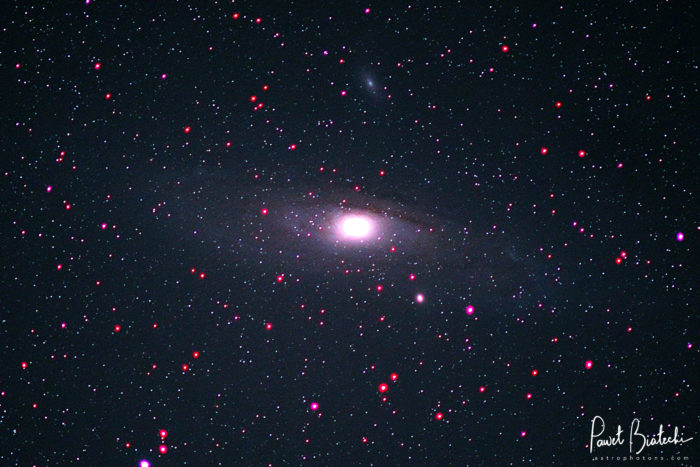
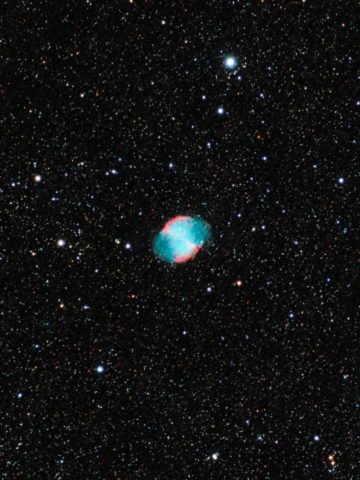
Andromeda galaxy with SMC/Super Takumar 200mm F/4 from the same session. My first ever try on 200mm focal length with imperfect polar alignment. It can be done way better, a quest for the future.
Conclusions
As you can see, macOS is a really nice operating system to post-process astrophotography images. It has excellent RAW converters, astrophotography stackers, and photo manipulation programs, both free and premium. I don't have much experience with astrophotography on Windows, but at this point, my macOS tools are more than enough to deliver excellent astrophotography results. The only thing I'm struggling with now is star reduction in Affinity Photo. I saw on YouTube what PixInsight is capable of doing in this area and it's mindblowing. I don't plan to move away from my current post-processing workflow to PixInsight, but the ability to reduce star sizes will be the impulse in the future.
The next target for my Super Takumar 200mm will be the North America nebula.



Alen
Looking at your images I am going to guess you shot these wide open at f/4. (There are obvious red halos from CA on all but the dimmest stars. Also, there are no diffraction spikes so you didn't stop down internally.) I have the SMC Pentax-M 200mm f/4 lens, essentially the K-mount cousin of your lens. I can tell you from experience that CA is much reduced by stopping down to f/5.6. What remains is IMO acceptable and can be further reduced from there in post. This does result in diffraction spikes on the brighter stars. If those are a problem you can use a 37mm step-down ring instead, resulting in f/5.4. Reducing the aperture further to result in f/6.7 does eliminate CA almost completely but you might consider that too slow, as I do.