New in astrophotography? Don't know what to do? No worries - every successful astrophotographer had to start somewhere. And you are in one of the best places to begin learning astrophotography fundamentals! Today I will give you ten astrophotography tips for true beginners to instantly improve their astrophotography skills. Let's get started!
Jump to:
1. Spend Your Money Wisely
Astrophotography tip number one - don't invest too much money into astrophotography gear at the very beginning. Why? Because you don't know what to buy, and what you need to buy.
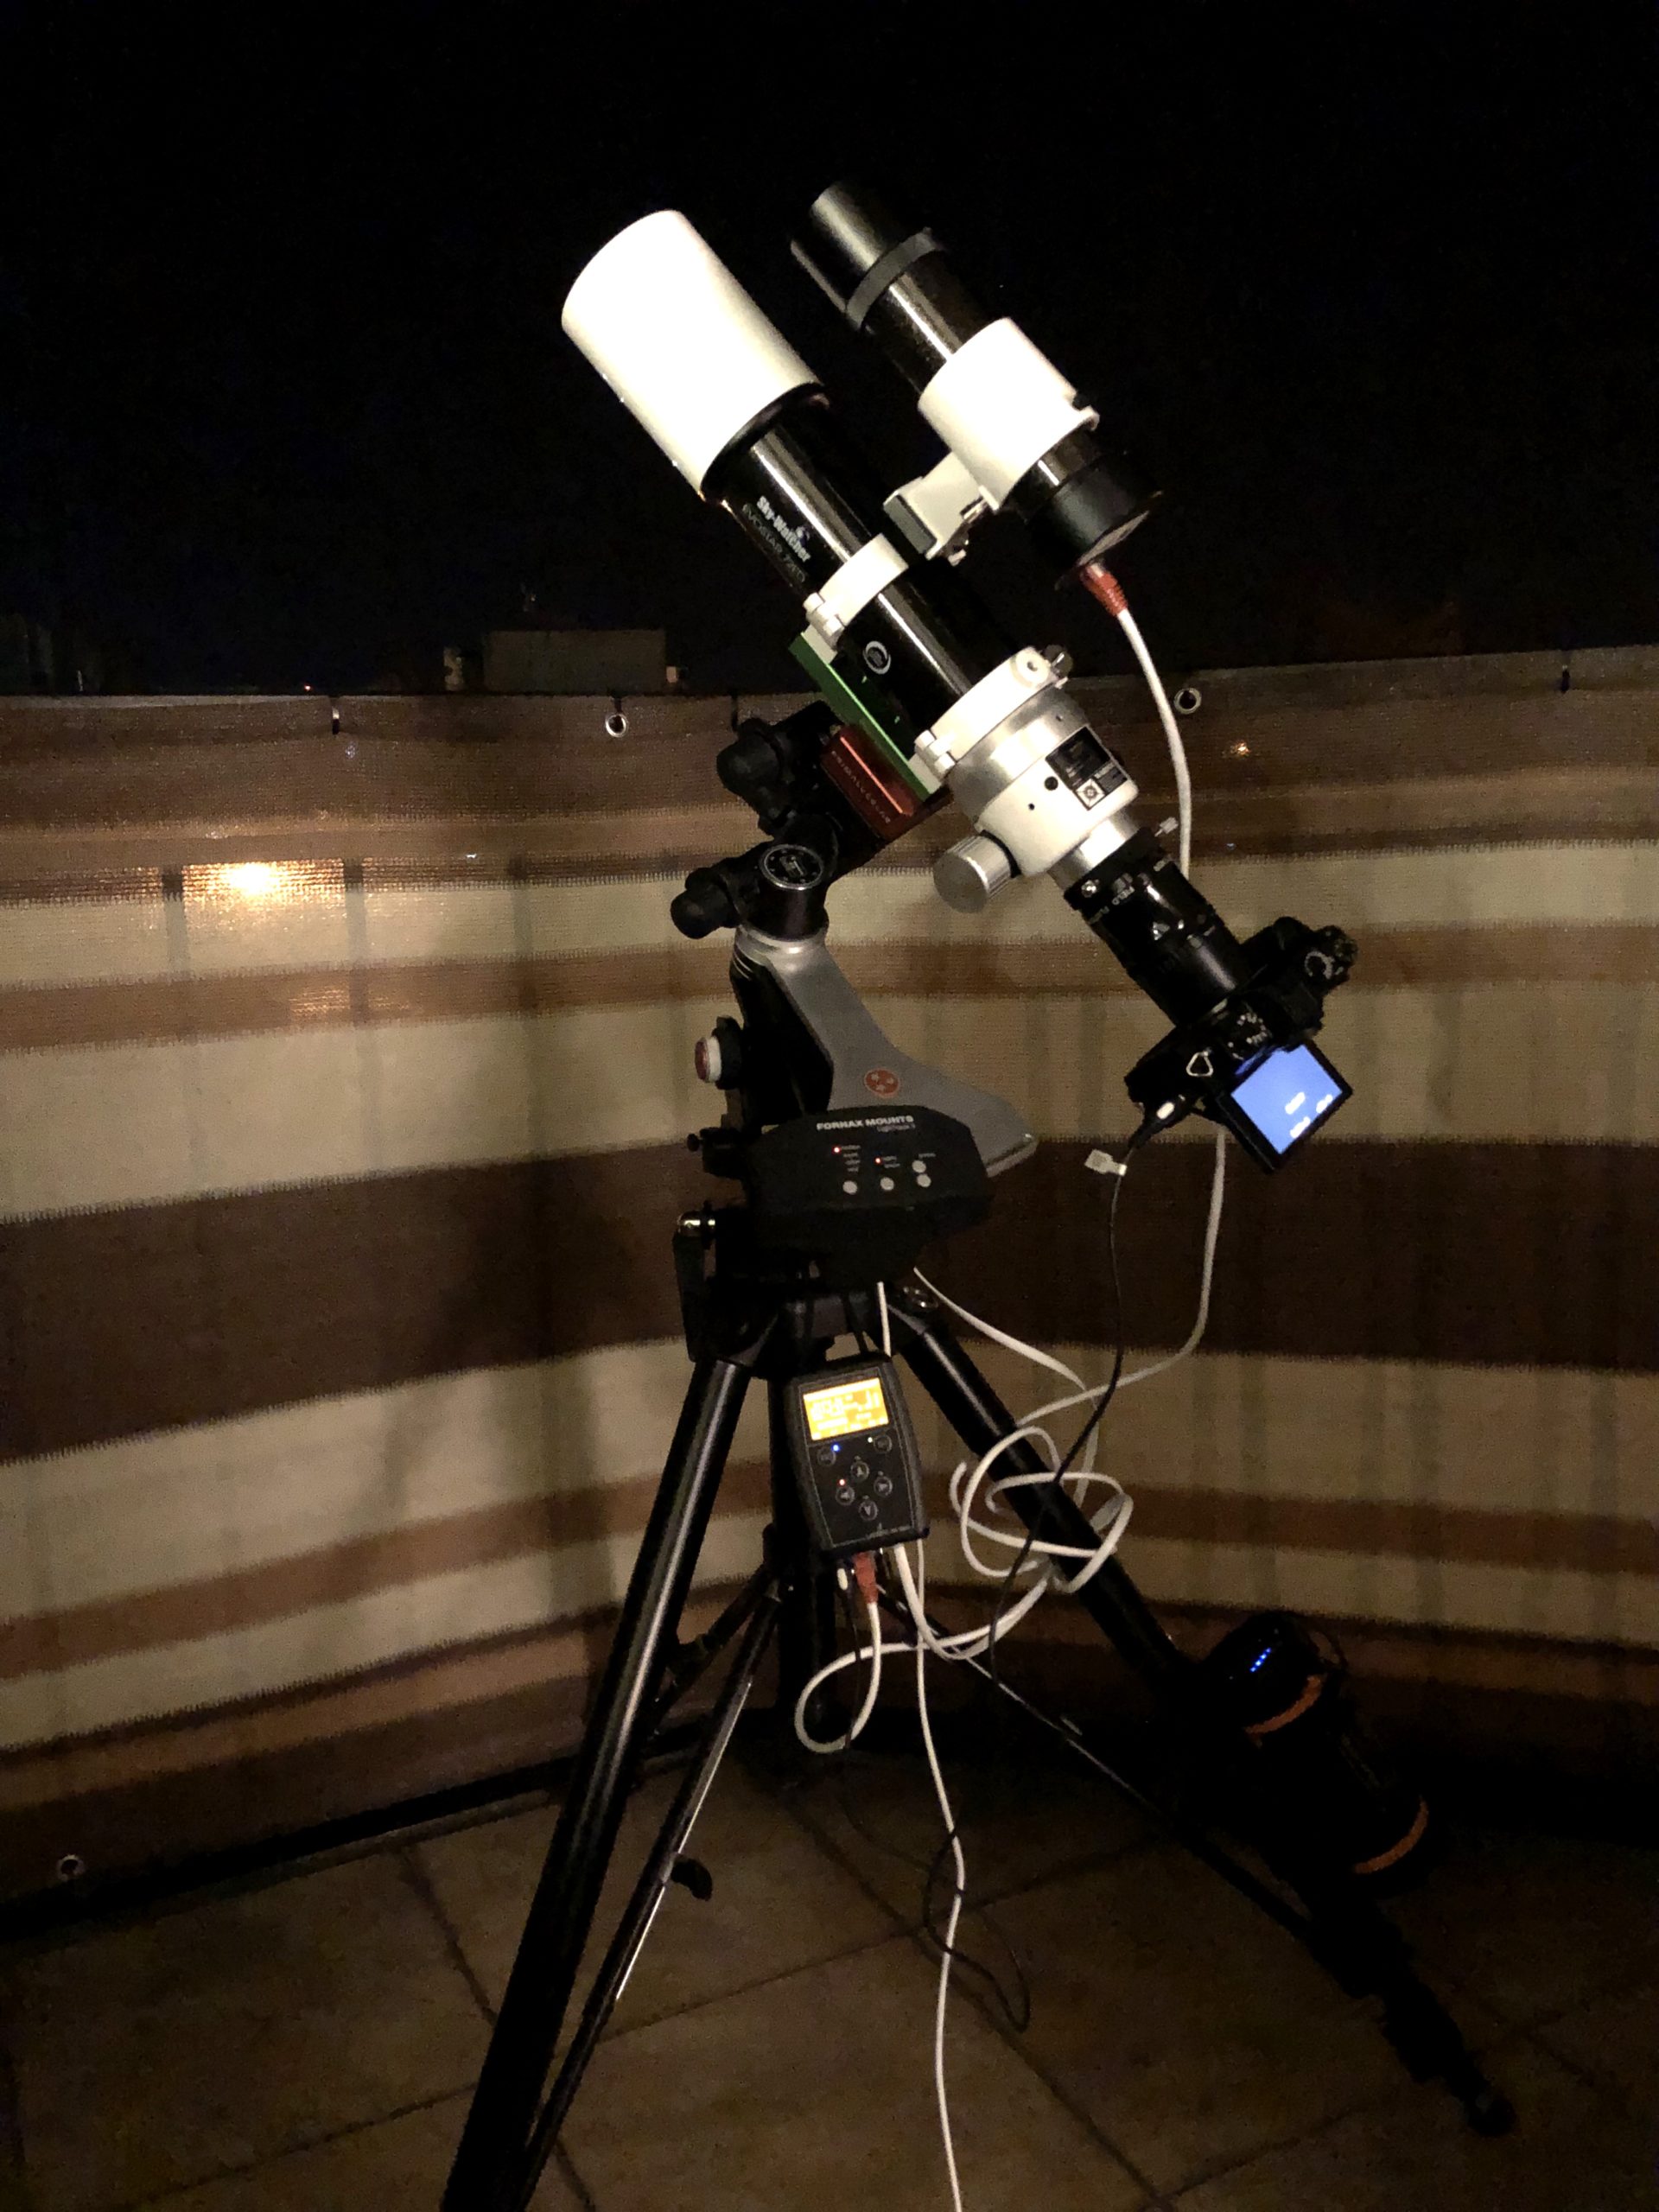
Astrophotography gear is not cheap; actually, it's costly.
It's not true that you cannot achieve good results with budget gear. You can start this hobby slowly, acquire equipment when needed, and still have fantastic imaging results.
Take your time, learn about gear, read a lot of forums, blogs, good astrophotography websites (like this one!), and invest your hard-earned money only then, when you are 100% sure that this gear will be good for you.
2. Use Your Old Gear
Tip number two - use gear that you already have.
Do you have a DSLR or mirrorless camera? Use it. Do you have any lenses (or even telescopes)? Use it. Do you have a tripod? Use it.
You don't have to buy anything at the start if you have some equipment already. Any modern camera with a manual mode, like DSLR or mirrorless, is good for the start.
In the case of a lens - if you have a lens that is f/2.8 or faster (like f/2.0 or maybe even f/1.4), then it is at least good for astrophotography.
Like tip number one - don't rush to the store for the new gear; use something you have already. Test it - maybe it is good. Perhaps it's not, but it's OK - you will buy something later.
You can also borrow some gear from your friends or your family, or you can go to some astro-party to use telescopes of other people. Telescopes, cameras, all that other stuff, you know.
3. Start Your Astrophotography The Non-Tracked Way
Tip number three - consider non-tracked widefield Milky Way photography at first.
What does it even mean - non-tracked? We have two kinds of astrophotography - tracked and non-tracked. It indicates whether you use a device called an equatorial mount or not.
An equatorial mount, also known as a star tracker, is a device that compensates for the Earth's rotation. This means that when you put your camera with your lens onto this device - onto the star tracker - it will go along with the night sky and will actually "freeze" your image into your frame so that you won't get any star trails and stars will be pin-point sharp.
So why do I recommend going the non-tracked way at the very beginning?
It's way easier. You don't have to use an equatorial mount, you don't have to calibrate it, buy it, carry it, your setup is lighter, no batteries, no need for an external power supply for the mount, and you can always upgrade your setup in the future by acquiring a star tracker, and start without it.
Non-tracked astrophotography works very well with widefield lenses. However, you can consider an exceptional one on the market - a very famous lens in the astrophotography community, the Rokinon 12mm f/2.0.
This fantastic lens is the best bang for the buck; this is my first astrophotography lens; I have used it from day one (day zero?). The best budget lens you can buy for your non-tracked widefield astrophotography. I highly recommend it.
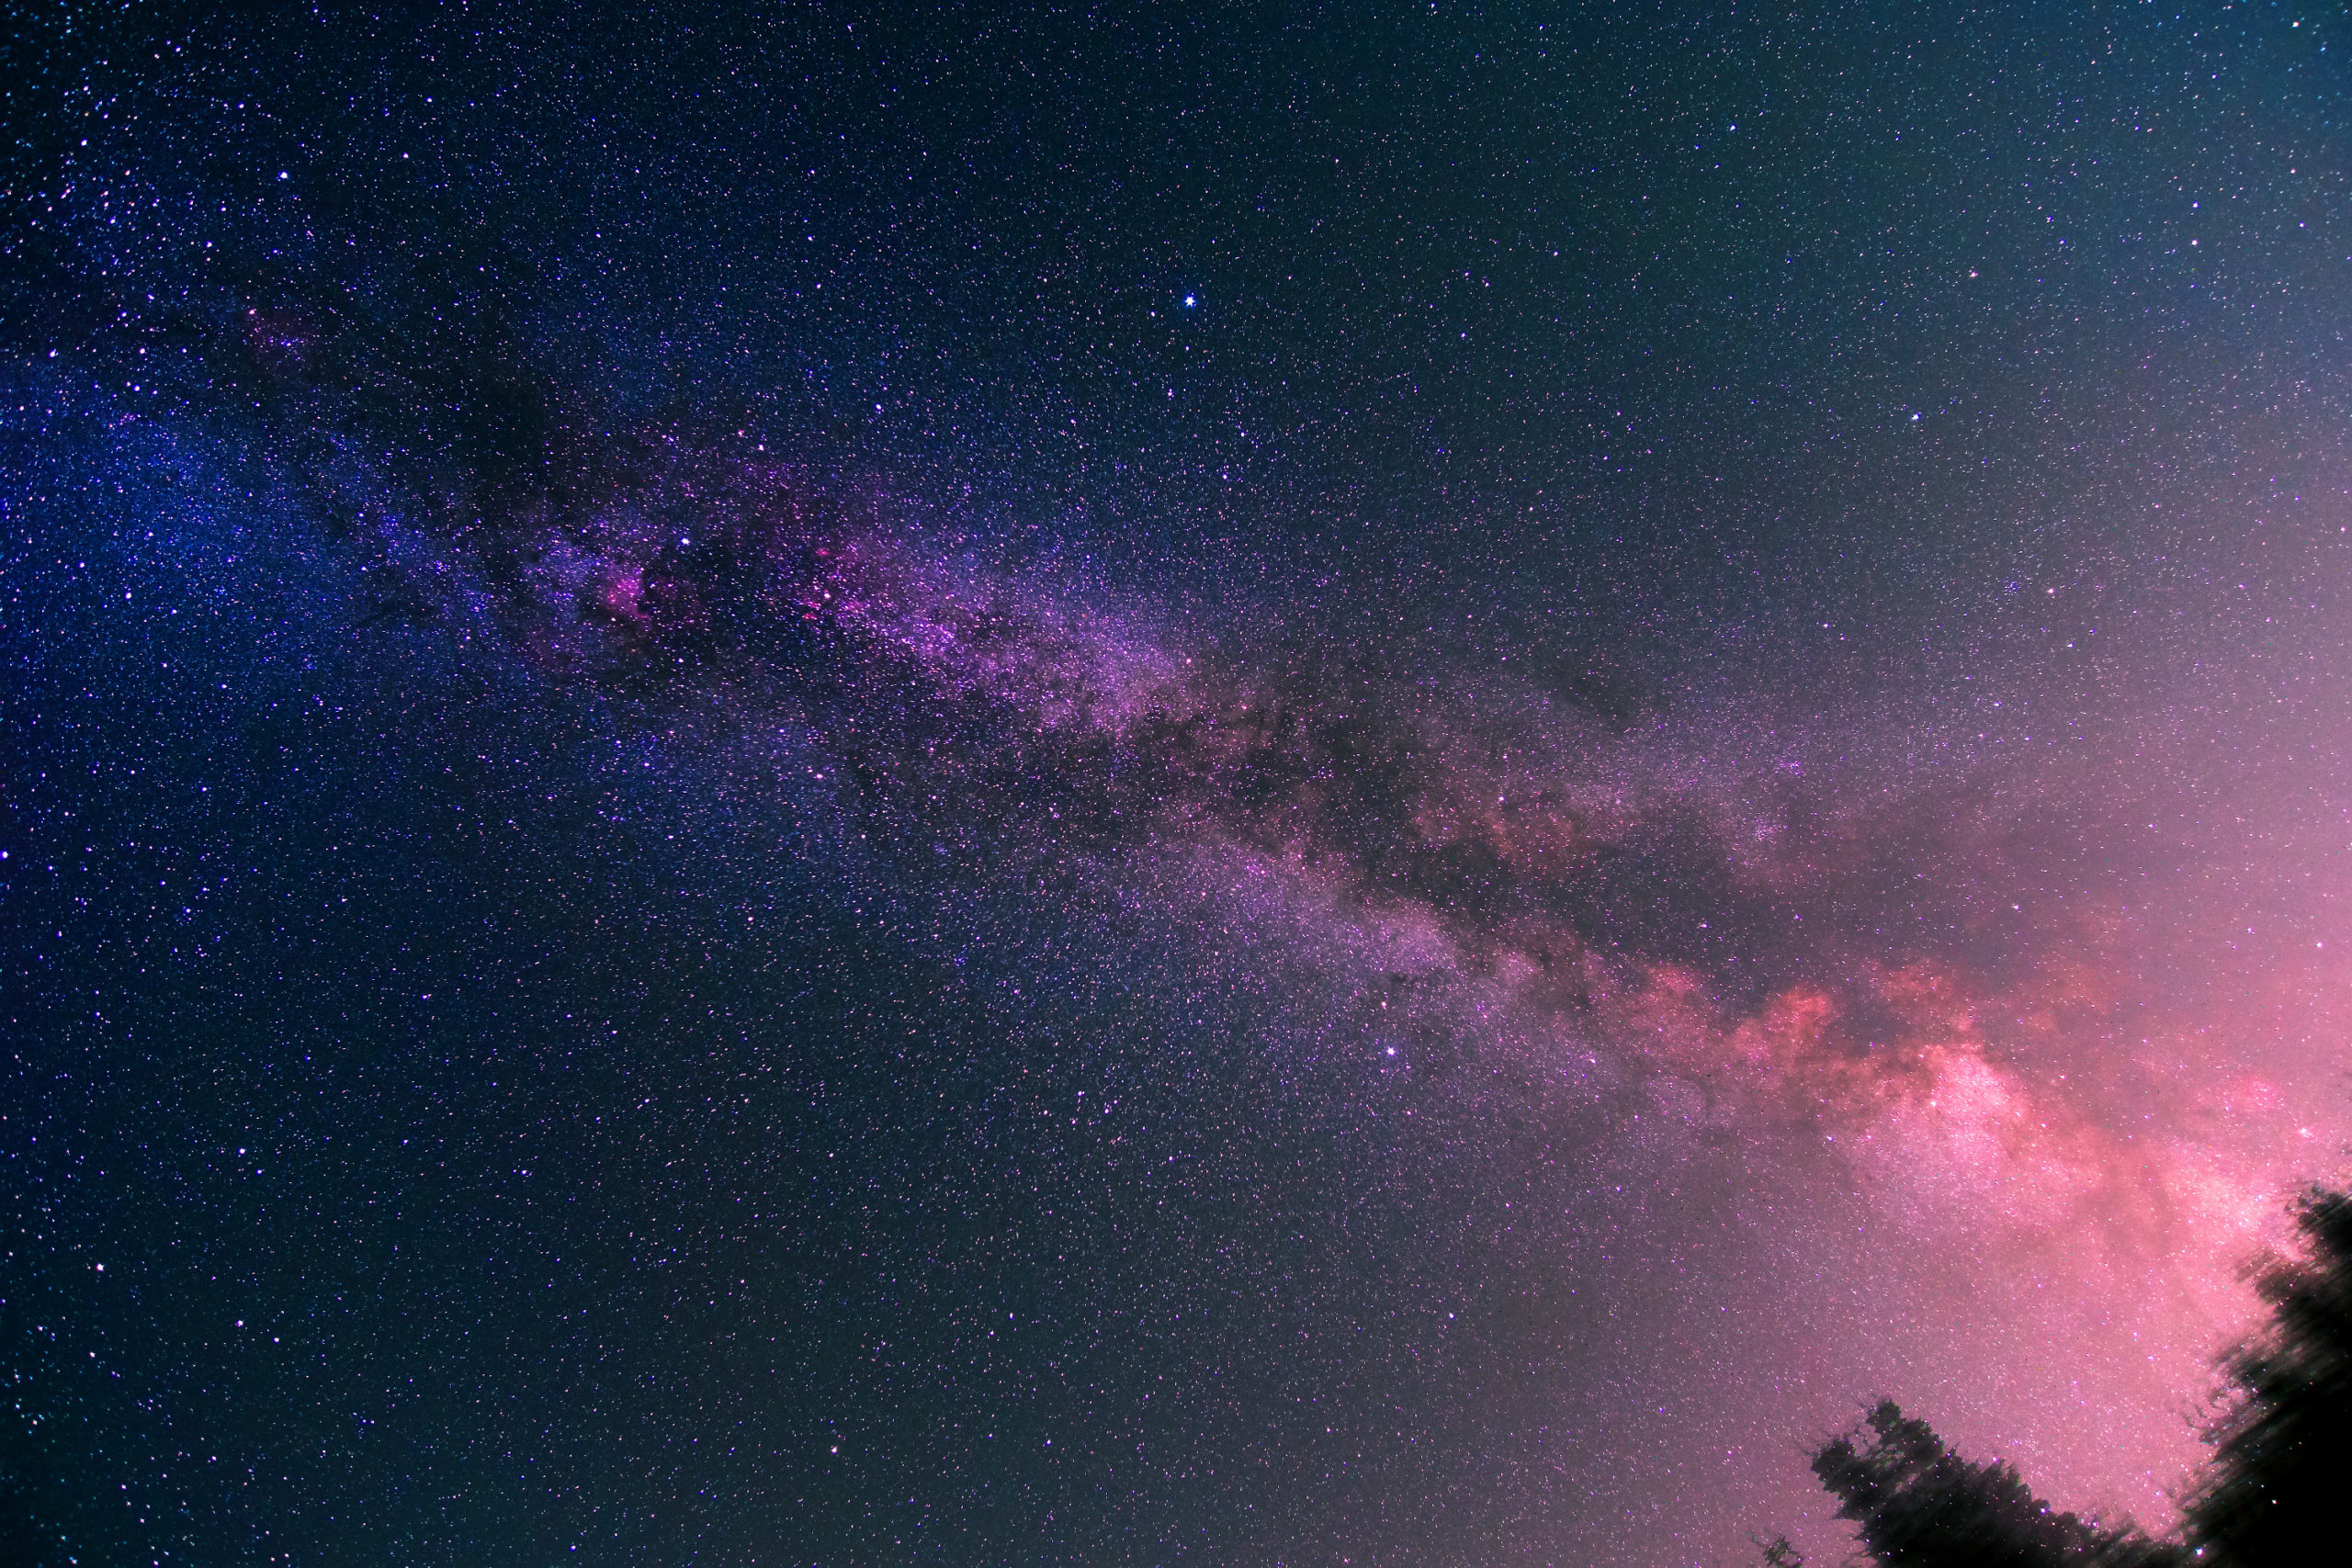
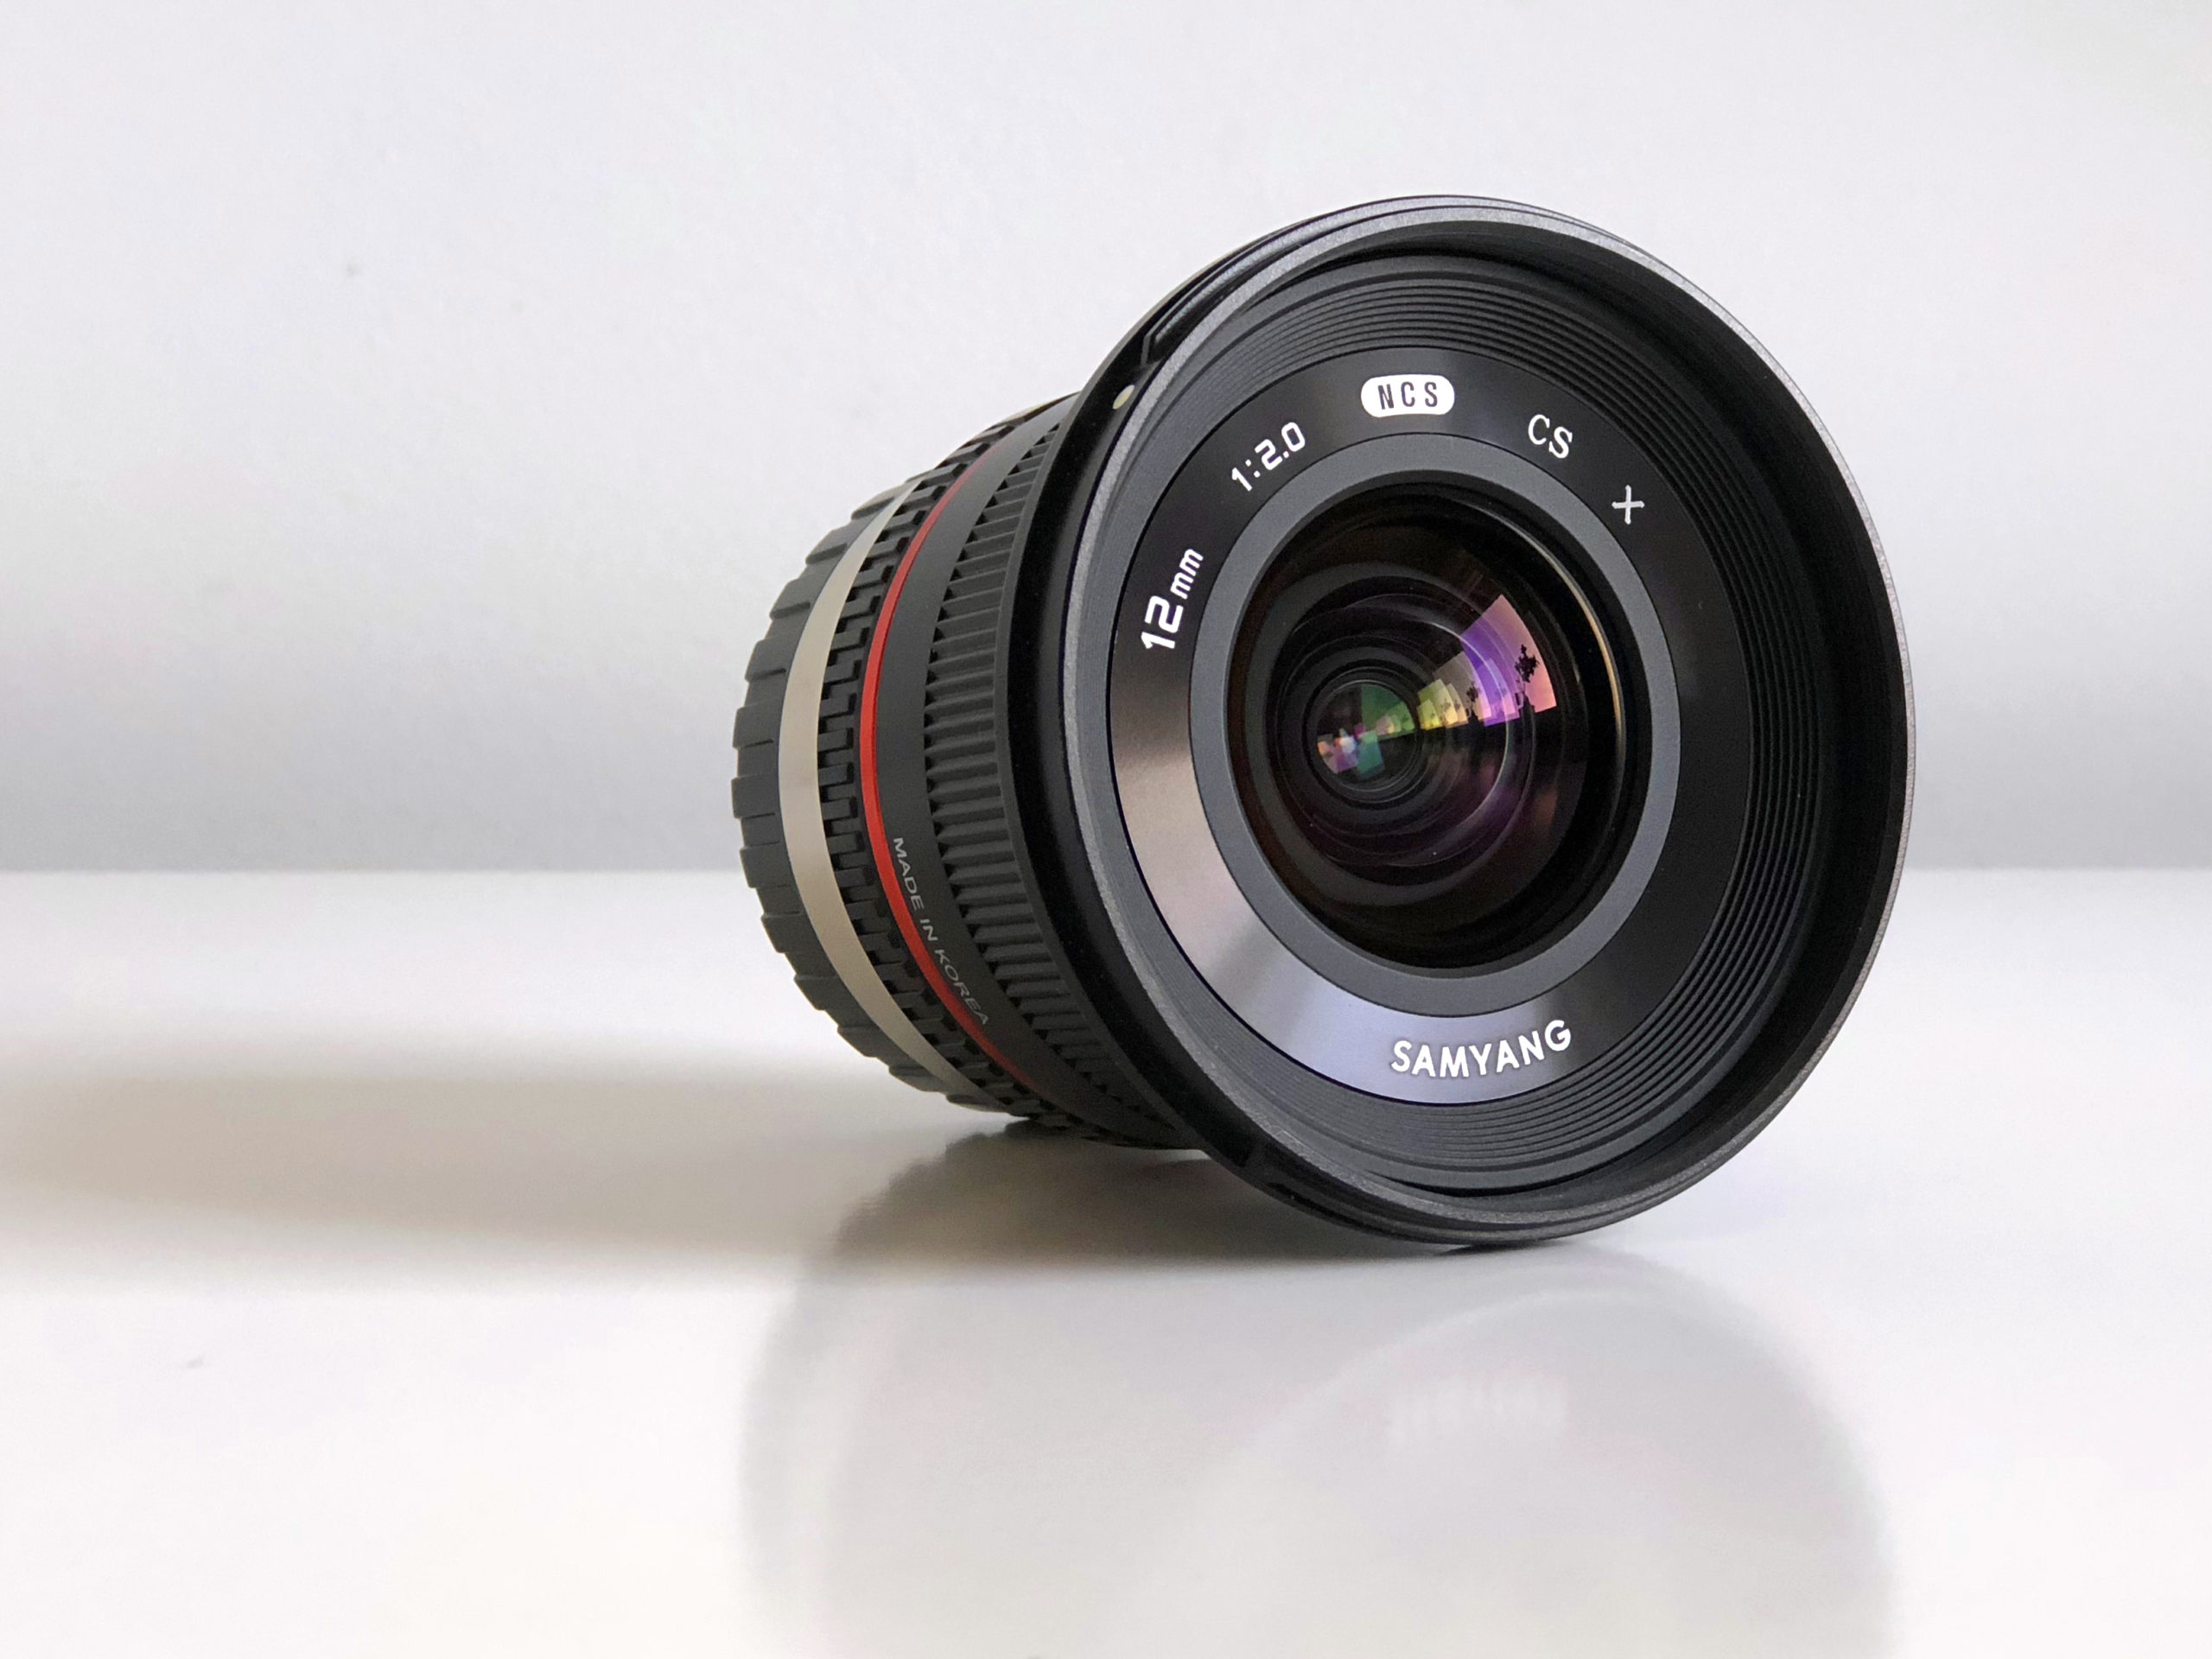
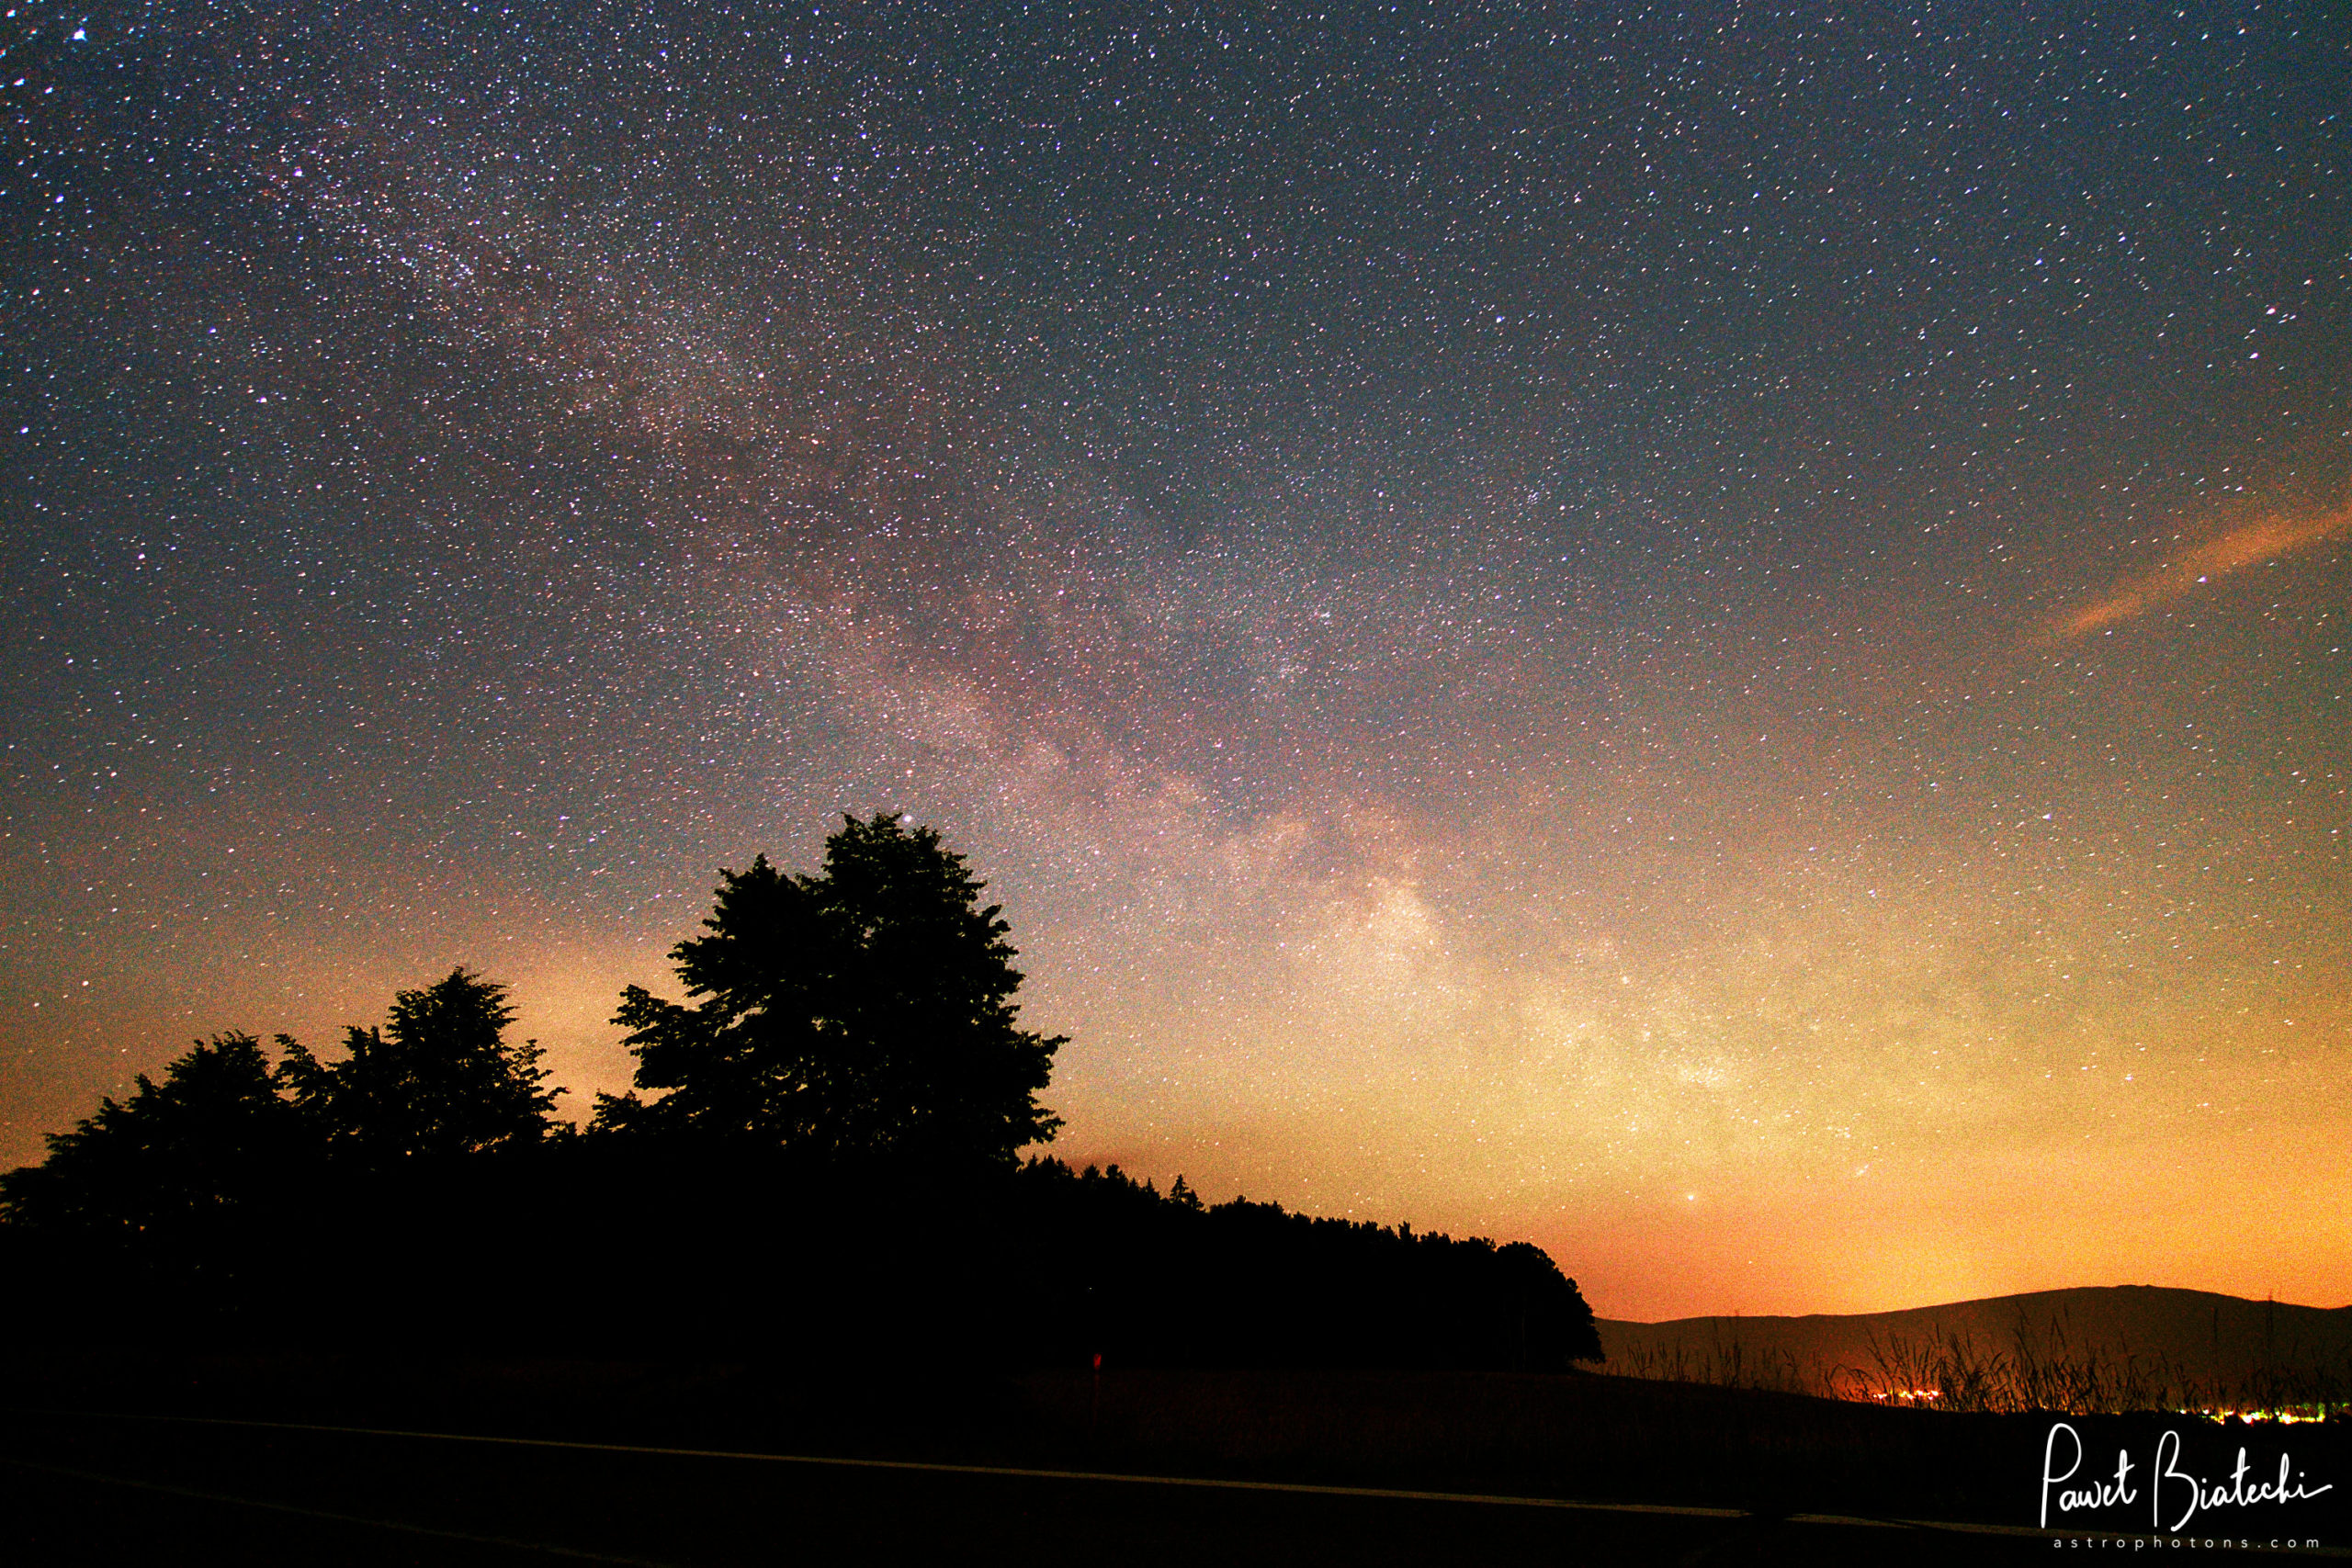
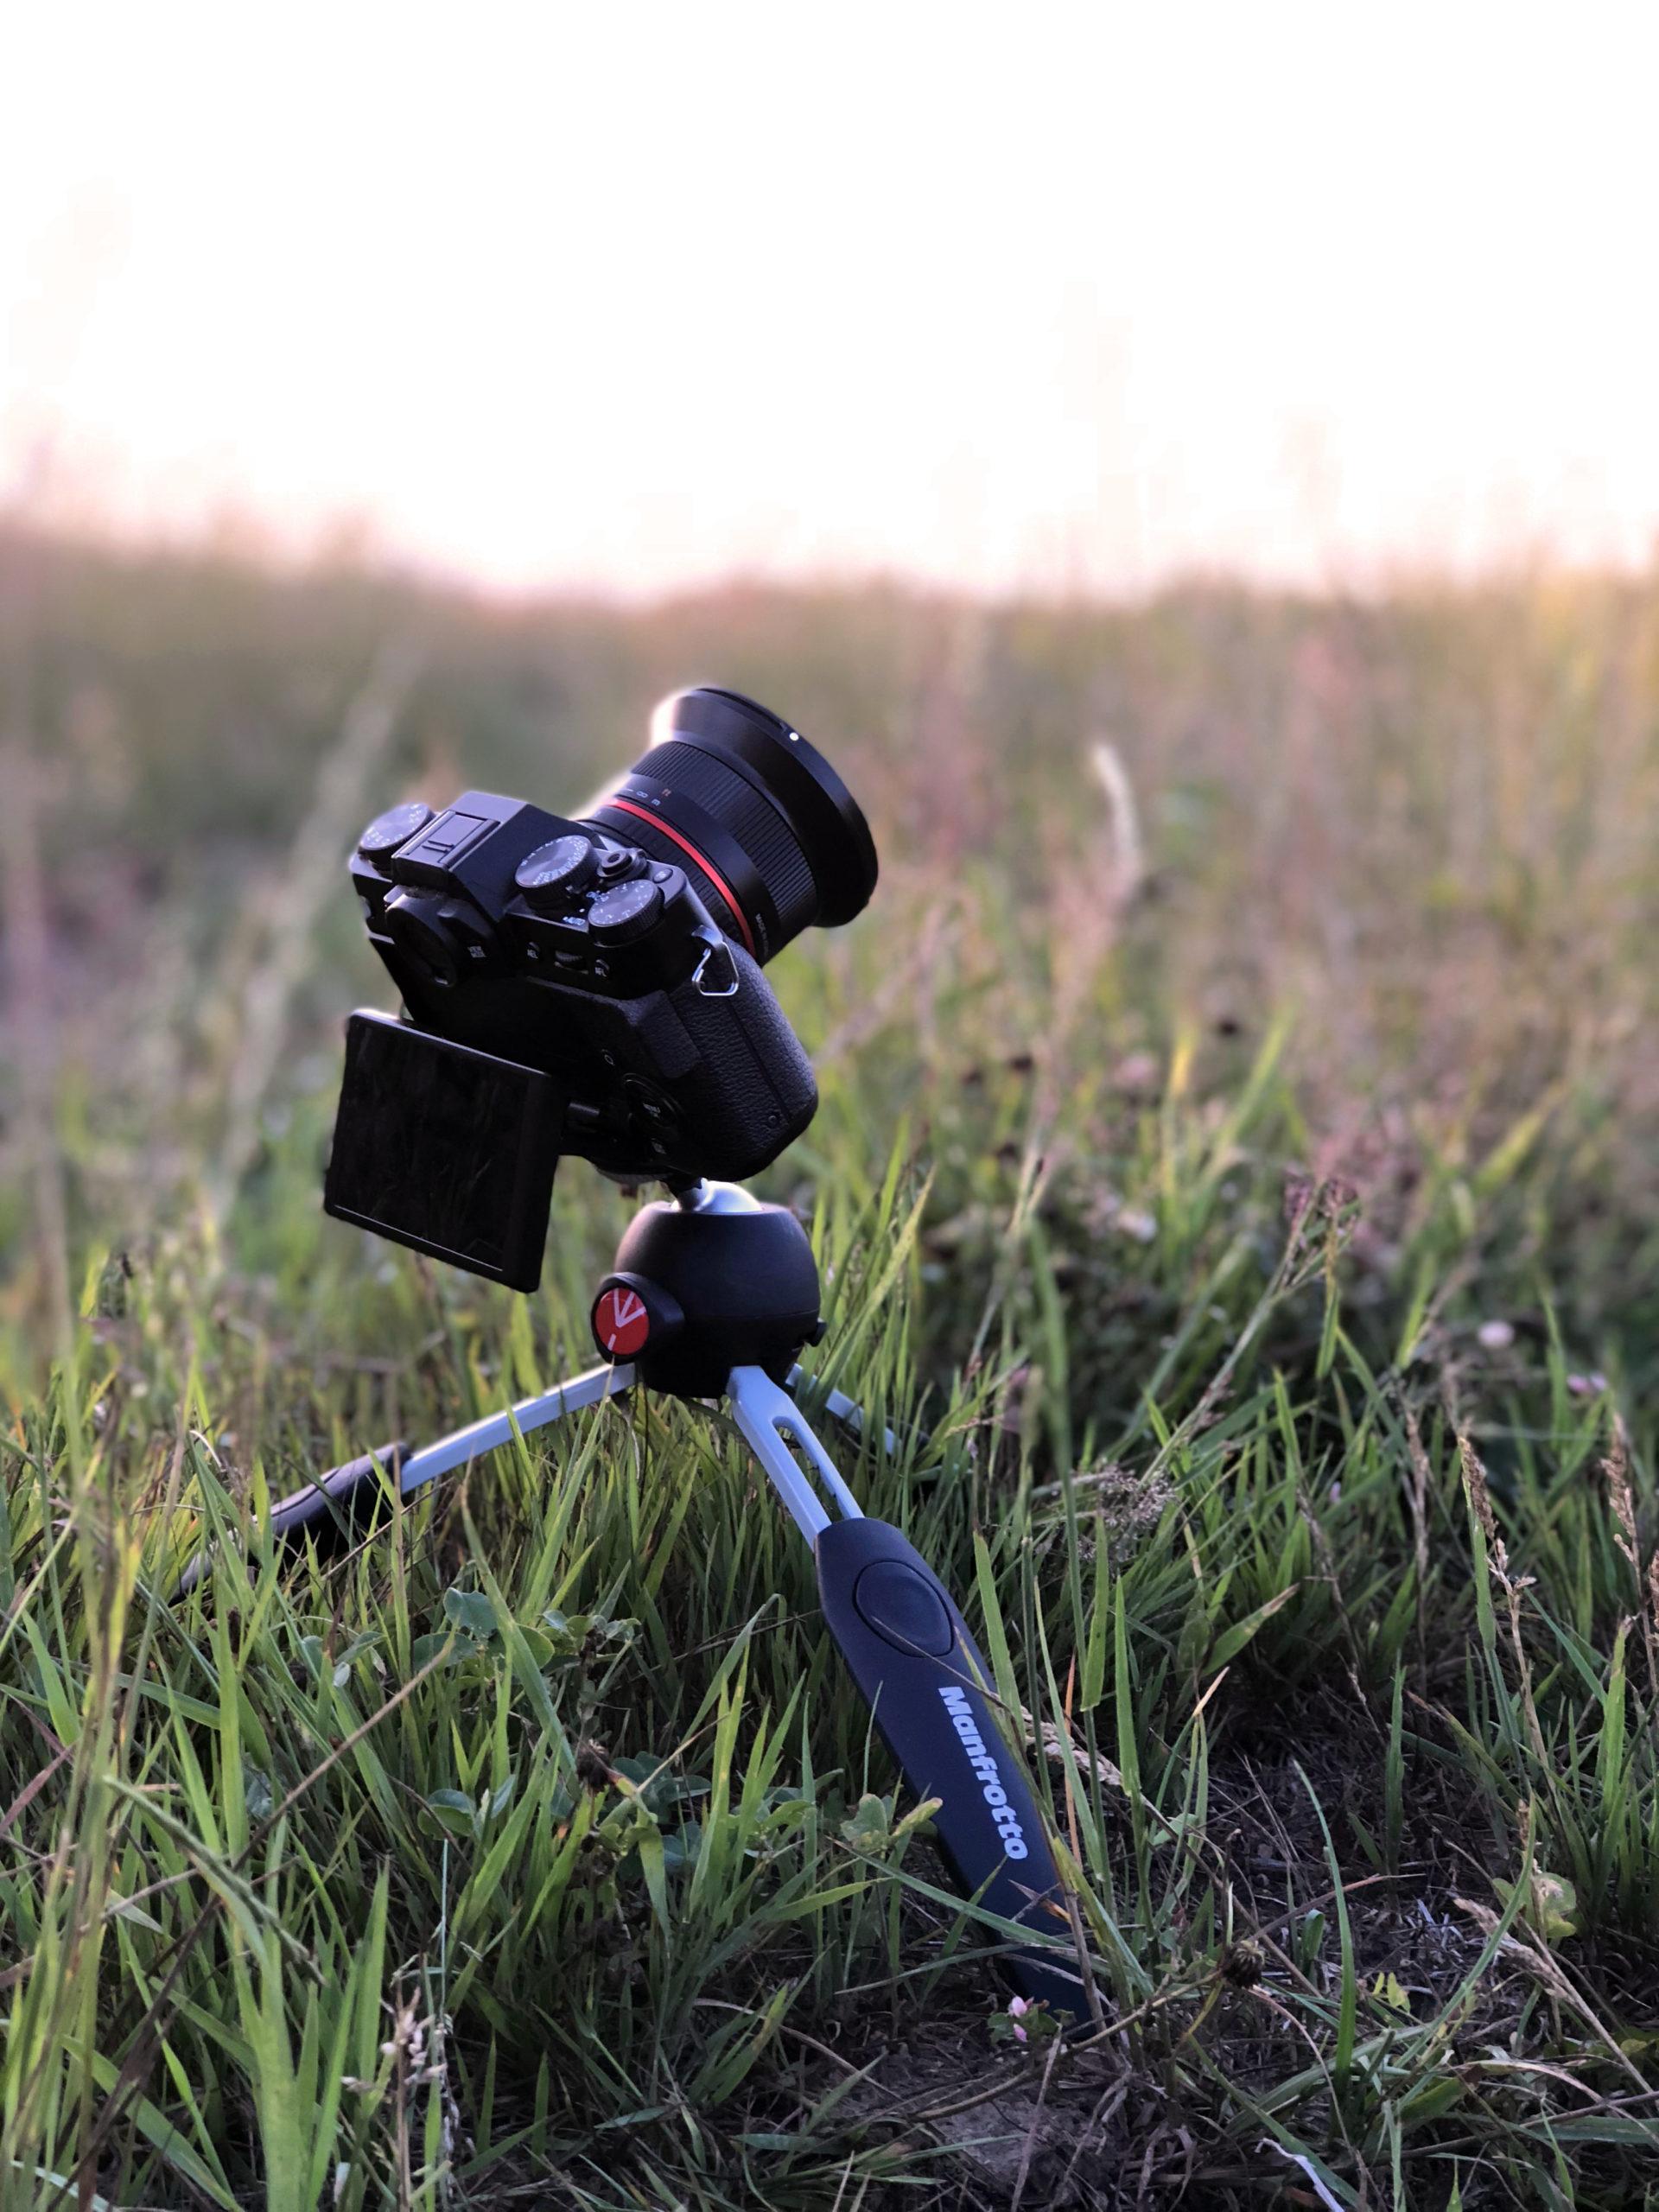
Conclusion - The easiest way to enter astrophotography is to go the non-tracked way at first and upgrade and improve to the tracked one later on.
4. Focal Lengths
Tip number four - learn about focal lengths, the "zoom" of every lens, and how they affect your final image field of view.
Generally speaking, we can assign every lens to one of three categories
- Widefield
- Standard
- Telephoto zoom
Generally, in astrophotography, the longer the focal length is, the more complex the astrophotography will be. It's best to start with widefield lenses, which are the easiest to operate for astrophotography, and then progress to standard lenses, telephoto lenses, and further onto the telescopes.
For example, I own 12mm, 58mm, and 135mm focal length lenses. With each of these lenses, I can photograph celestial astronomy objects, but every each of them will give me a different field of view, and the longer the focal length is (the longest I have is 135mm), the more complex the astrophotography will be.
For example - using a 135mm telephoto lens for astrophotography without a star tracker is almost undoable. Well, it is doable, but the results won't be good. Your maximum exposure time with this lens untracked is around 3, maybe 4 seconds, but with a 12 mm one, your maximum exposure time of one single sub-exposure is approximately 20, maybe 25 seconds - it's much longer than with a telephoto lens.
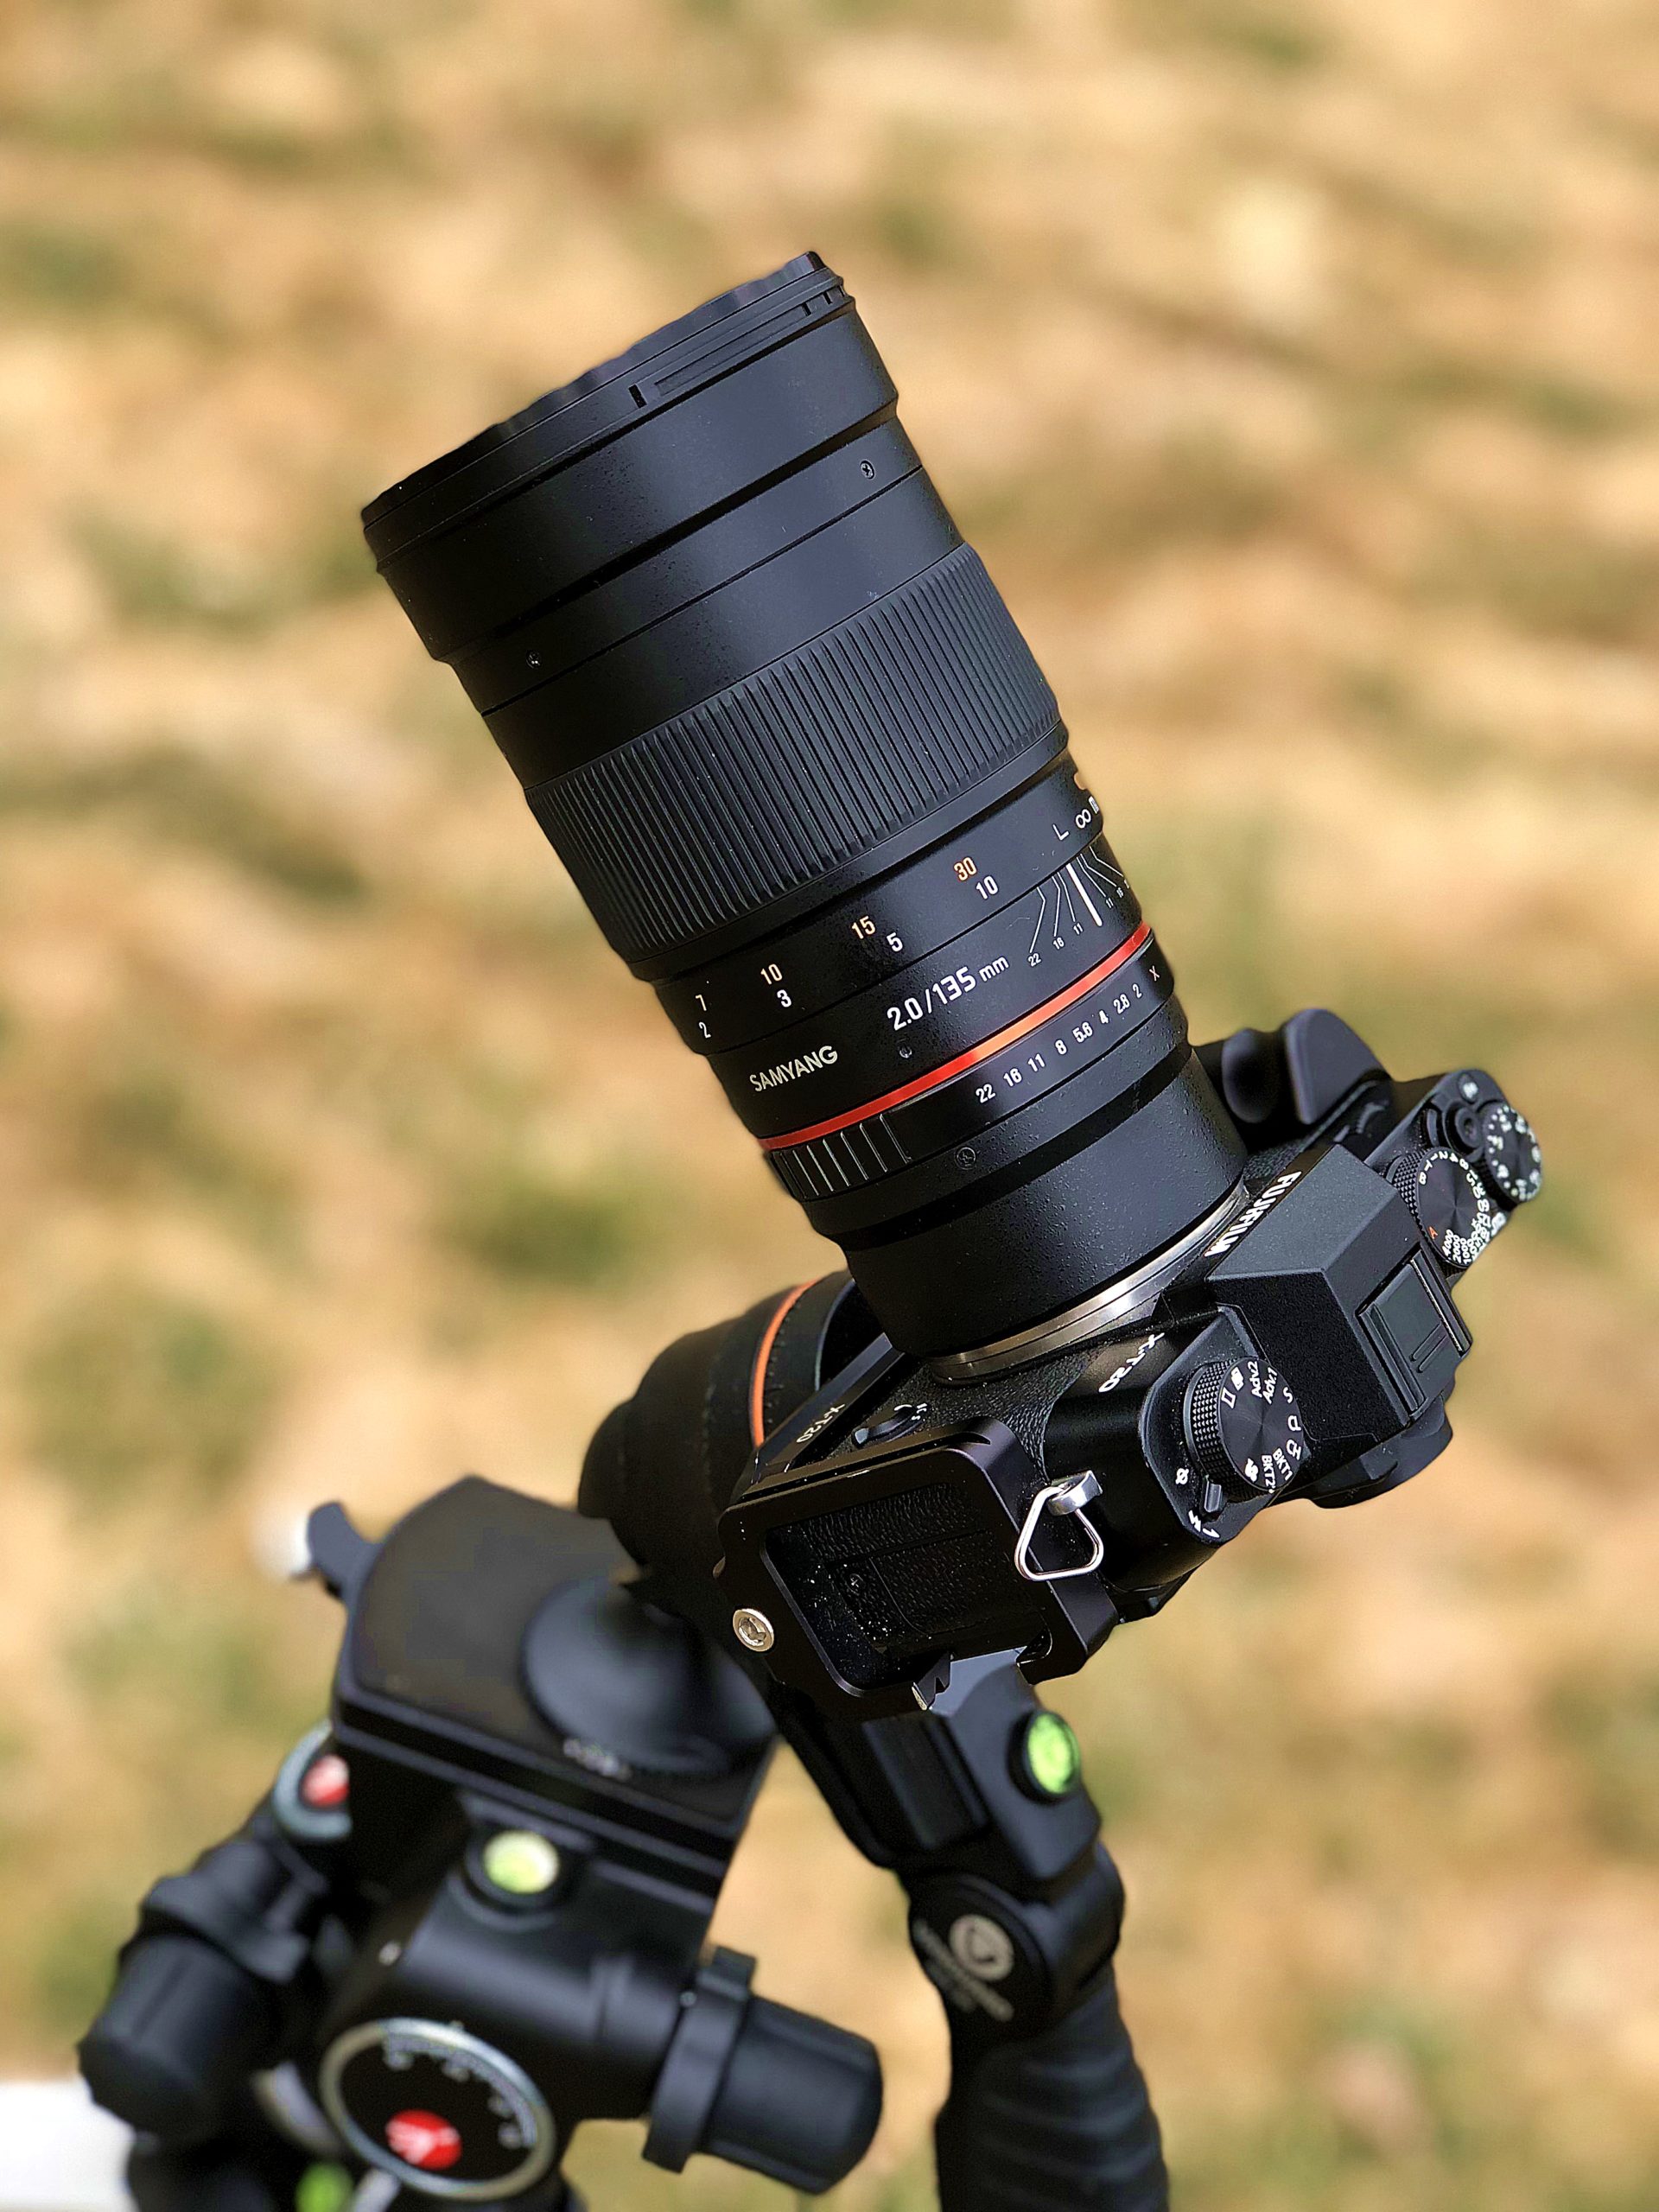
So, a widefield lens is easier to operate at the beginning - use widefield and progress to longer focal lengths with time, and your experience as an astrophotographer.
5. Dark Skies Trip
Tip number five - take a trip to some dark location.
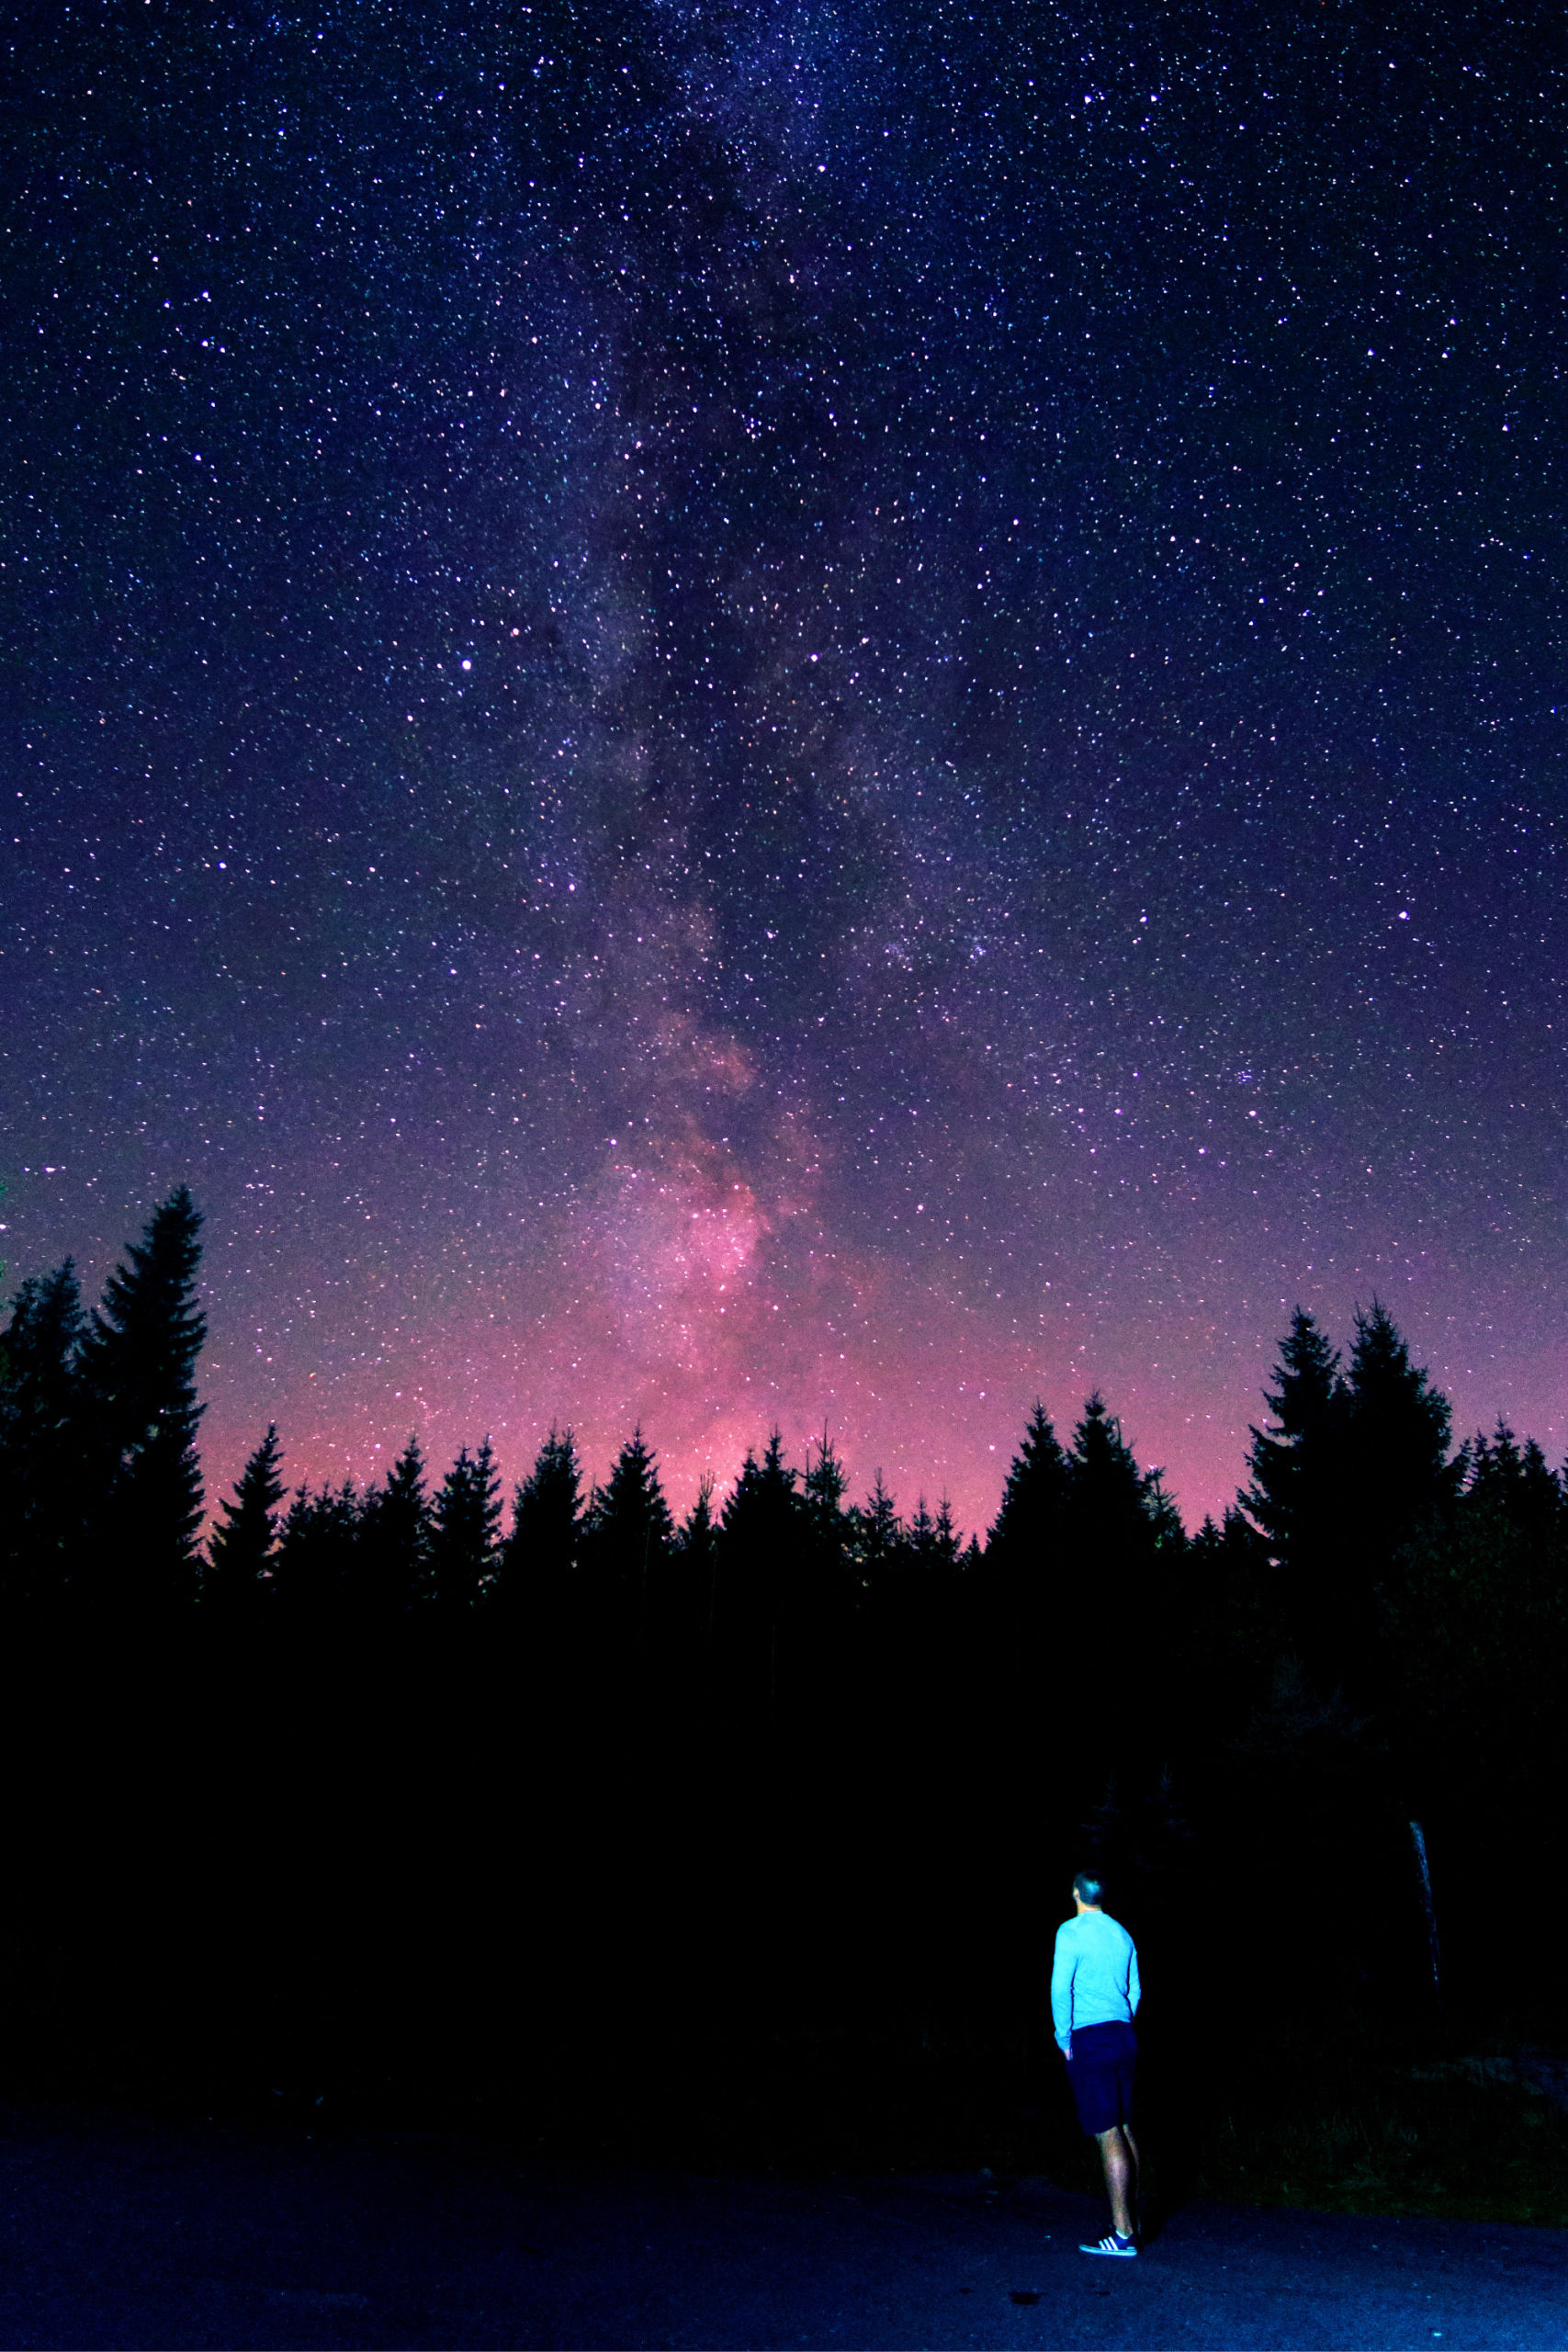
As a future astrophotographer, you will spend a lot of time in the darkness, so if you don't have much experience with it, like me before, go and experience the night.
It's a different world than the city center: strange sounds, animals, no signs of human civilization. Go and experience it, even without any photography gear. Take a friend, get there by car - it's the safest option probably, and make sure to take a headlamp (I use Petzl Actik CORE) and additional batteries for it because you won't see anything in a dark place.
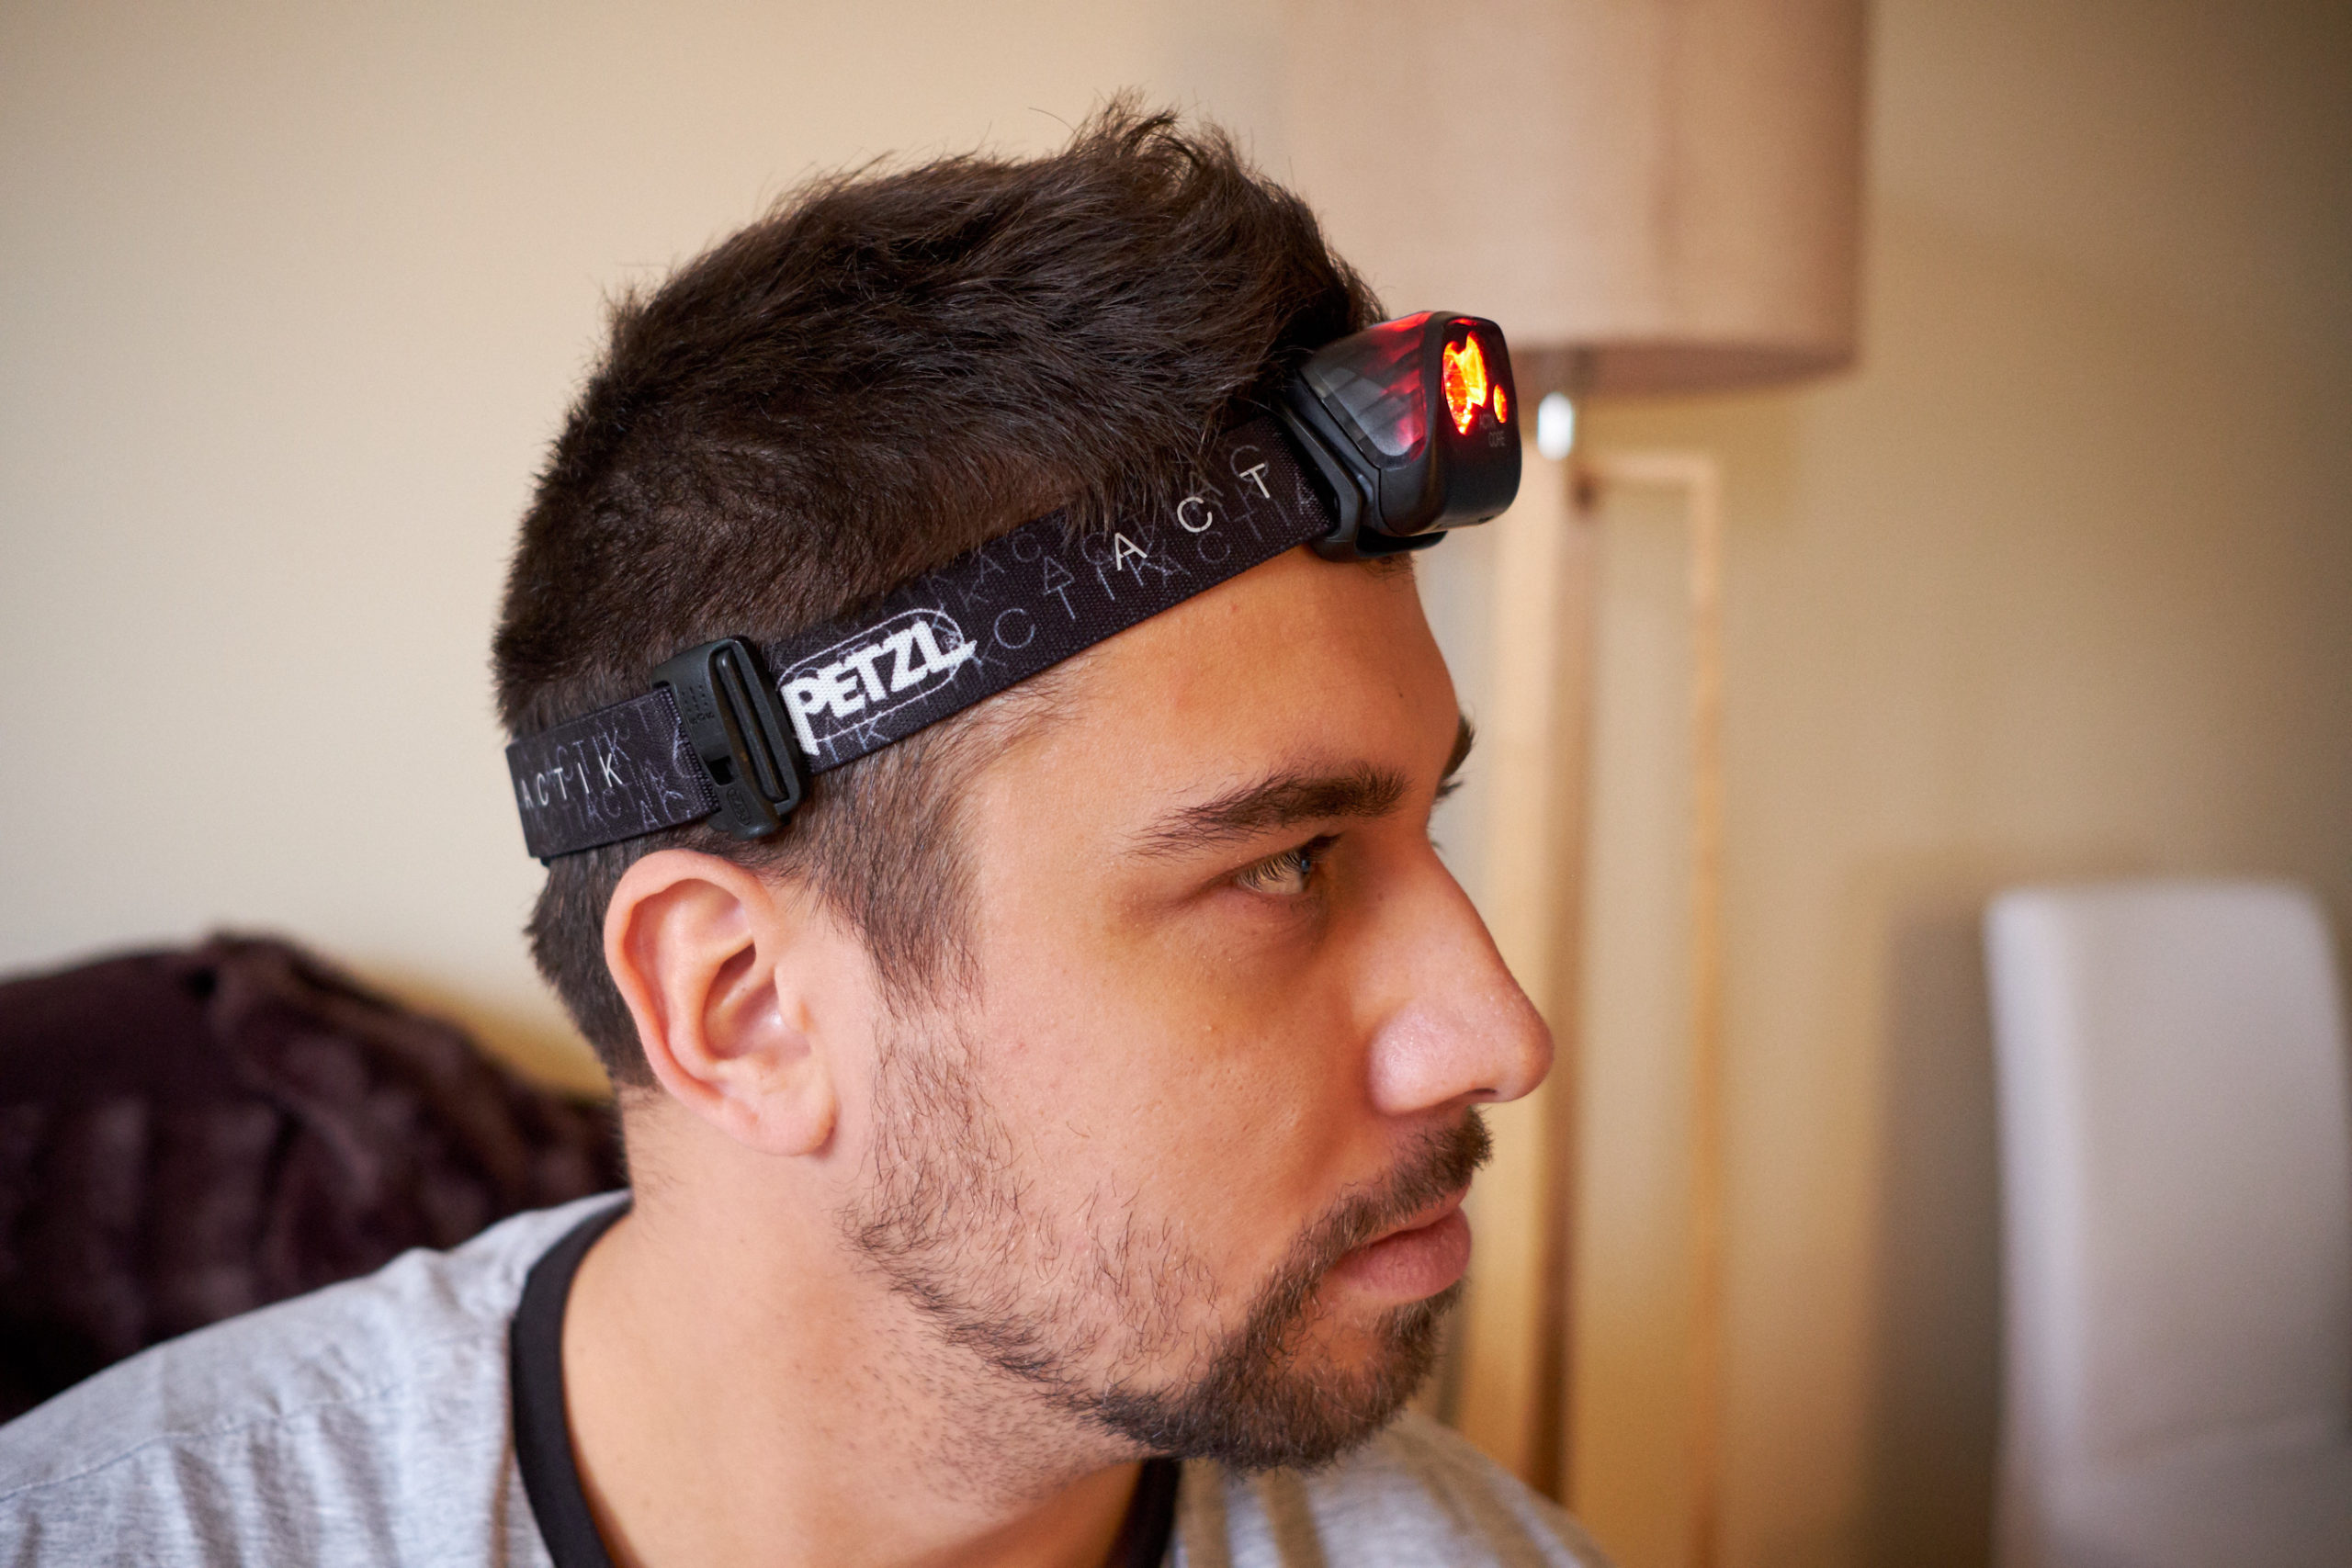
To quickly find the best dark-sky places around you, there's a fantastic website on the Internet called LightPollutionMap.info. Click it, use it, and find good astrophotography places near you.
Oh, and take binoculars with you. Binoculars are a great first telescope for astronomy. Get binoculars, borrow, or buy - it doesn't matter. A good pair of binoculars is always a good thing to have. So take your binoculars with you, and explore the night sky like never before - check out constellations and interesting astronomy celestial objects.
6. Light Pollution Filter
Tip number six - use a light pollution filter.
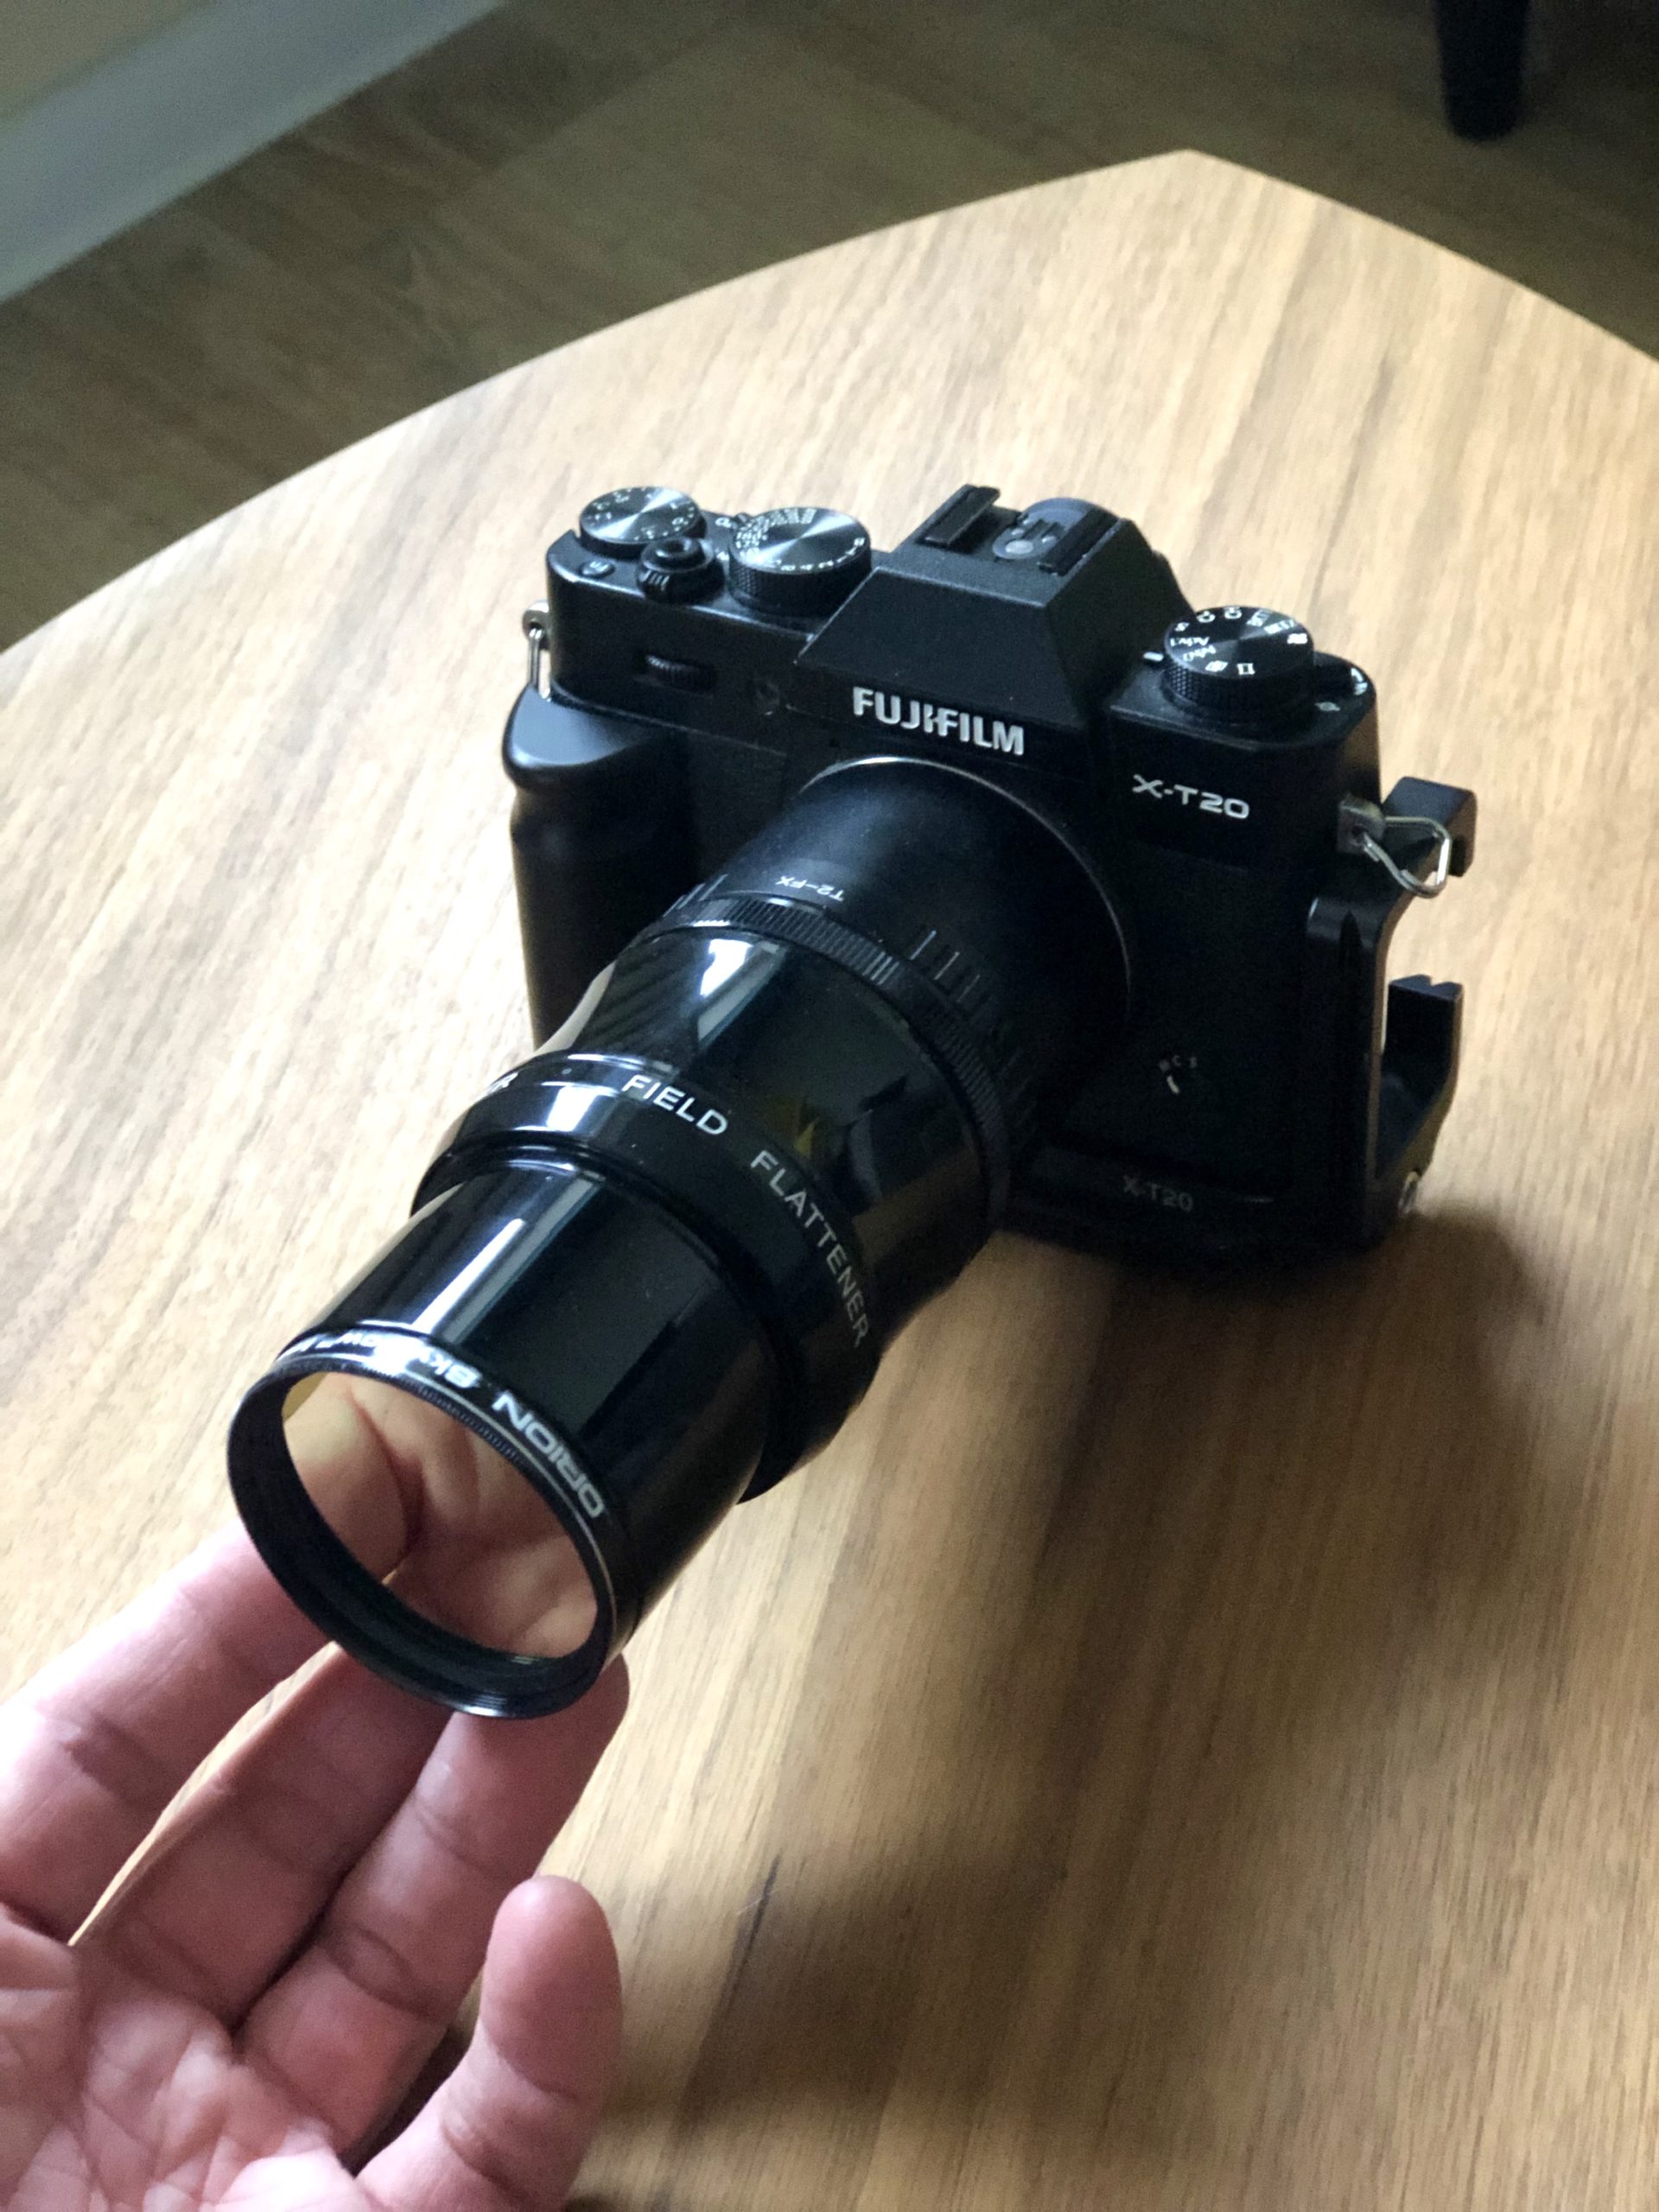
So, the most basic astrophotography setup is a camera, a lens, and a tripod. But the first thing you should add to this setup is a light pollution filter.
This filter cut unwanted artificial light coming from the headlamps or car lights. It doesn't cut every unwanted light, but a lot of it.
It's not mandatory, but it is very recommended to use.
There are some different options available on the market; some are cheap, some are not cheap. You don't have to use the most pricey one; the cheap one also works well.
7. Moon
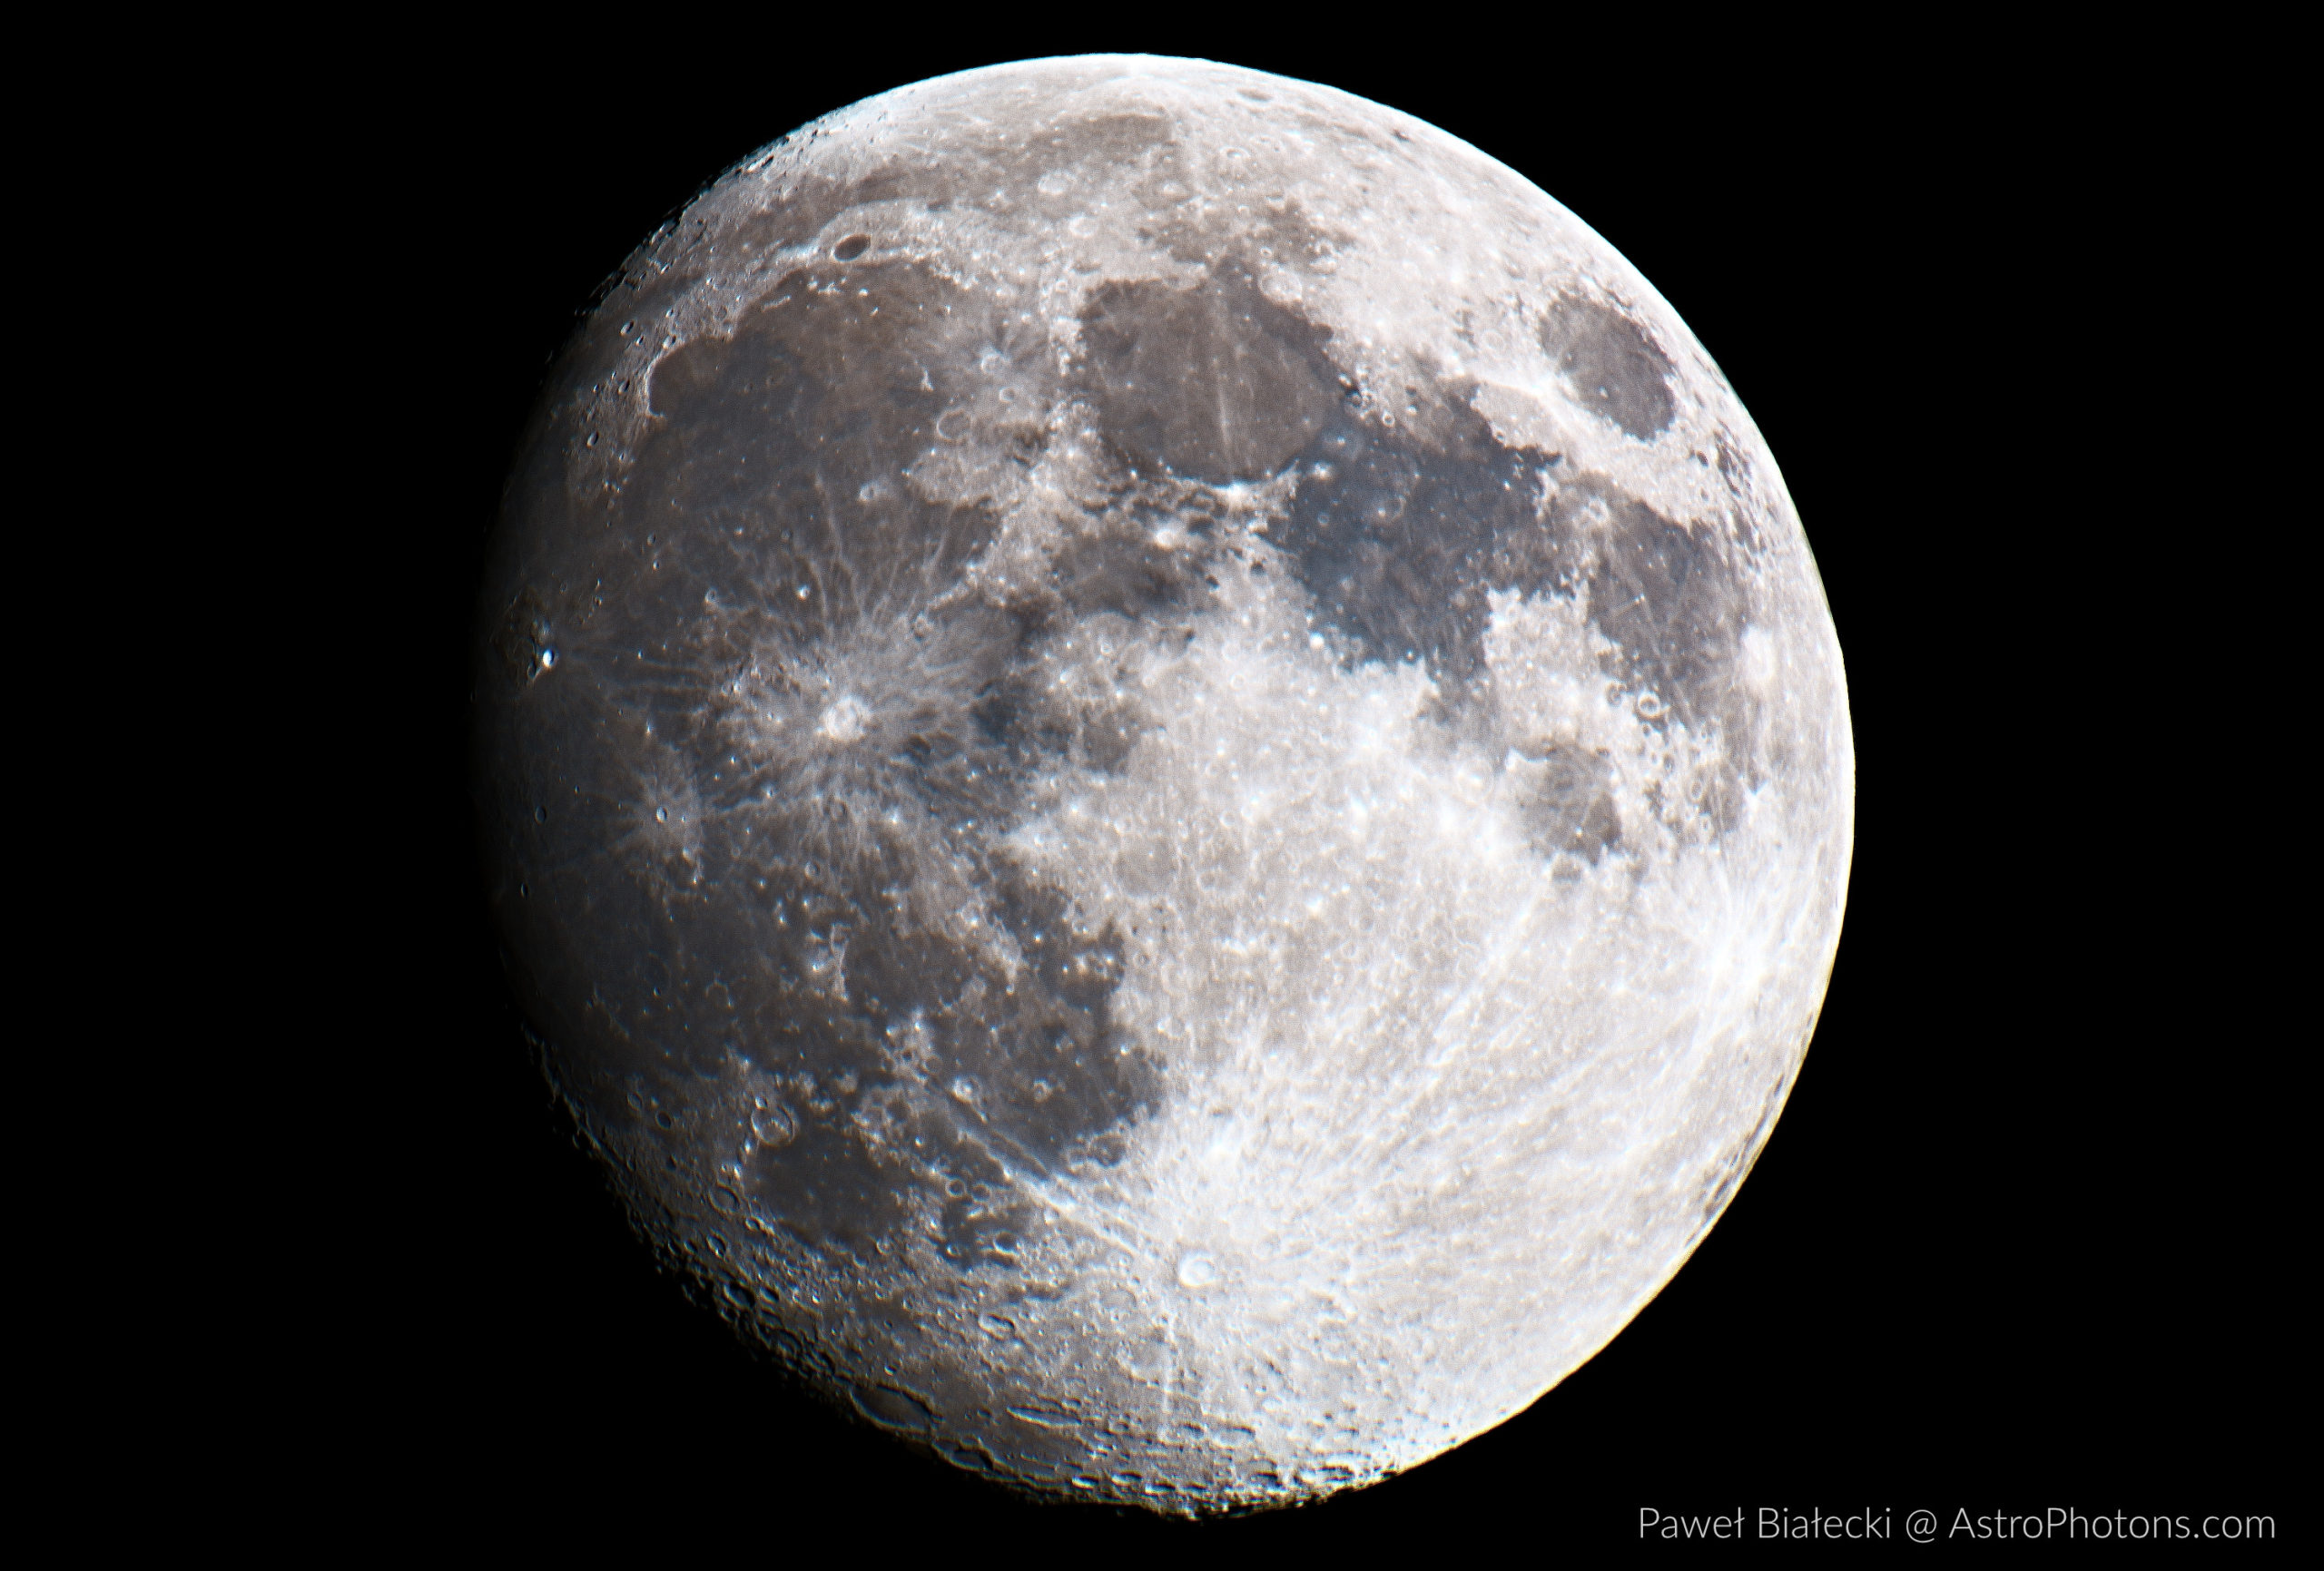
Tip number seven - Moon is your enemy.
Moon gives a lot of unwanted light, and you want to shoot your deep-sky astrophotography when there are moonless nights - no Moon at all. If there's a New Moon - it's OK, but other than that is a no-no for deep-sky astrophotography. To get the best imaging results, you want the skies to be as dark as possible.
8. Vintage Lenses
Tip number eight - consider dirty-cheap vintage lenses.
I have two vintage lenses - SMC Super Takumar and Helios 44M. Both have been used for many years, both were produced many years ago, and both are cheaper than 100 dollars.
Vintage lenses like those are not as good as today's constructions, but their advantage is the price. You can experience astrophotography almost for free with that kind of lenses. You can take your first pictures - they won't be perfect, but they will be outstanding to start with.
9. Post-Processing
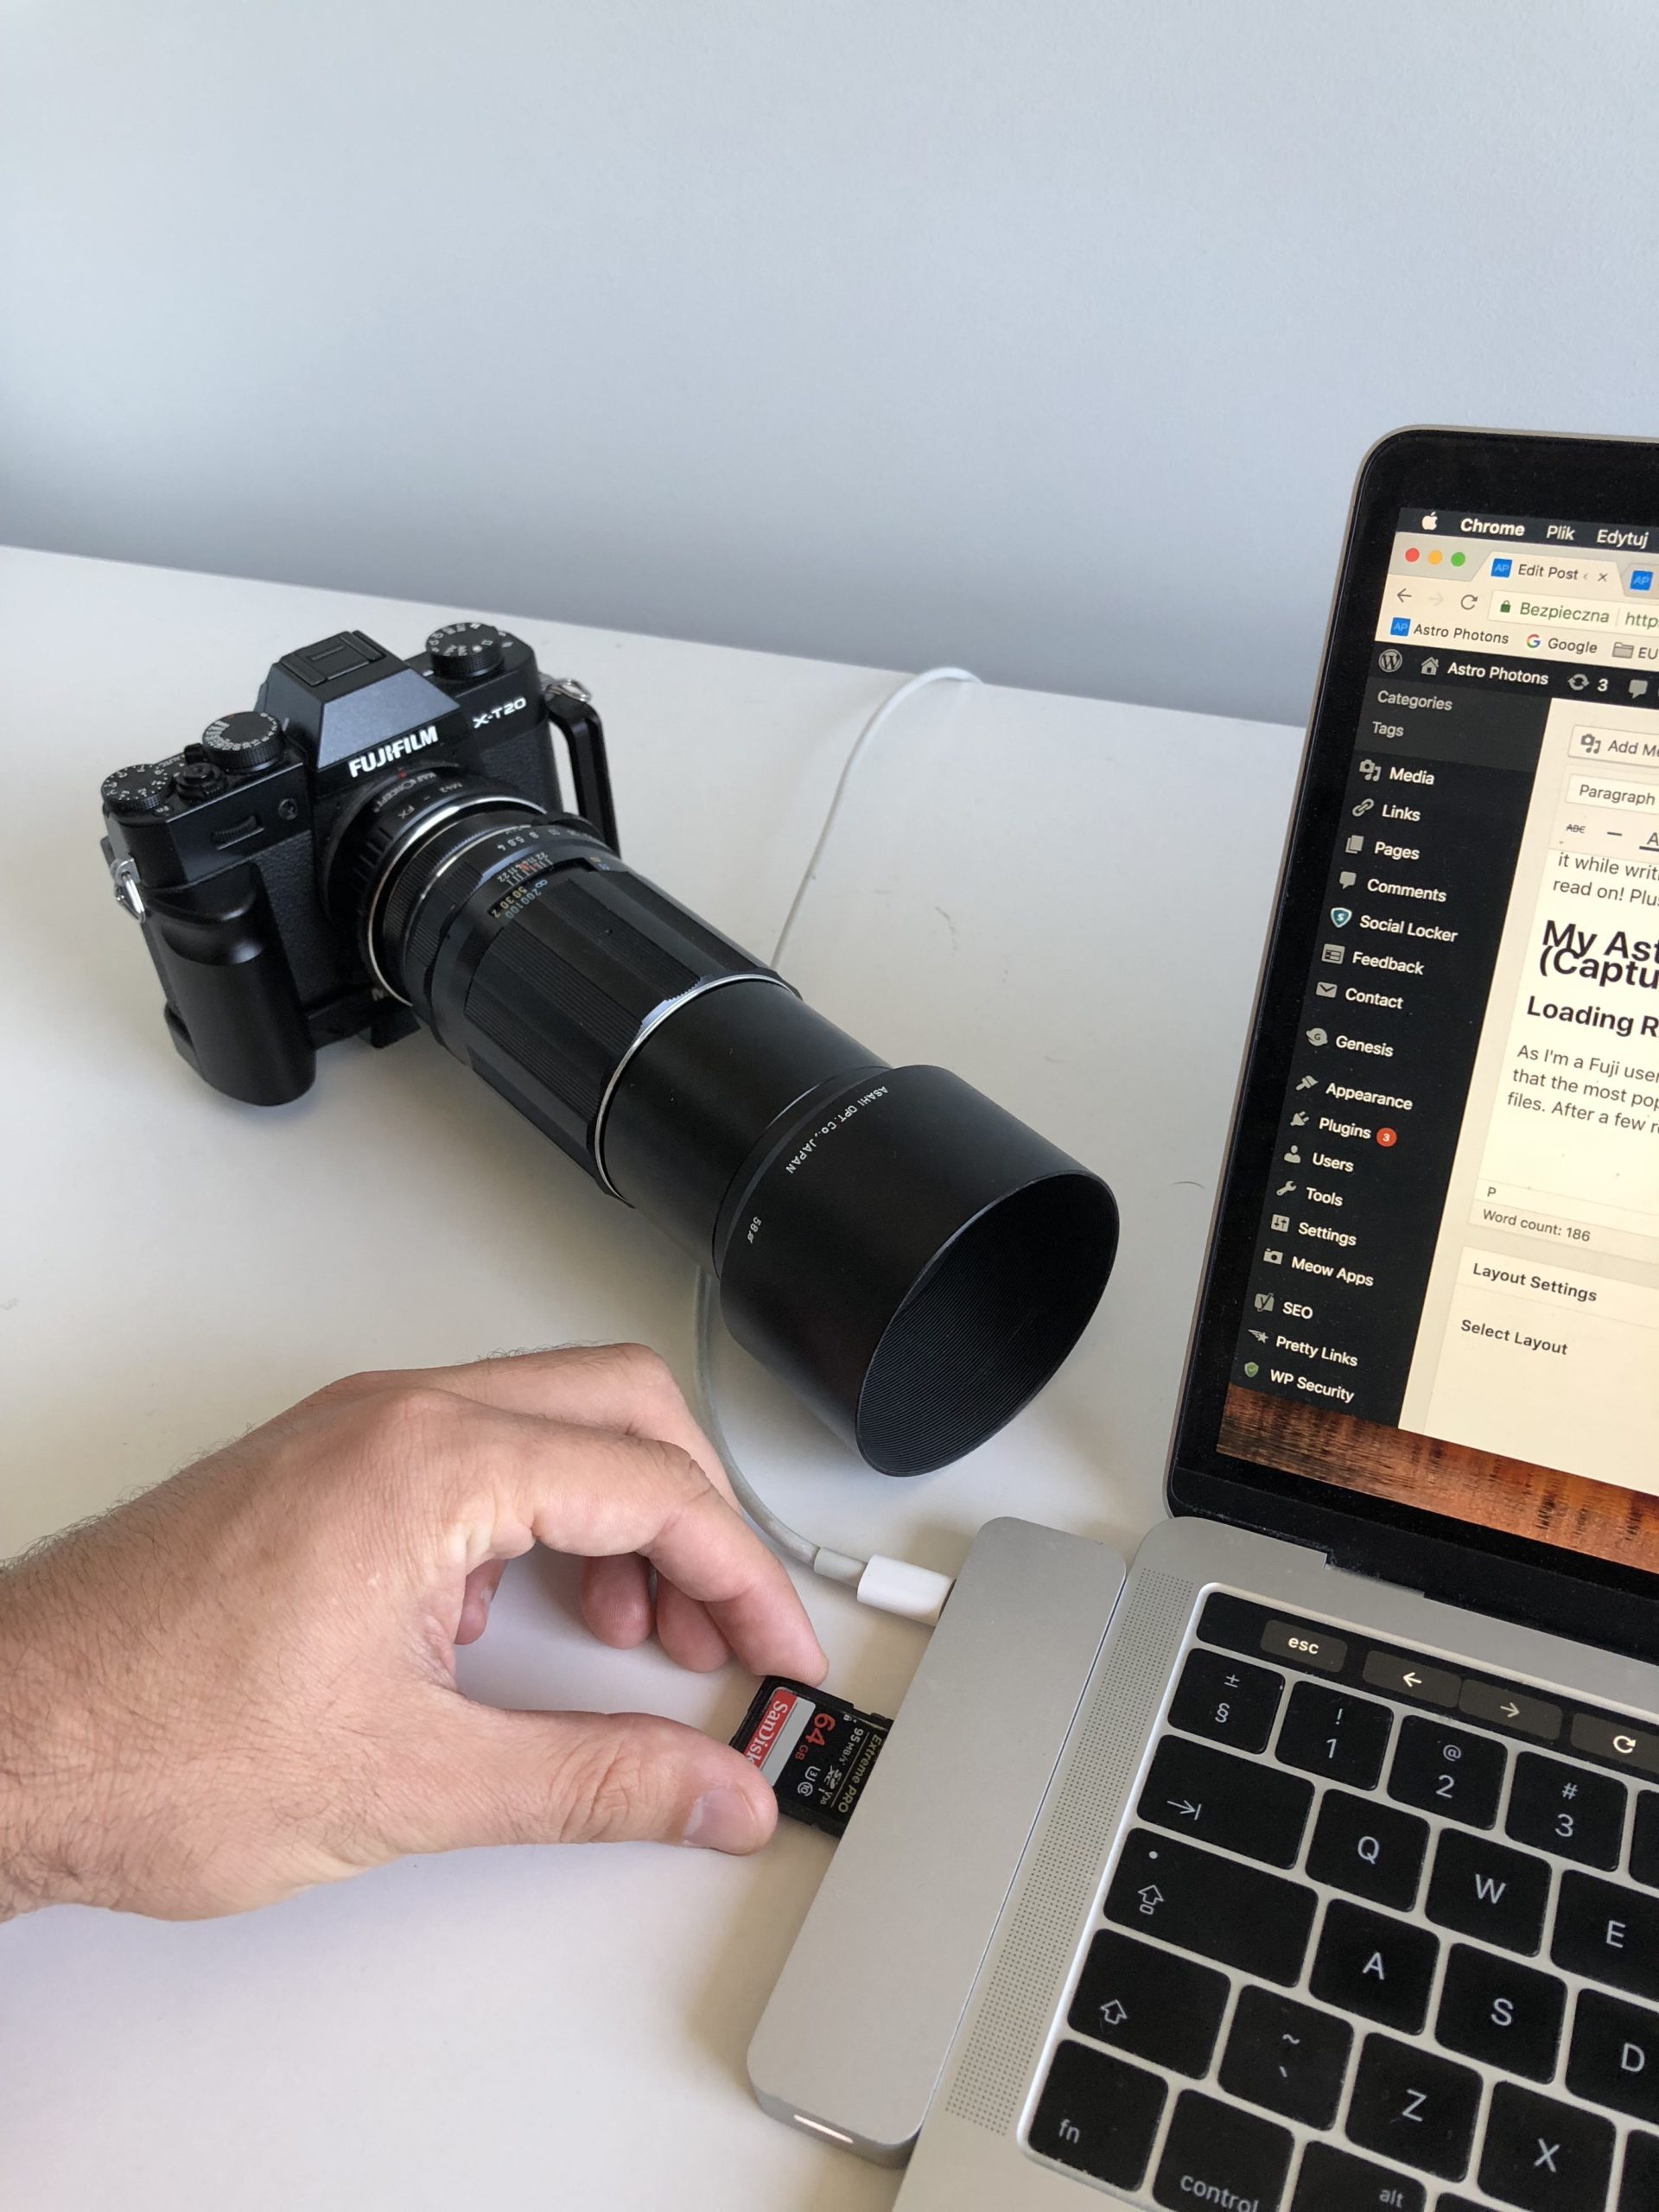
Tip number nine - post-processing. In astrophotography, post-processing is the king.
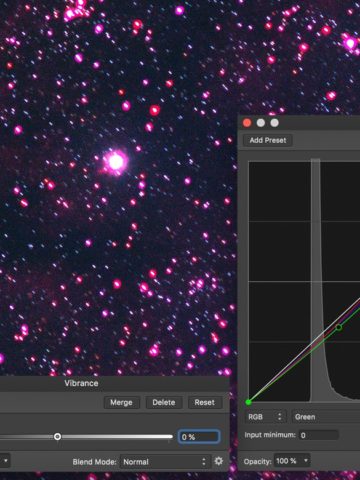
If you want your astro-pictures to shine genuinely, you need to learn to post-process them. In your untouched pictures straight from the camera, many details are just hidden. Post-processing reveals them.
Remember - always shoot in RAW instead of JPEG. JPEG is a no-no in astrophotography. Instead, shoot RAW in your camera fully capabilities.
Also, a tip for the future - always backup all your RAW astrophotography pictures for the future. Your post-processing skills will grow over time, and with a lot of pictures you took today or tomorrow, and post-process them today or tomorrow, you will be able to shine in a year or so.
10. Start Tracked even at the Beginning
And the final tip, tip number ten - consider tracked astrophotography.
I tried to convince you to start astrophotography non-tracked, but starting tracked is also a perfect option. It's more challenging, but it's doable.
Learn about equatorial mounts, and decide by yourself if you want to start with or without them at the very beginning of your astrophotography journey. If you're going to go this way, consider telephoto lenses before telescopes. They are easier to operate, easier to get pin-point sharp stars and give fantastic astrophotography images.
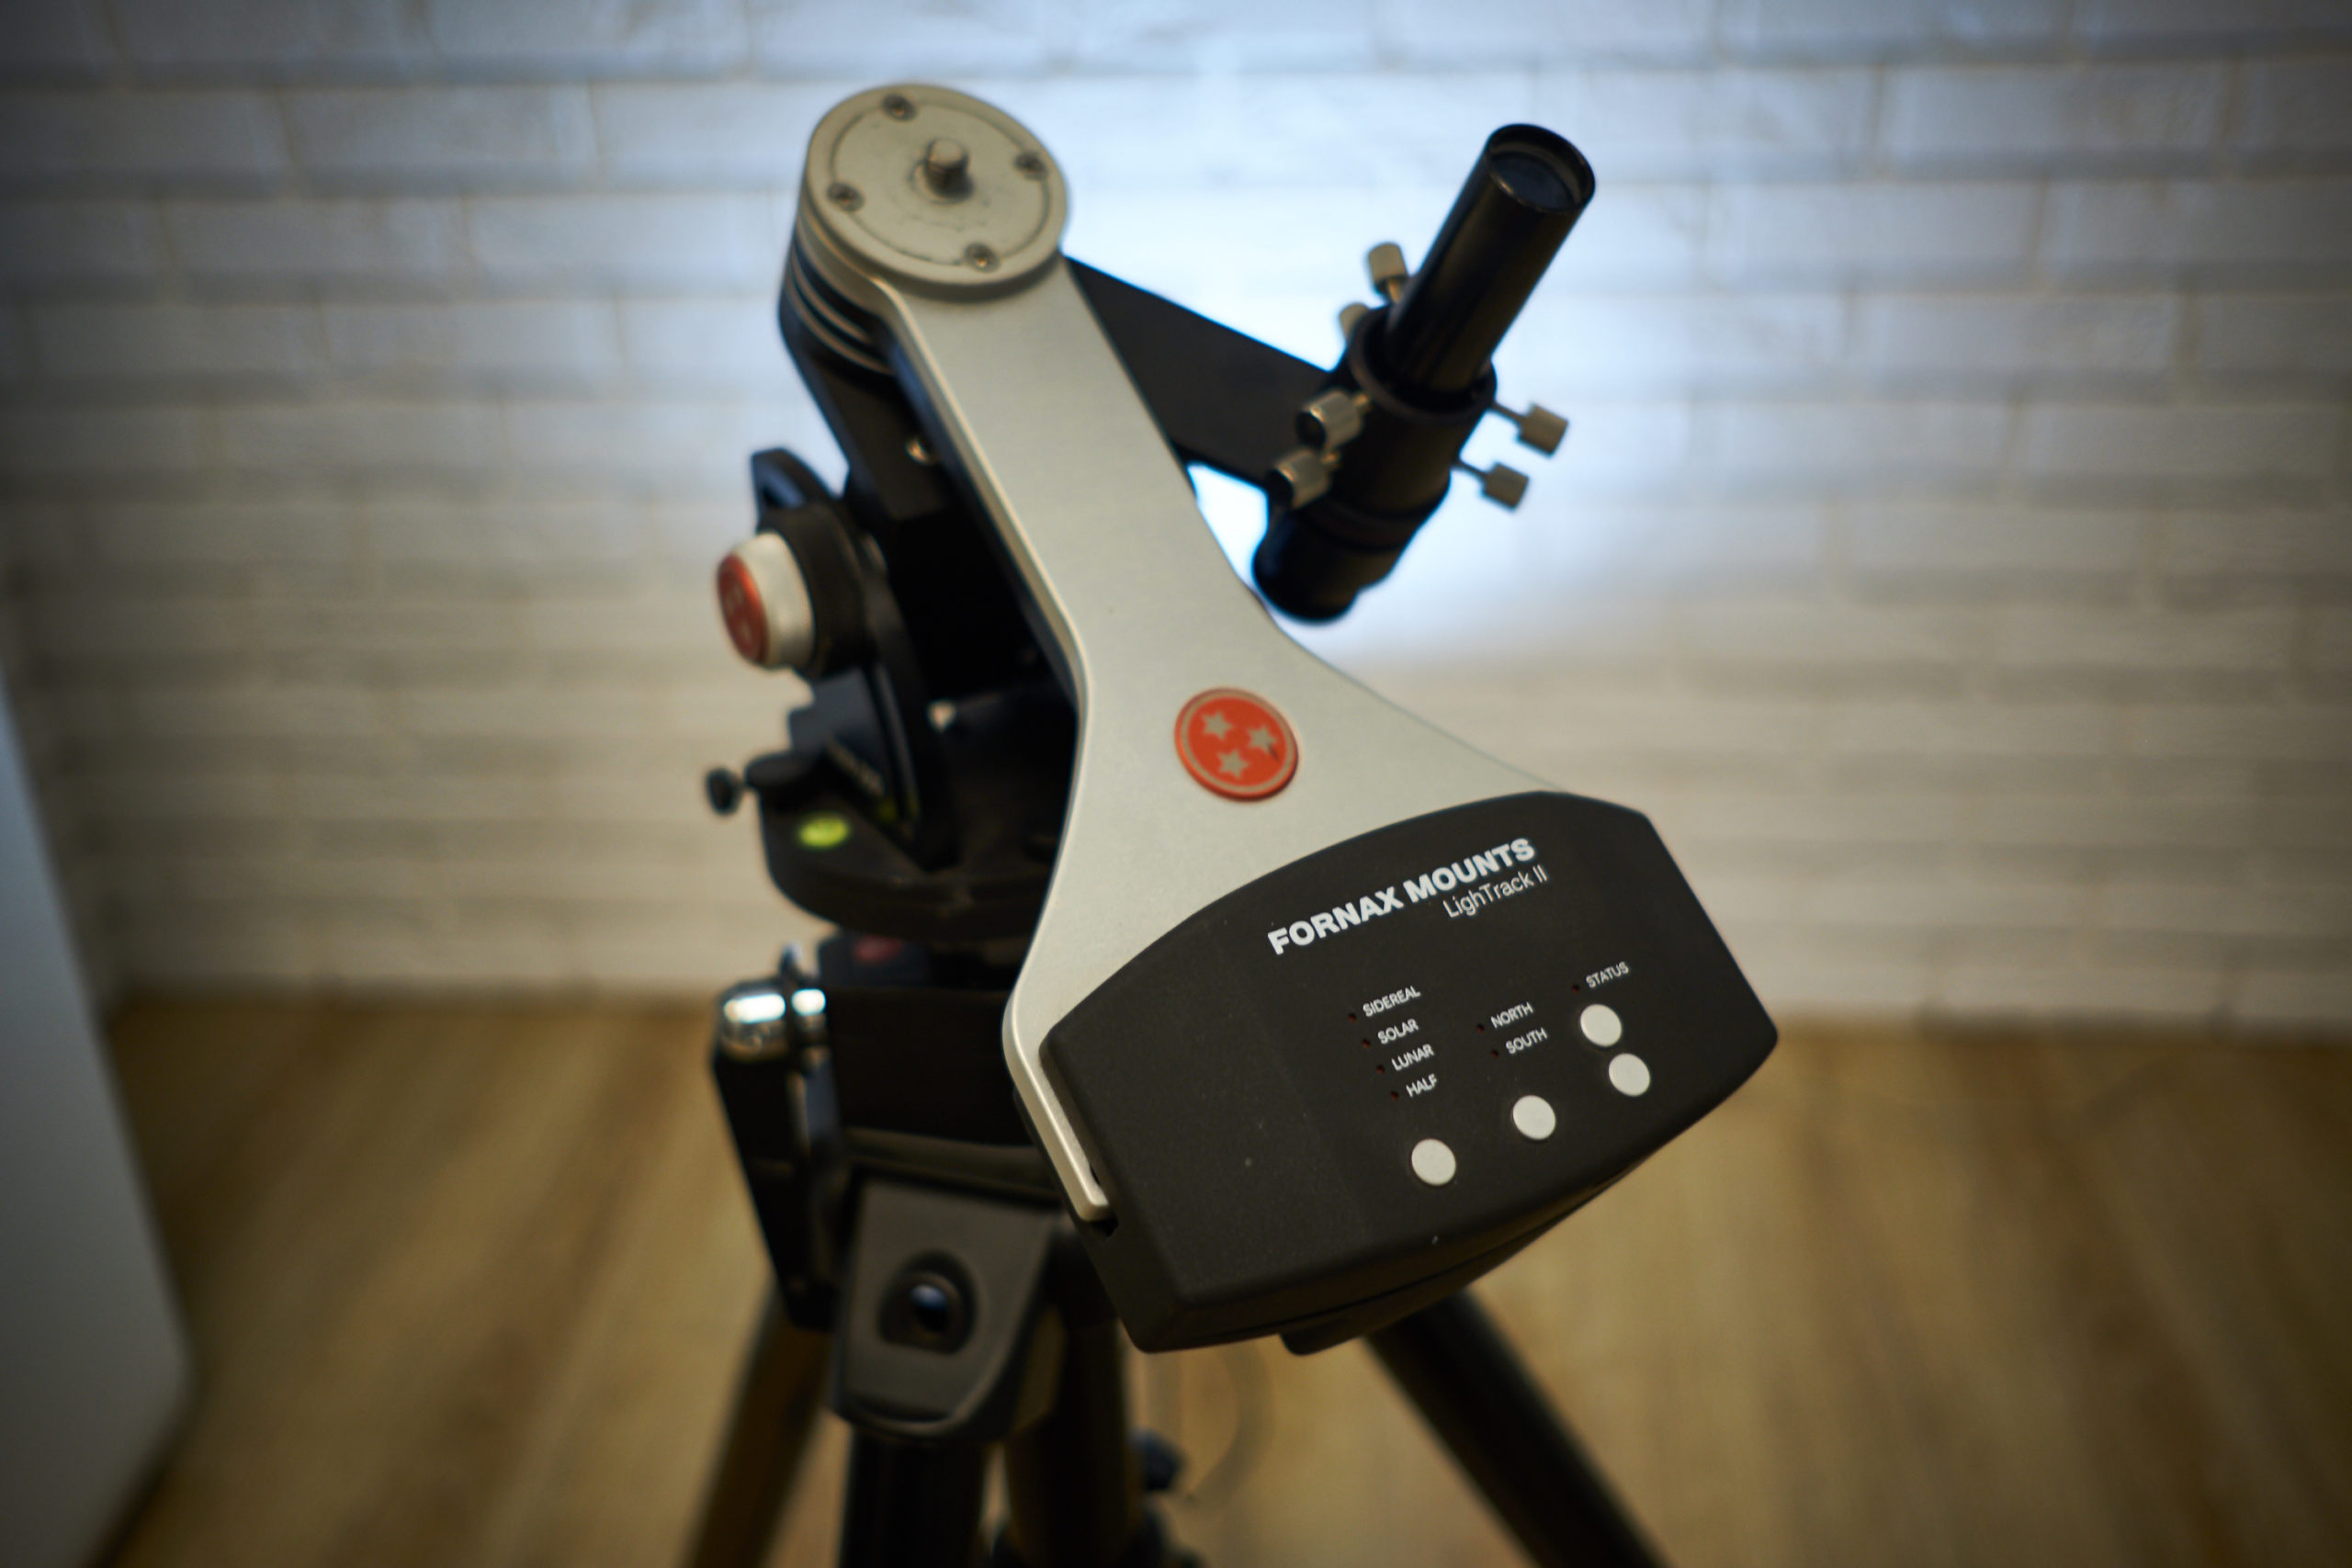
If you decide to go the tracked way, spend half of your budget on the mount itself. Remember - the equatorial mount is the most critical part of your imaging rig. You can get the best camera, telescope, and set of filters on the market, but if your frames are not tracked correctly, your image will get just blurred and star-trailed.
If you have five thousand dollars to spend, spend half of this money on the mount, and the rest on the rest. This way, your setup will nicely balance it in terms of its overall capabilities.
More Astrophotography Tips for Beginners
What would you tell yourself from the past? What made you a better astrophotographer? Then, share with us your best astrophotography tips in the comments below!



Deborah Overoyen
i am a total beginner should i start with lightrakerII? exactly what would you suggest I buy? i have the the fuji xt20 and two lenses you recommend. I also you mac and need to up grade. I have a mac book pro from 2012. any suggestions on upgrading now? I have chosen you as my mentor. I live in USA now but have lived in Europe and he middle east so more international and interested in not just the typical American way.