As a beginner, before even buying any photography stuff, I was wondering, "what gear do I need for the Milky Way photography"? You have hundreds of different cameras on the market, the same for lenses. How to choose something and not be disappointed later? Which brands are suitable for astrophotography, and which are not? How to get the best bang for the buck? This guide will show you the basic beginner Milky Way photography gear.
Jump to:
1. Camera With a Changeable Lens (DSLR or Mirrorless)
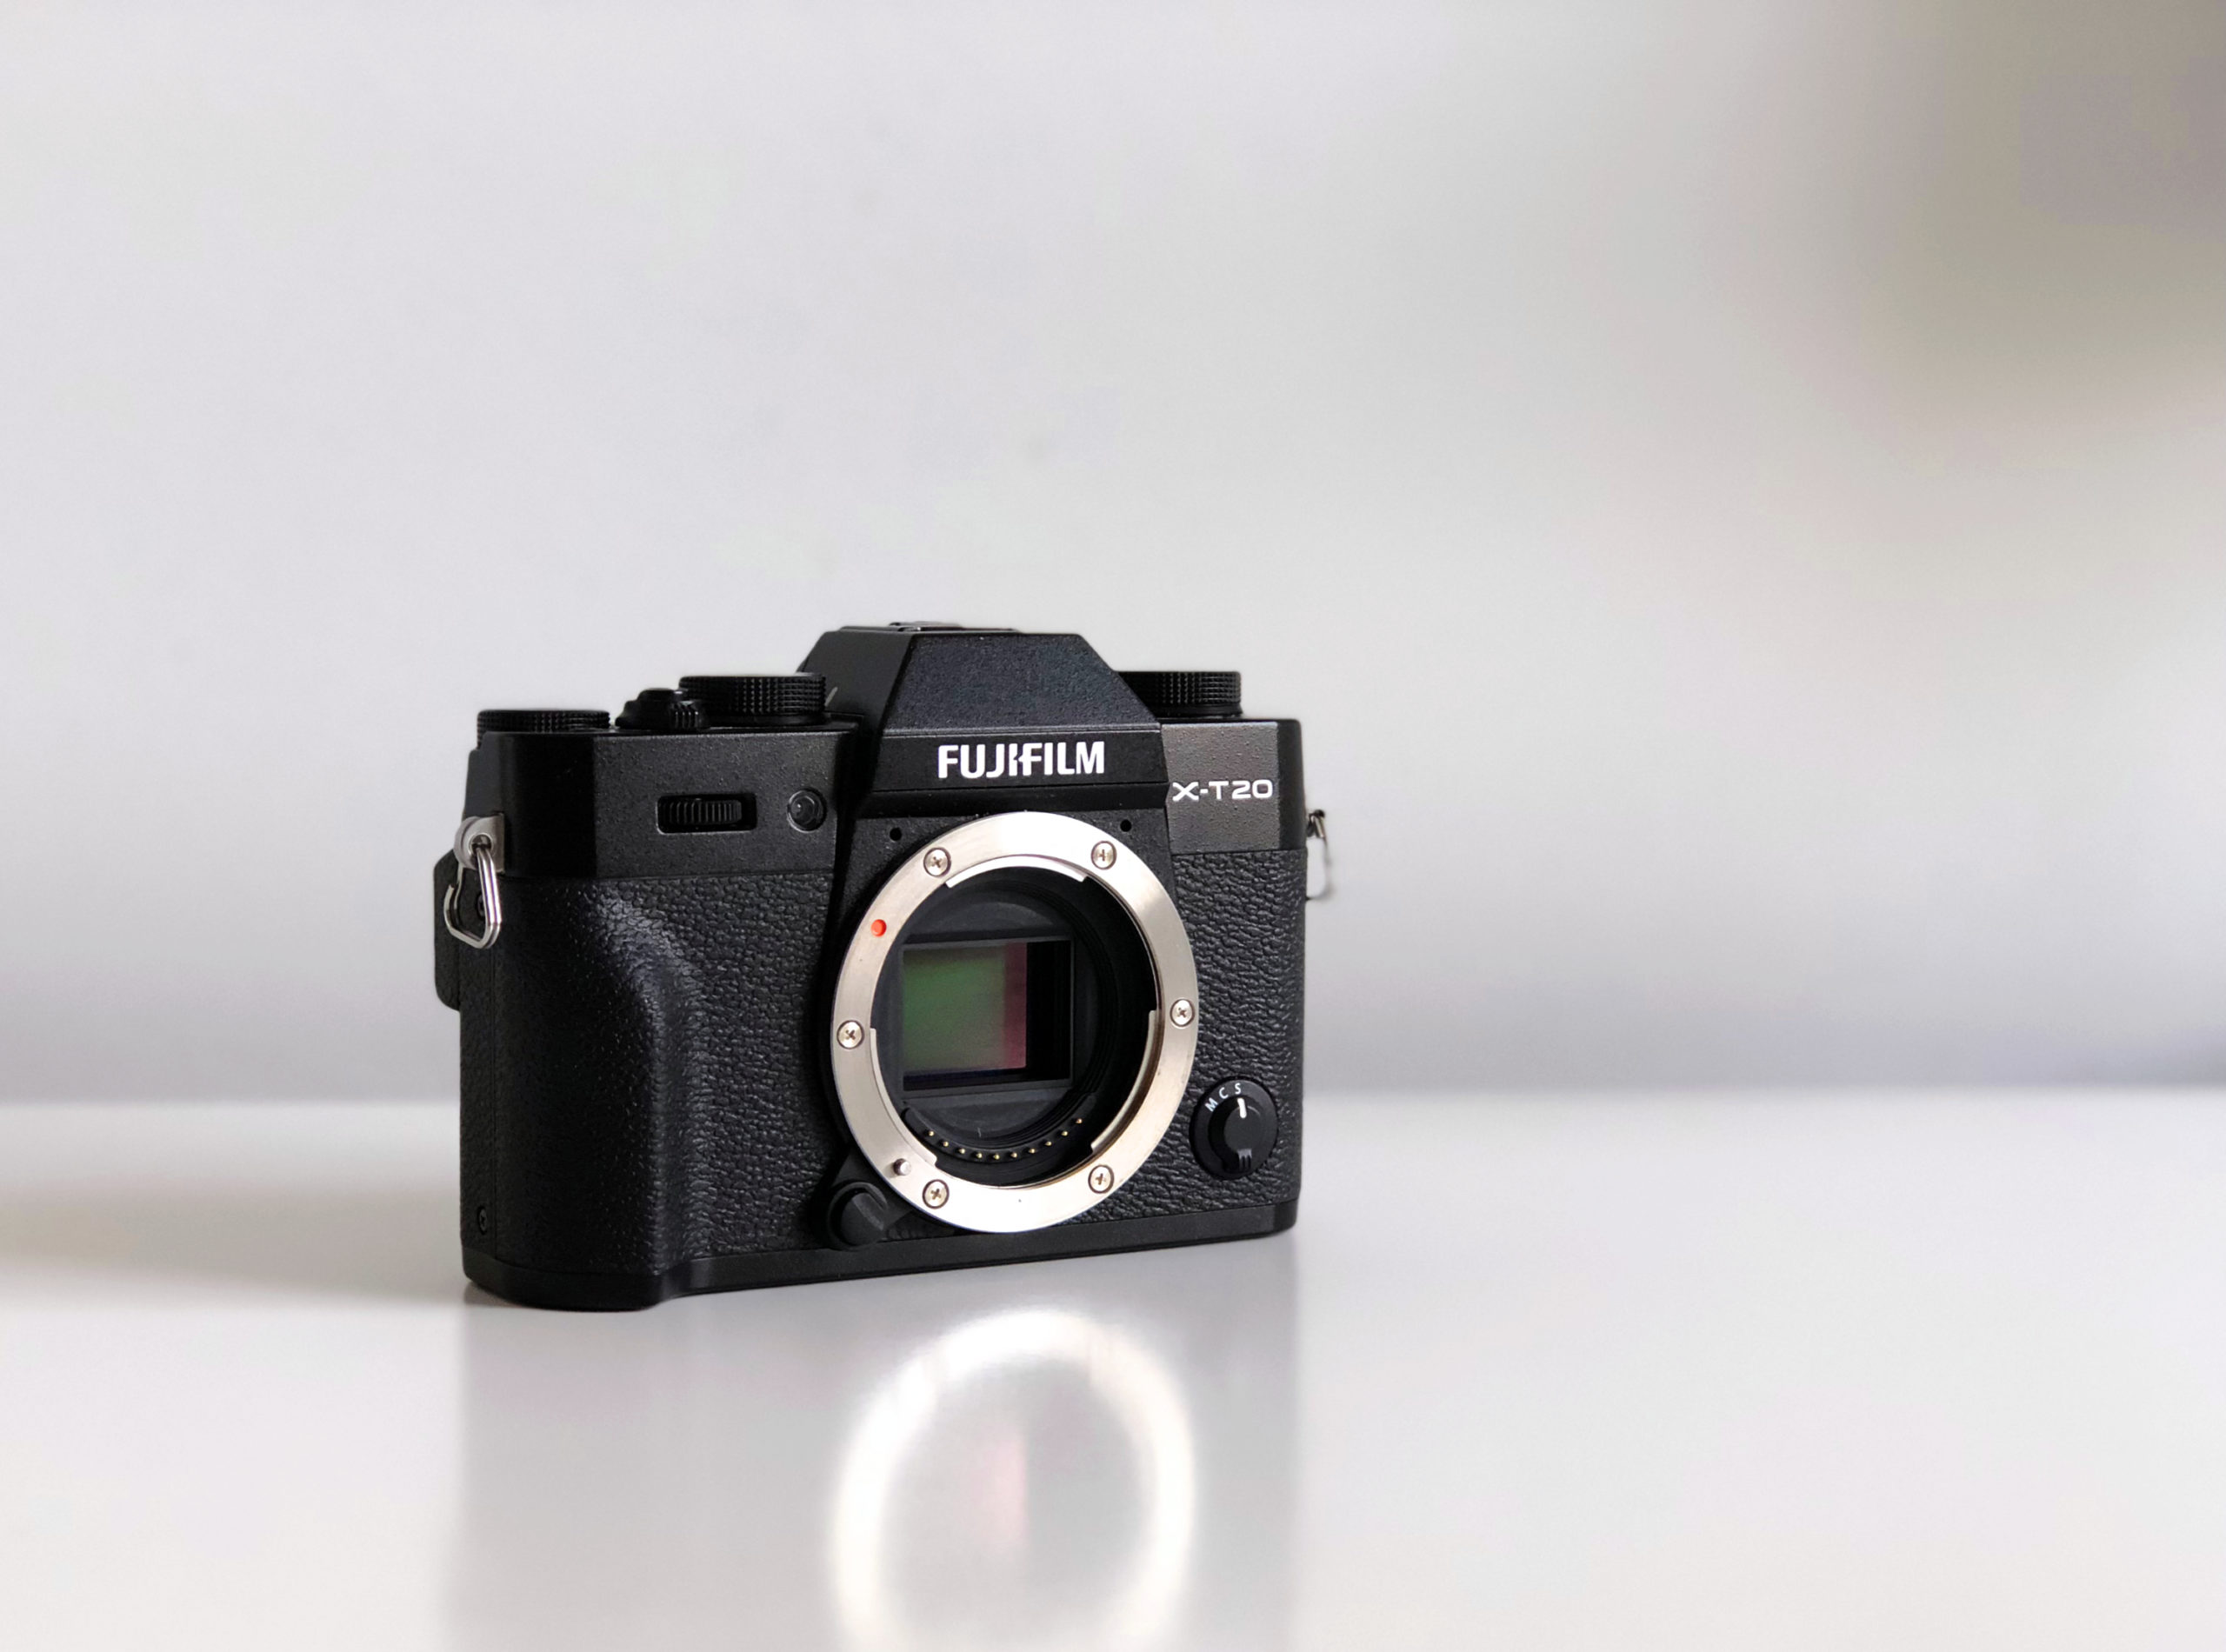
You need a camera that you can change a lens mounted to it. There is a large group of DSLR and mirrorless interchangeable-lens cameras on the market, so how to pick up one?
Which brand you'll choose is not that important. All major players (Canon, Nikon, Fujifilm, Olympus, Panasonic) have quality picks in their offer. Each of these brands offers fantastic beginner Milky Way photography gear. One company you should be careful about is Sony, because of Sony's star eater problem (that was the reason I chose Fuji over Sony for my first astrophotography camera).
First of all, the camera must have a manual shooting program. You won't take a quality picture of the Milky Way on an automatic point-and-shoot camera. You have to be able to set your shutter speed, aperture, and ISO manually. Also, it's better to take your pictures in a RAW file format because then you have much more control over your photo in post-processing than with JPG files.
Concerning sensor size, the APS-C is good enough for years of Milky Way astrophotography. It's also the best bang for the buck if you look at full-frame or even medium format cameras prices. Even if you want to shoot big panoramas, you can do this with the APS-C sensor by combining different exposures in post-processing.
A convenient camera feature for astrophotography is a tilting screen. When doing astrophotography, you almost always point your camera up to the sky. To make your neck and back well and healthy, choose a camera that you can tilt your display up.
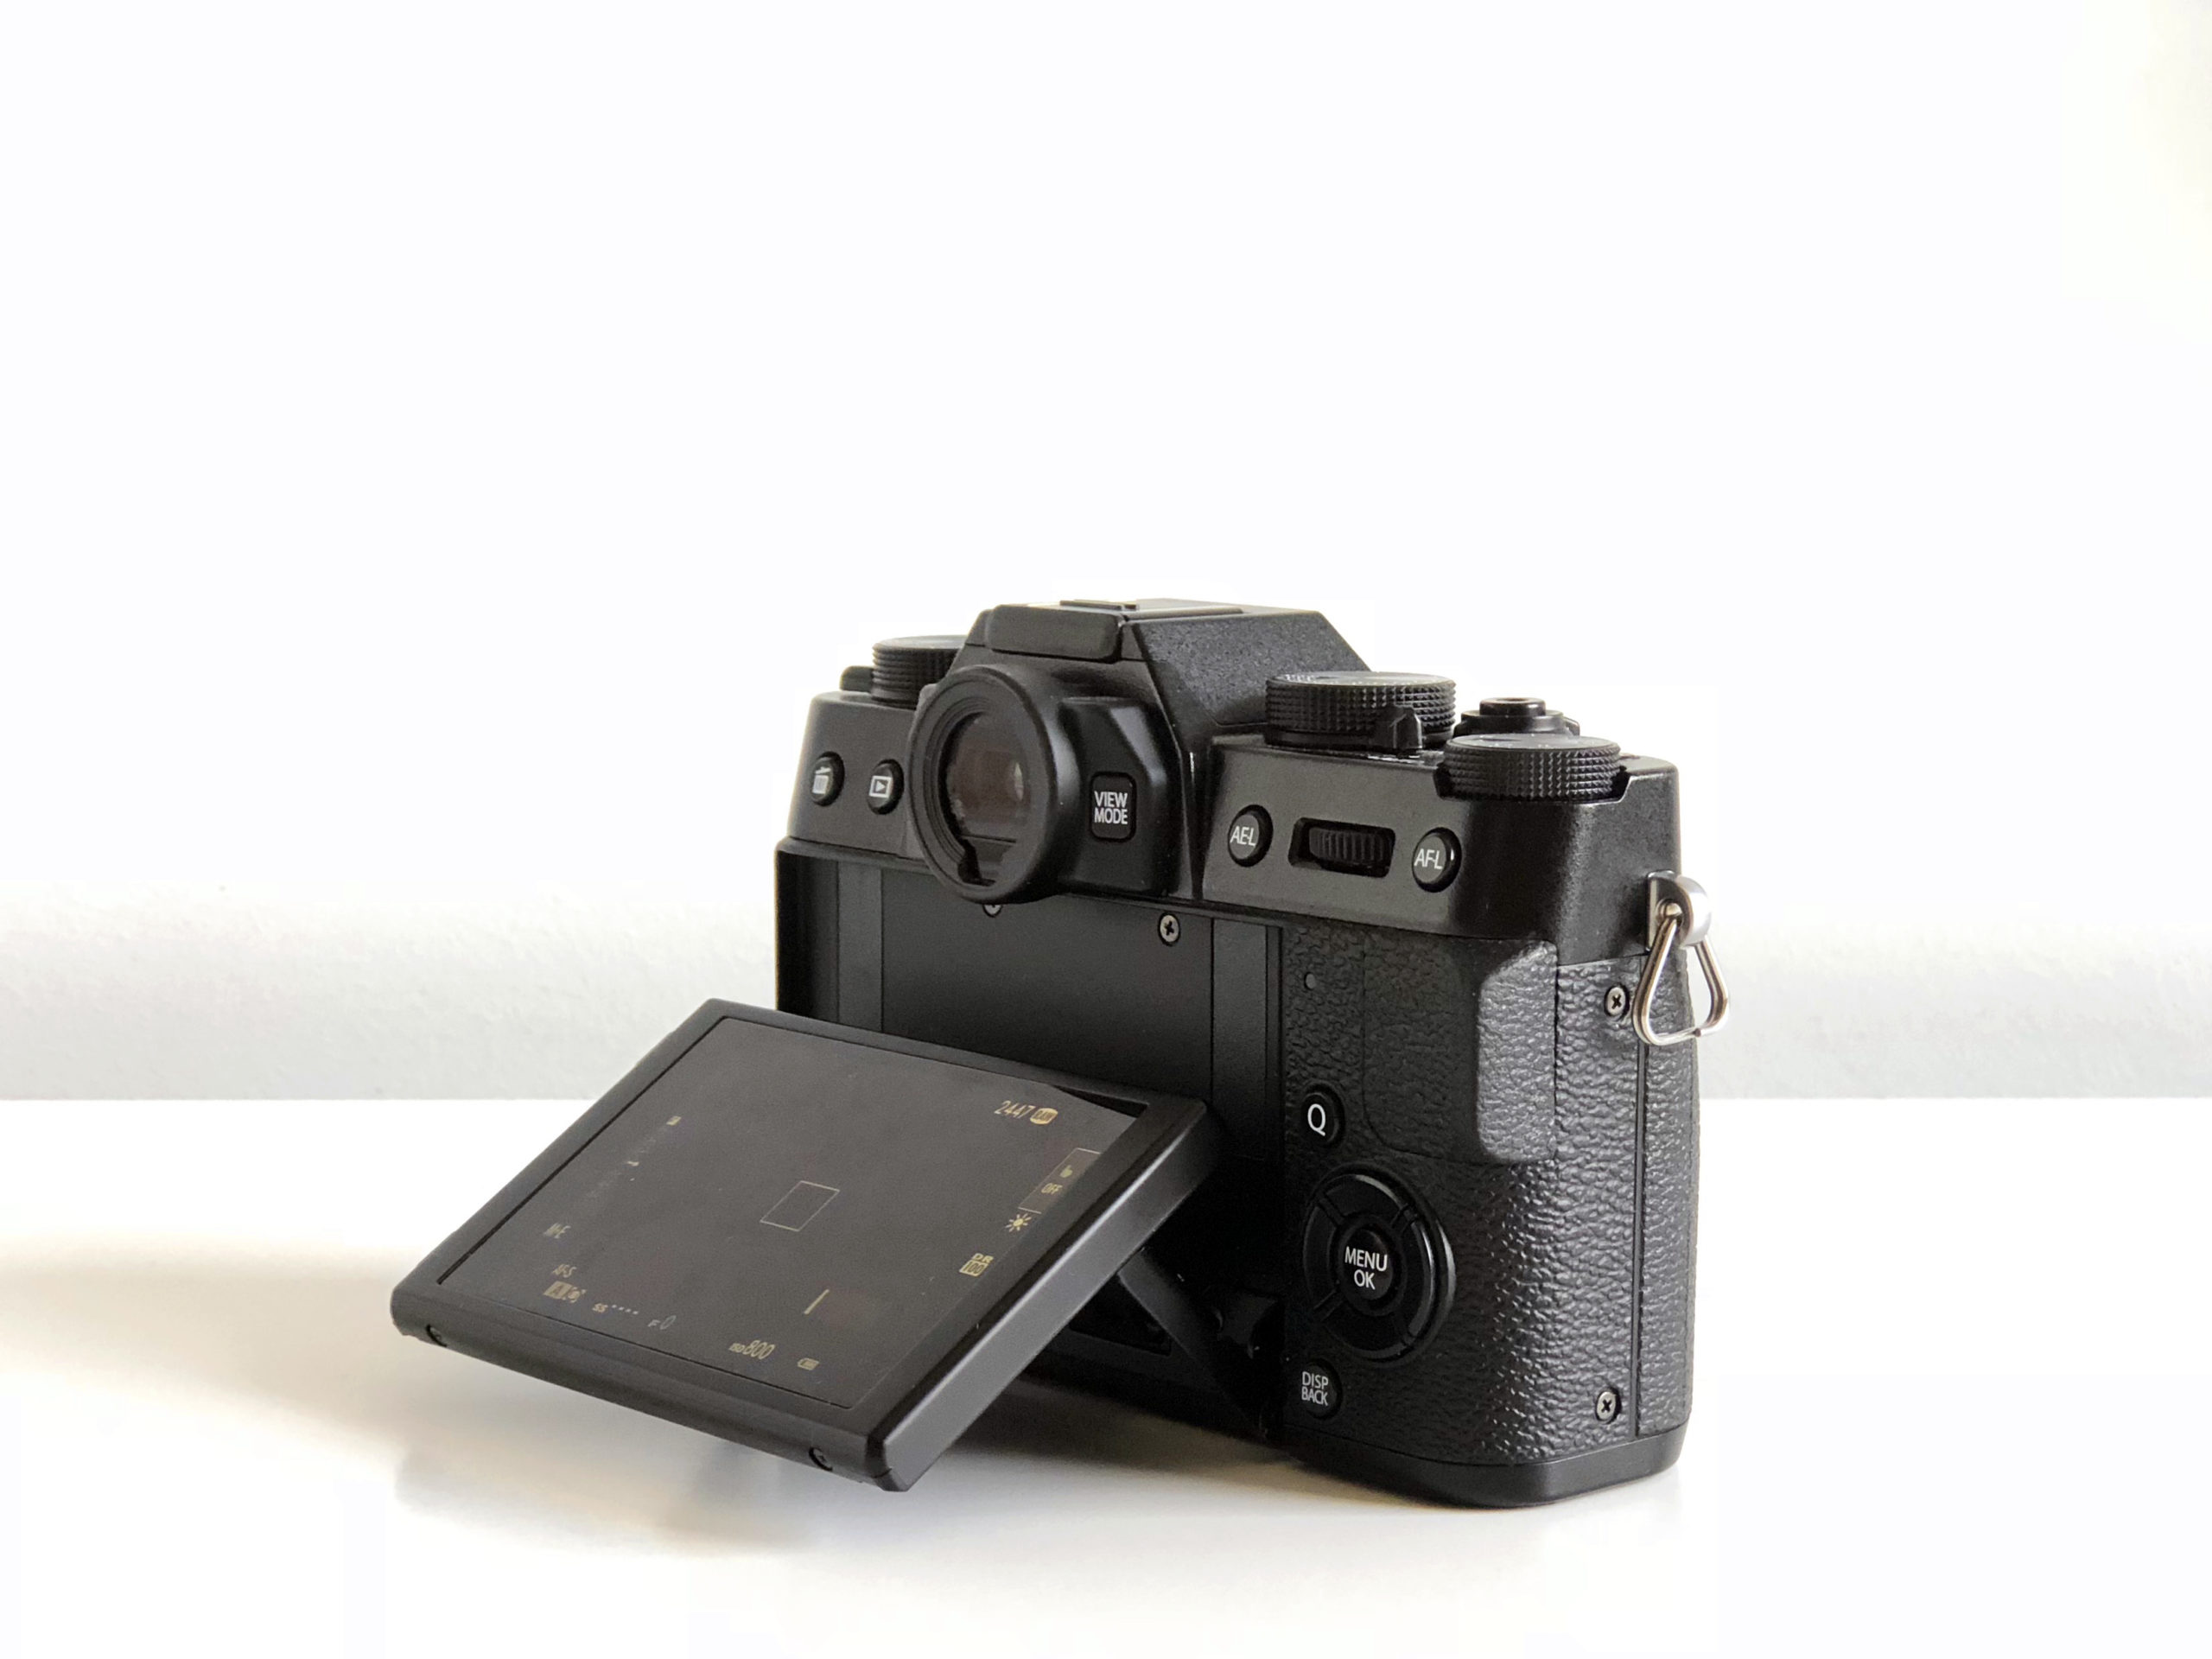
It's nice if a camera has a built-in intervalometer or, at least, an input to plug an external one. The favored technique for doing quality Milky Way photography (and astrophotography overall) is to use many exposures (20, e.g.) and stack them into a single frame. This way, you vastly increase the quality of the final picture by getting rid (or significantly reducing) of thermal noise. You can, of course, push a button manually to take every exposure, but having an intervalometer is very convenient (and you won't move your camera that way).
2. Lens - Wide and Fast
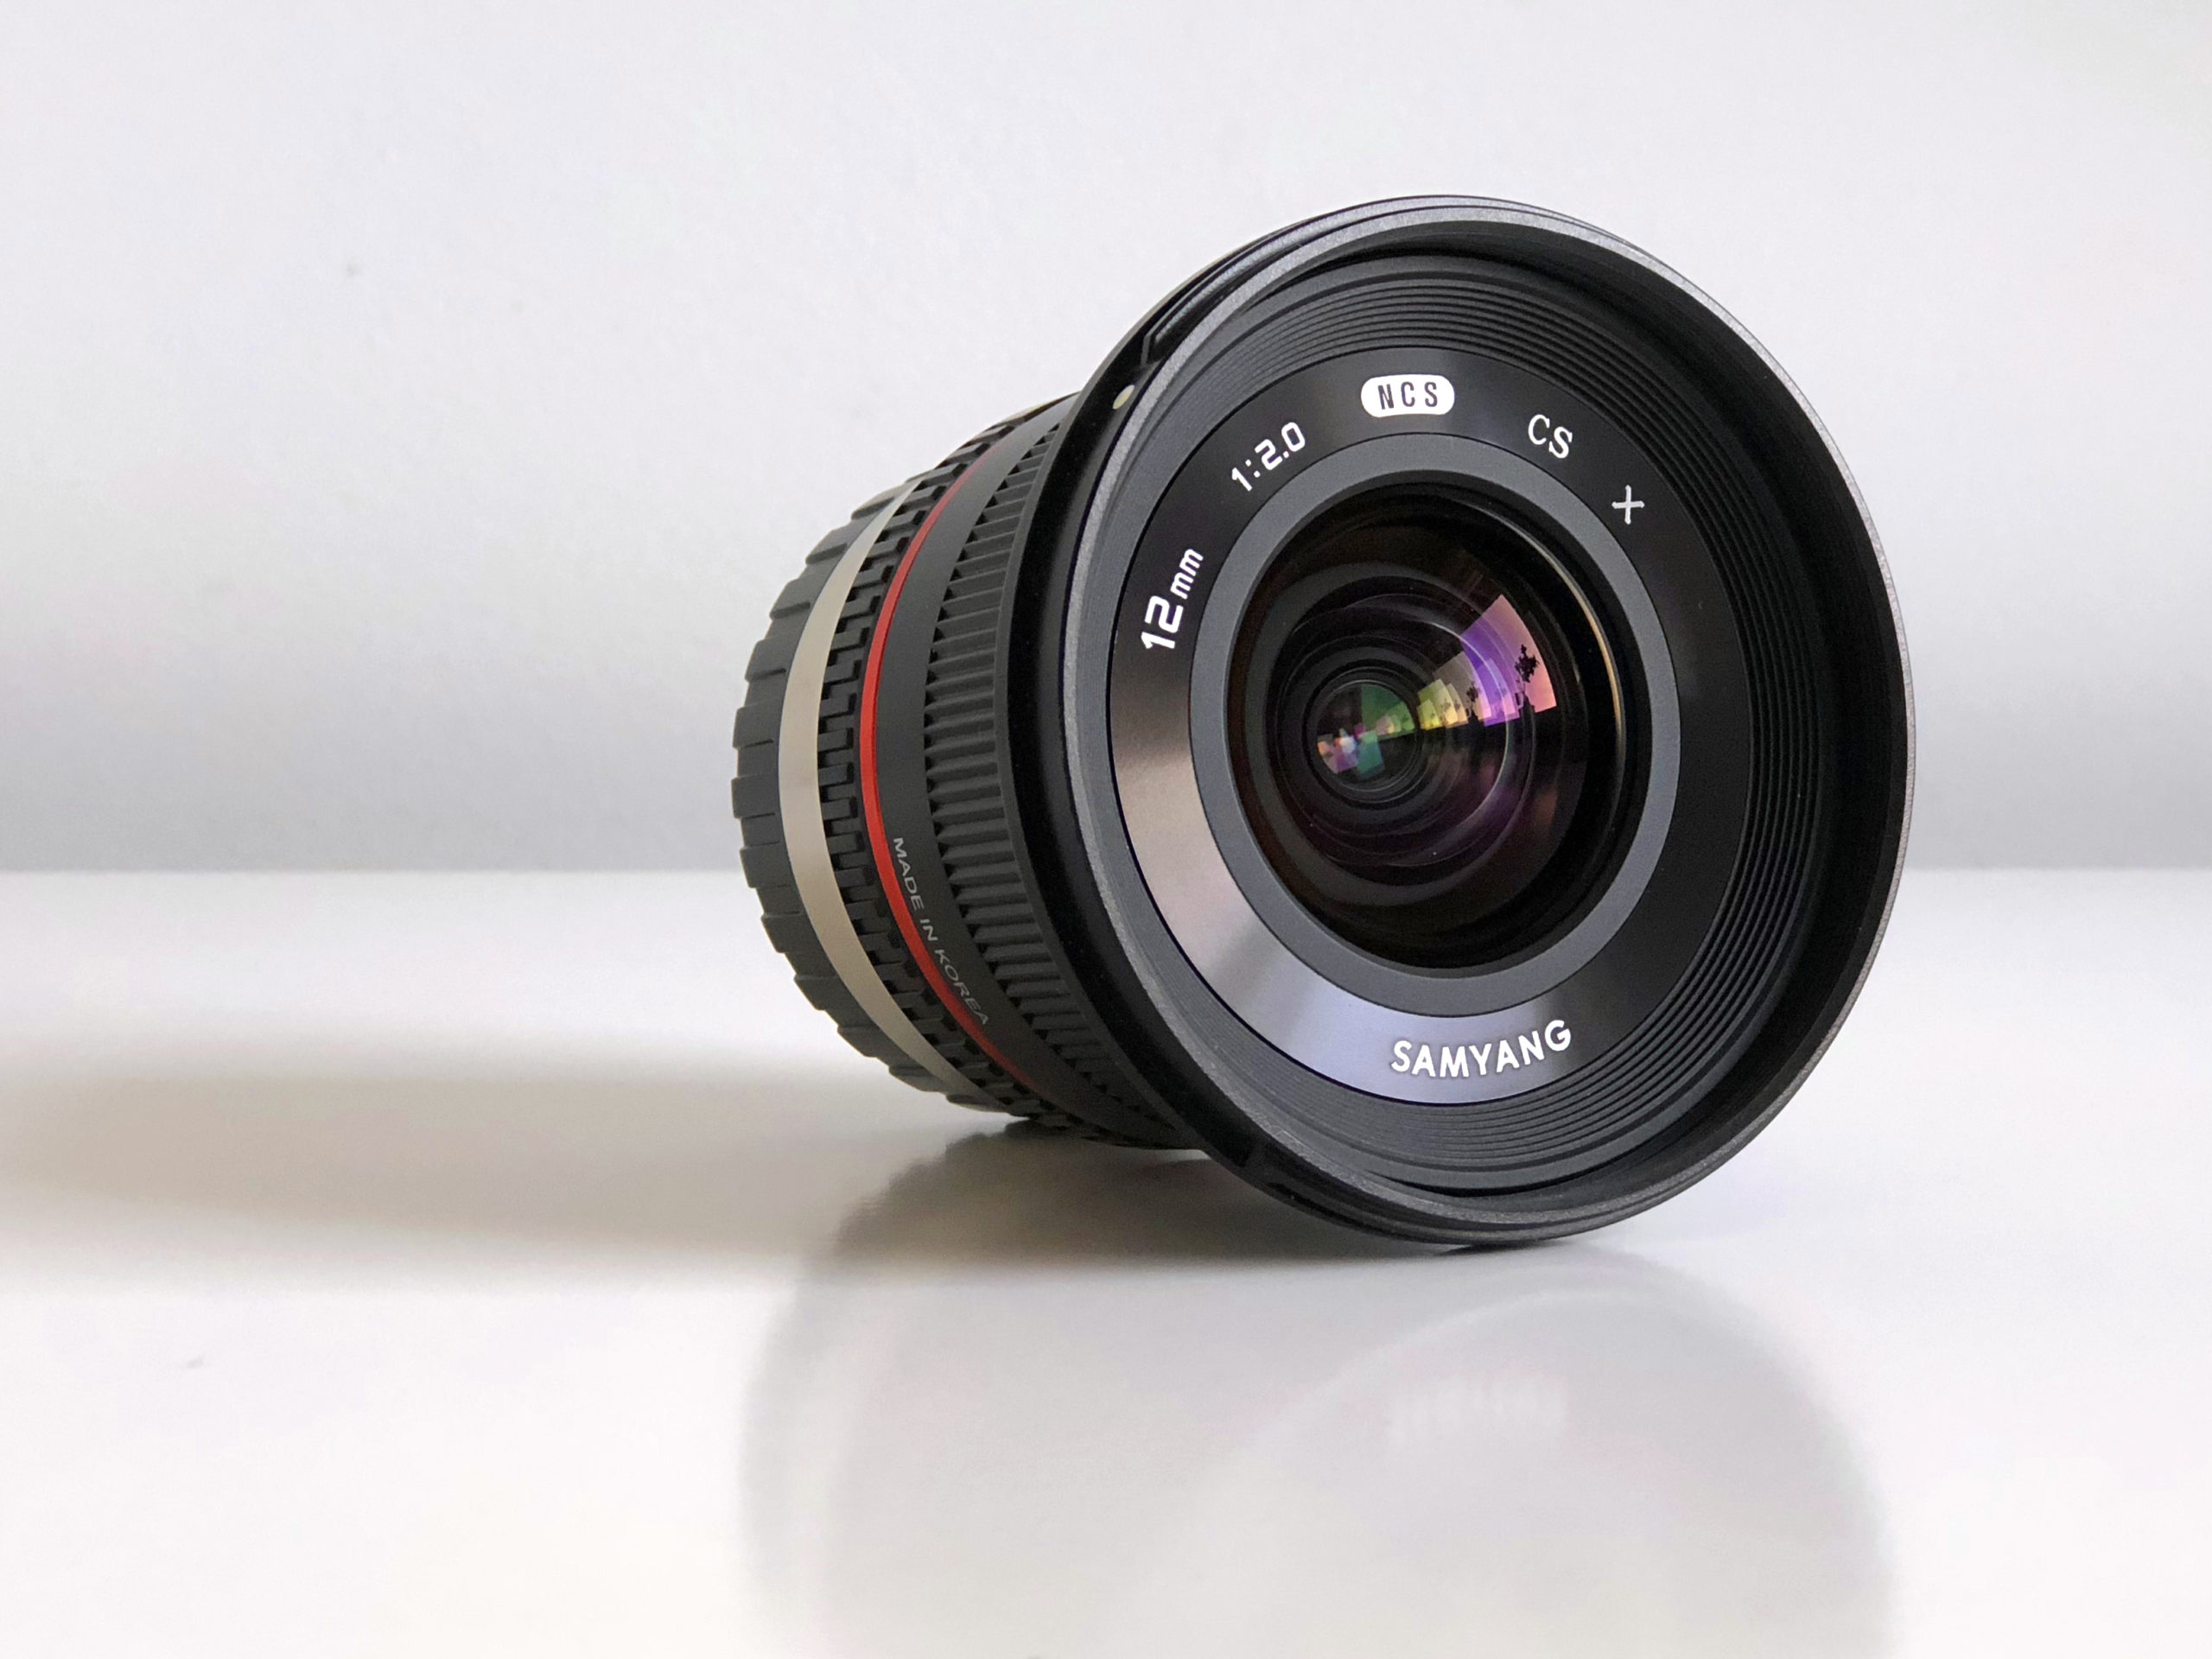
To get a quality Milky Way picture, you have to take care of two things:
- Fit Milky Way (or a meaningful part of it) into your frame.
- To not blur stars while taking an exposure.
The first thing is easy - get a lens with a short focal length. Everything between 12mm and 23mm will be optimal. On the market, you can also find fisheye lenses (around 8mm to 10mm), and they are also a good choice, especially since you can de-fish final pictures in post-processing to make them look entirely natural (for a human eye).
The second thing is a little bit trickier. The optimal exposure for untracked Milky Way photography is around 20-25 seconds long (this, of course, depends on other factors like focal length, aperture, ISO, etc.). Earth is constantly rotating around its own axis. The longer your exposure will be, the more stars on your picture will trail. Sometimes it's the desired effect, but in our case, we want pin-sharp stars and a gorgeous Milky Way. So how to achieve this without any specialized equipment, like an equatorial mount?
Get the fastest lens you can.
By "fastest," I mean the smallest f/number. The minimum objective aperture for a proper beginner Milky Way photography lens is f/2.8. Above this number, your pictures will be blurred or noisy, depending on your camera and exposure settings. You can, of course, shoot the Milky Way with an f/3.5 kit lens, but the quality of the picture won't be that good as with a faster lens, like f/2.0, f/1.8, f/1.4, or f/1.2.
3. Tripod
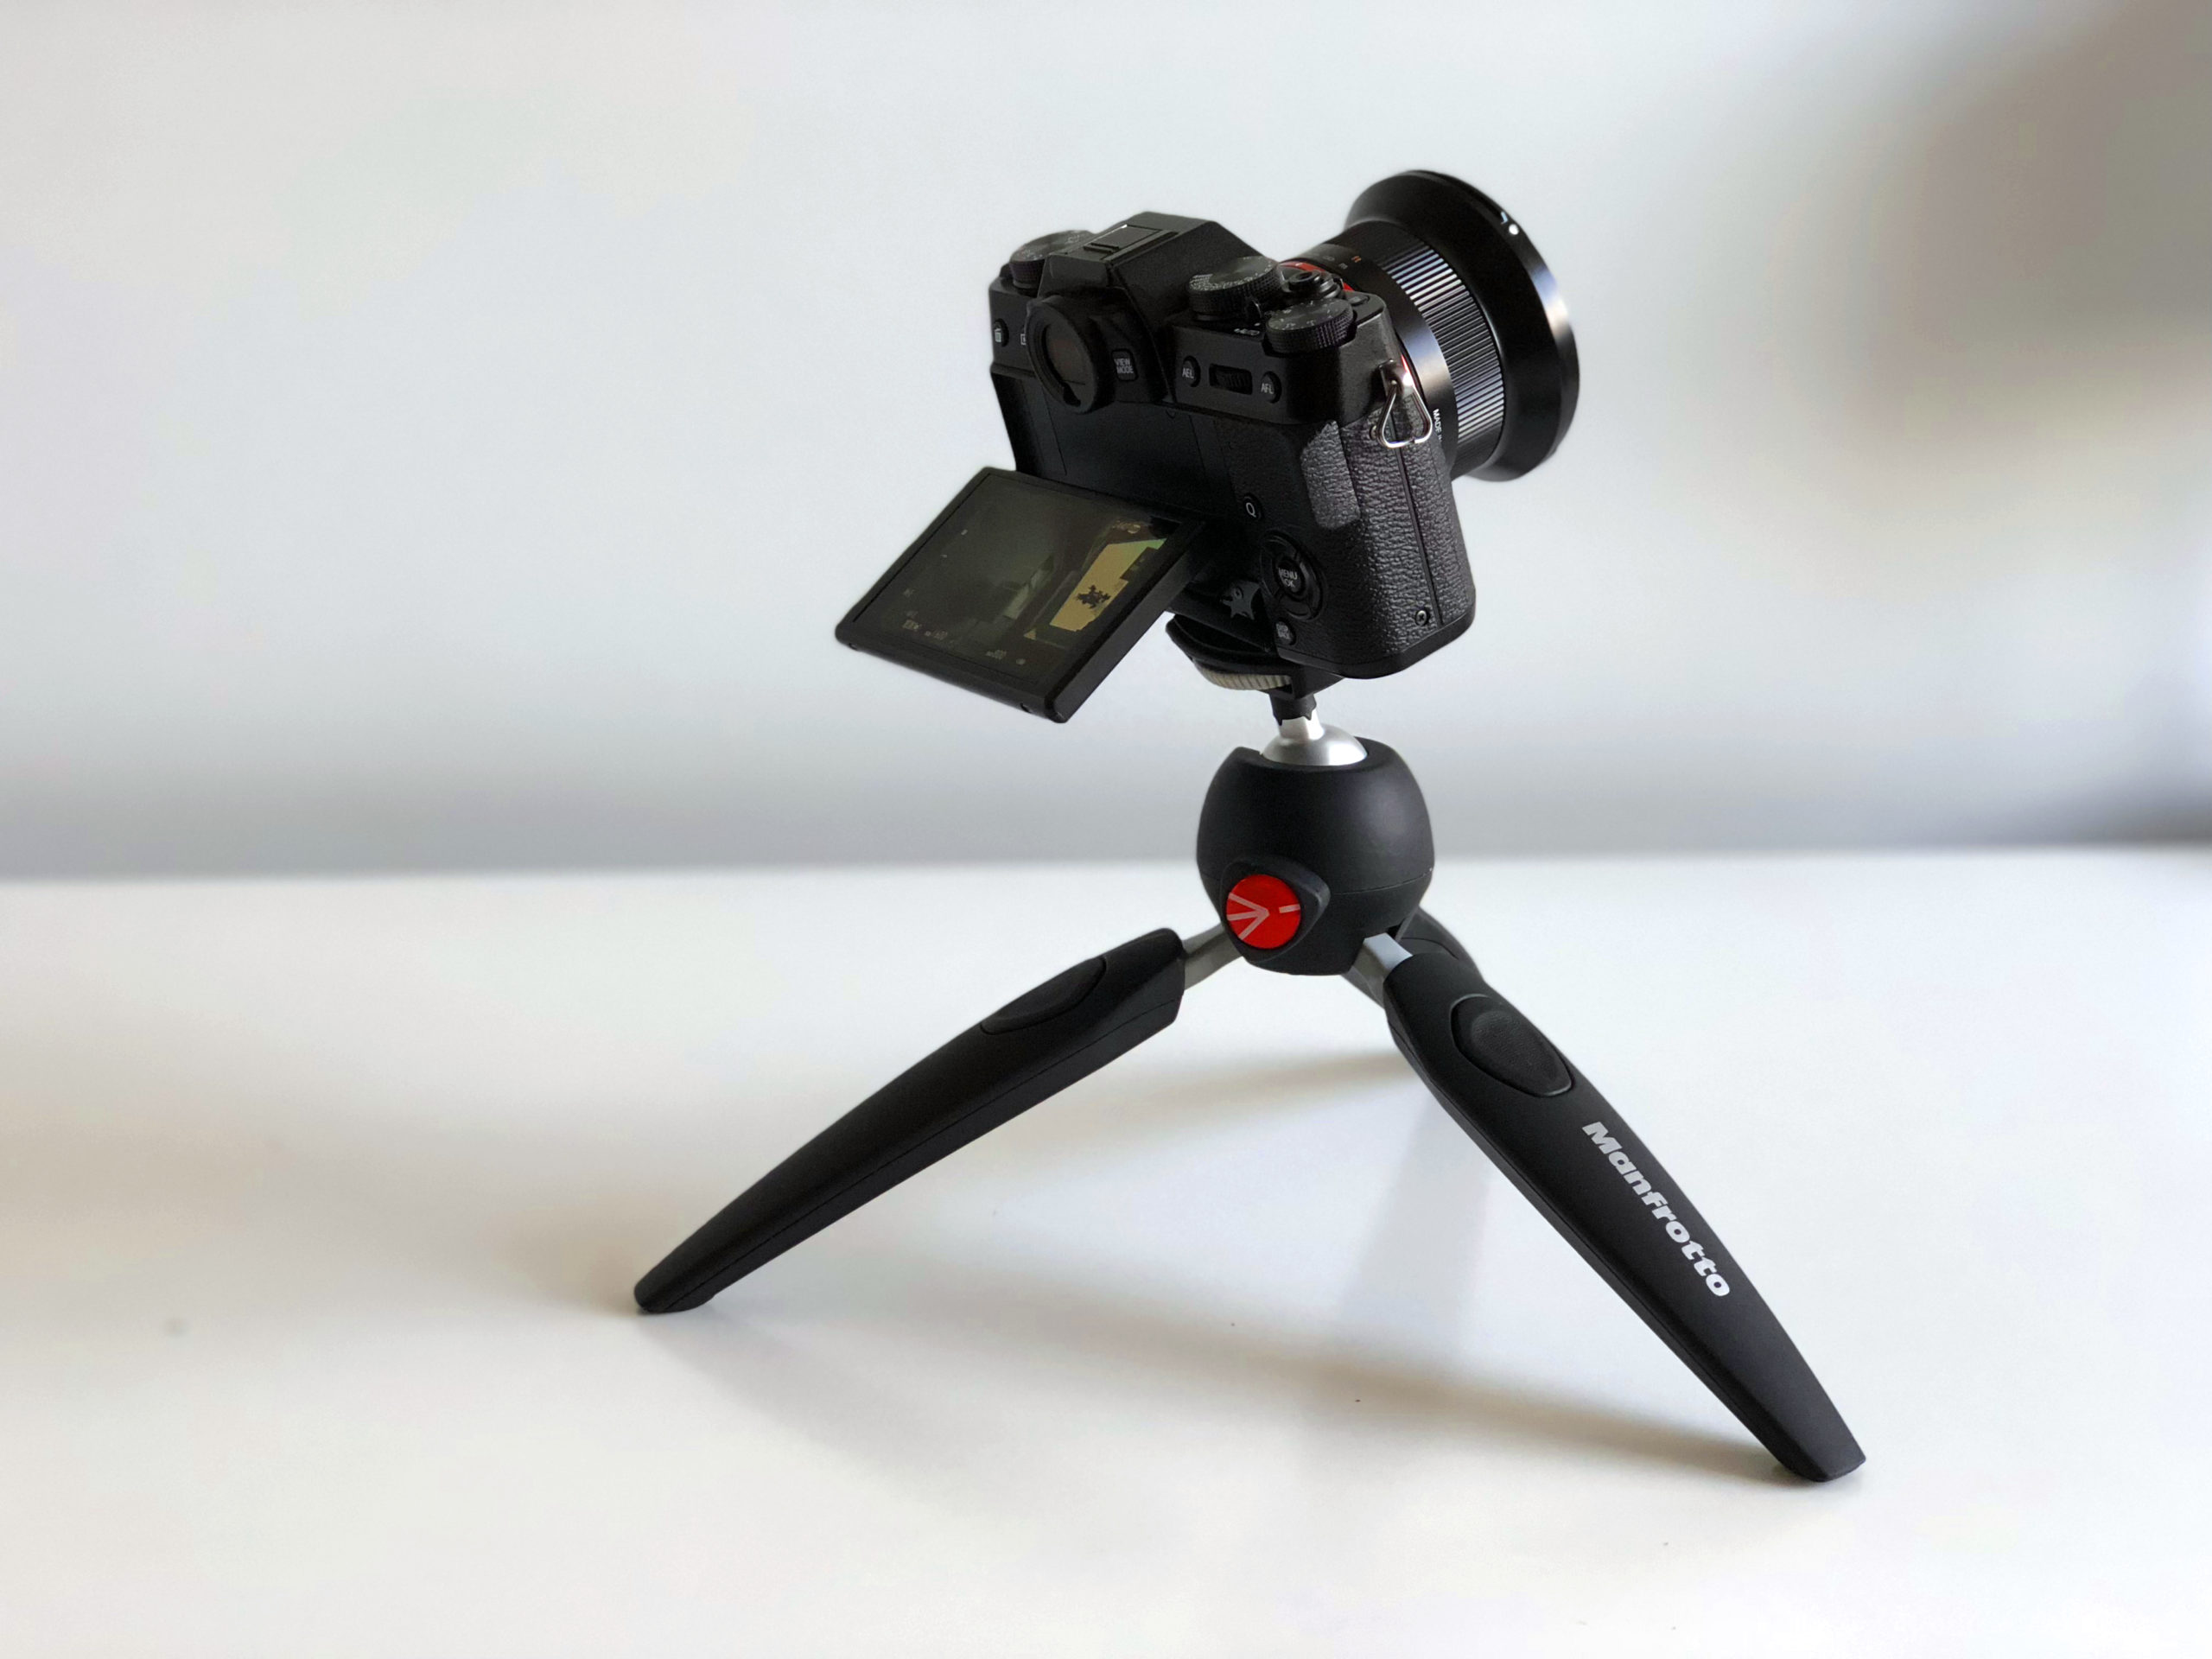
Tripod is not a requirement because you can always lean your camera against the stone or lay it back down on the floor.
But let's be serious. A decent, quality tripod is a must for the Milky Way photography. You have to set a desirable frame and maintain it correctly for at least a dozen seconds. It's undoable to make with your hands.
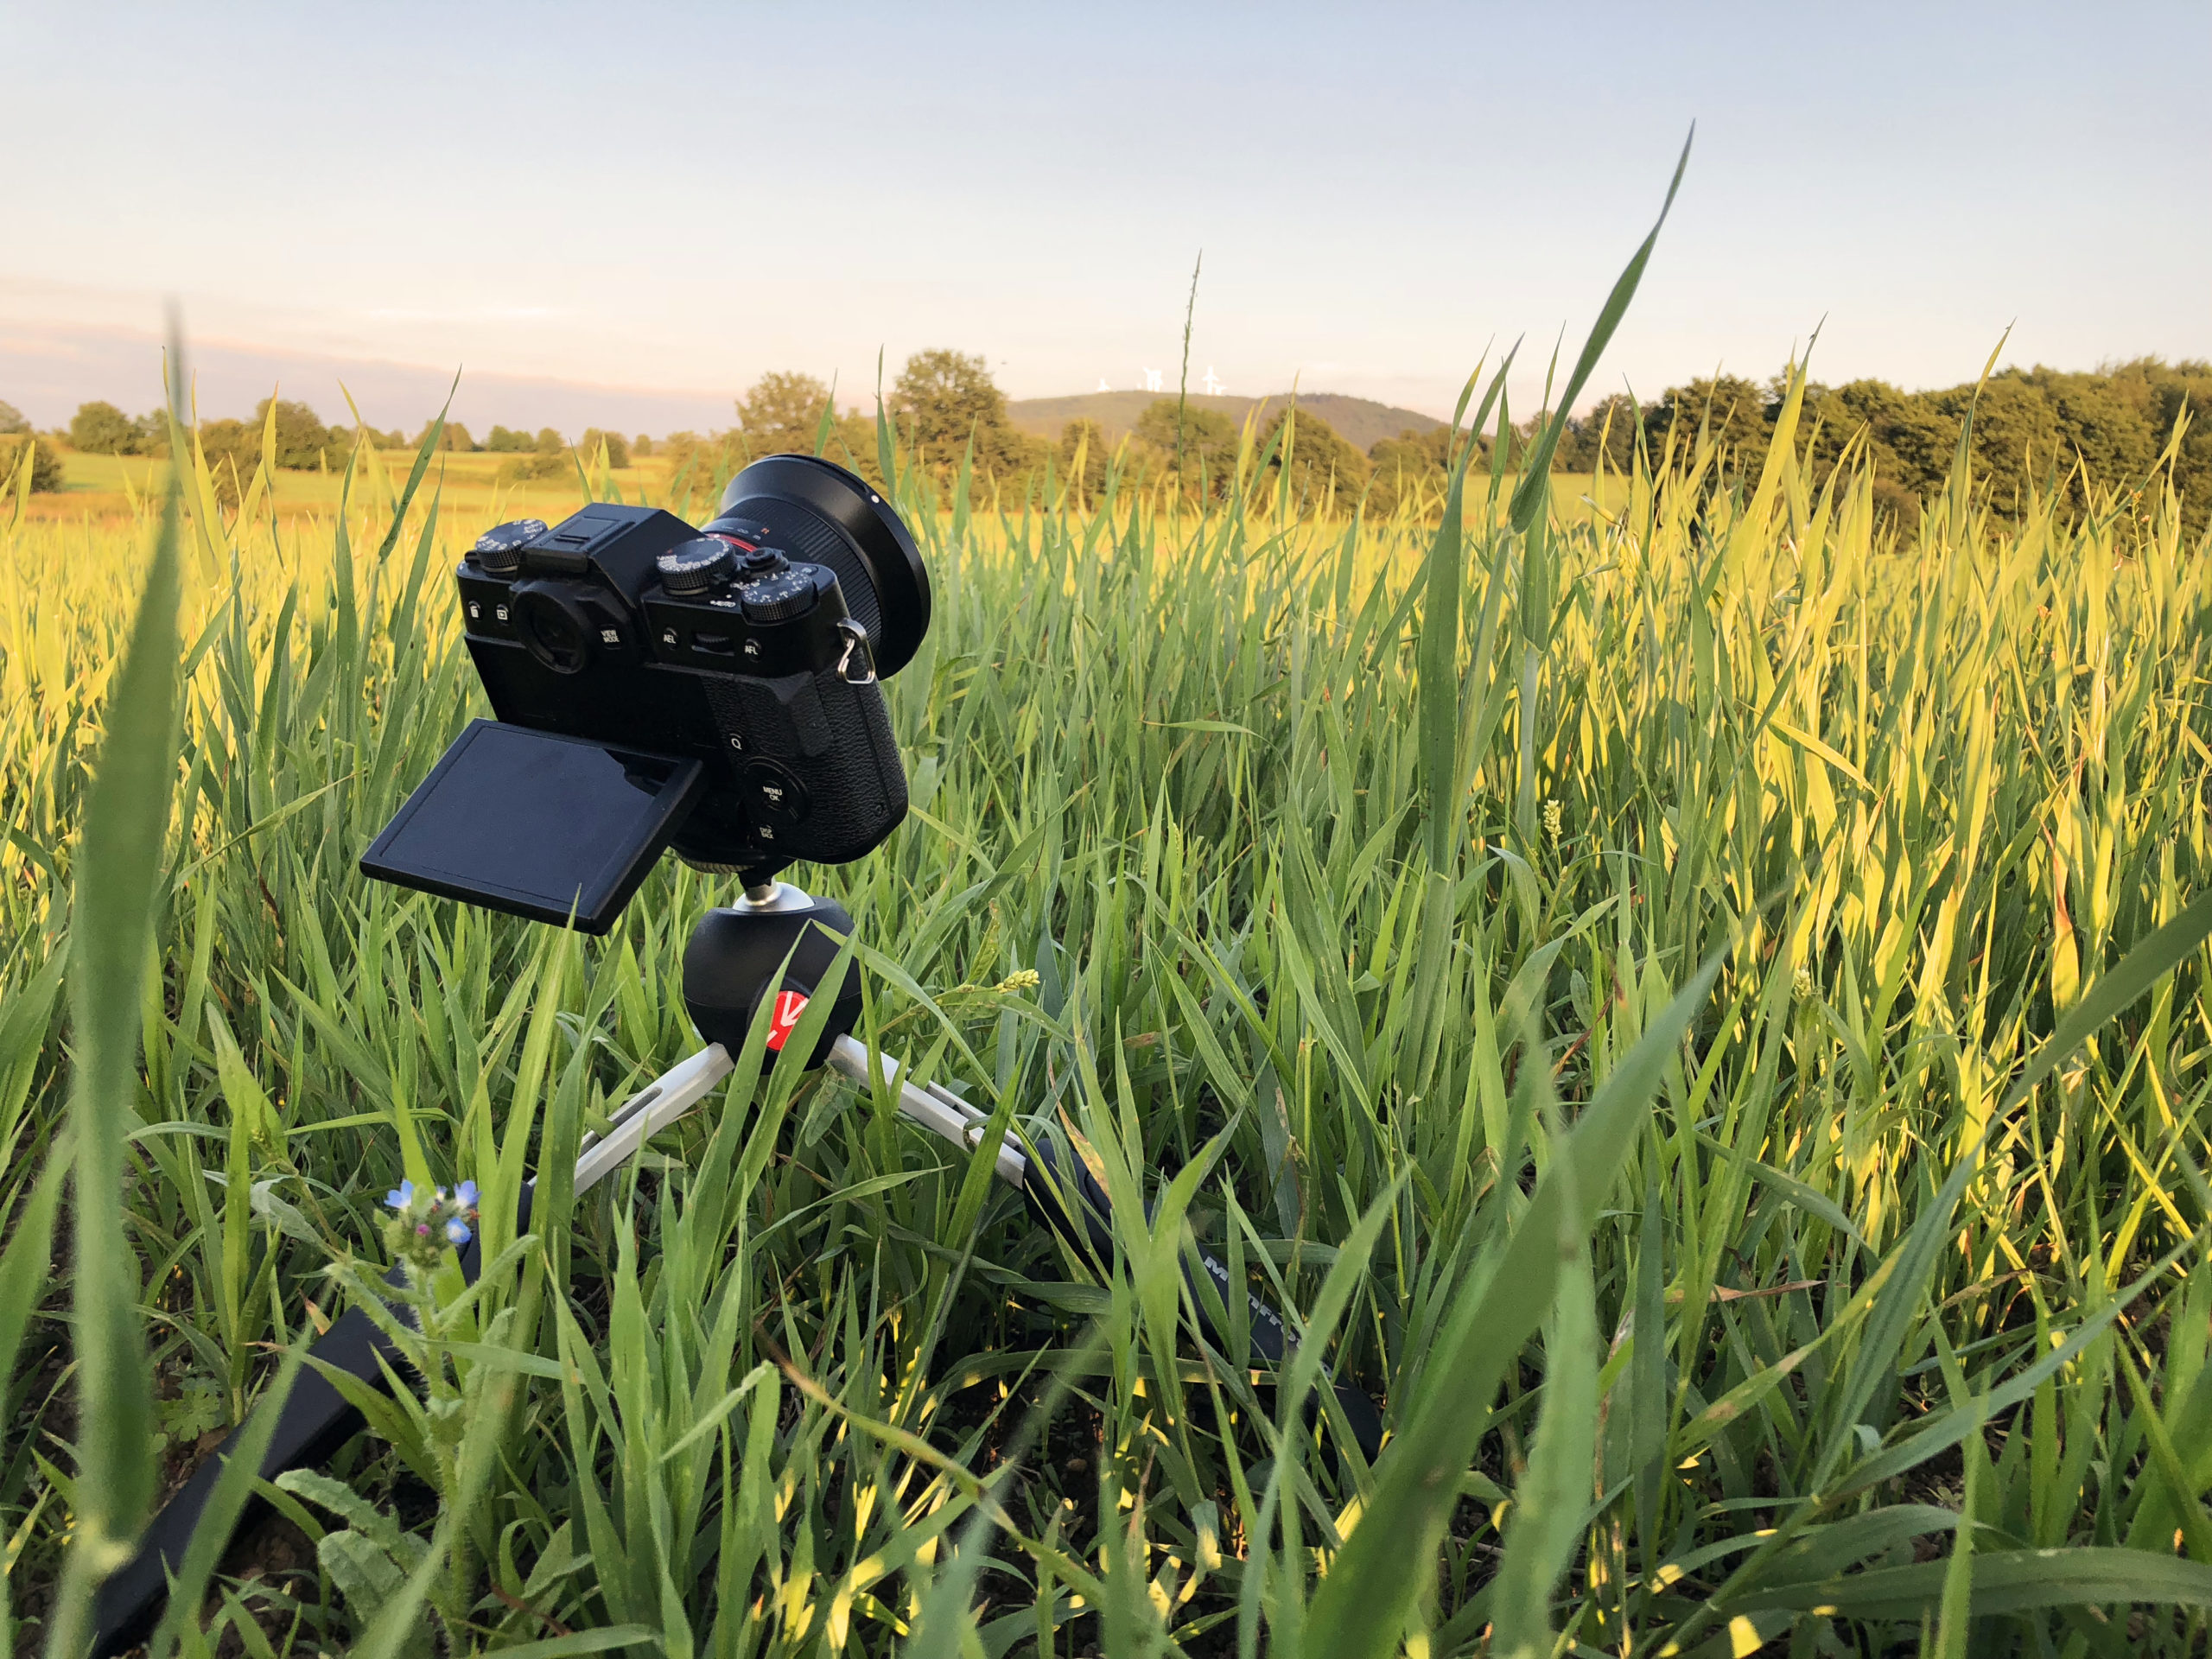
A mini-tripod (like mine Manfrotto Pixi Evo) is an excellent choice for your beginner Milky Way photography gear. A smaller version of a normal-sized tripod has significant benefits over its bigger brother - price and mobility.
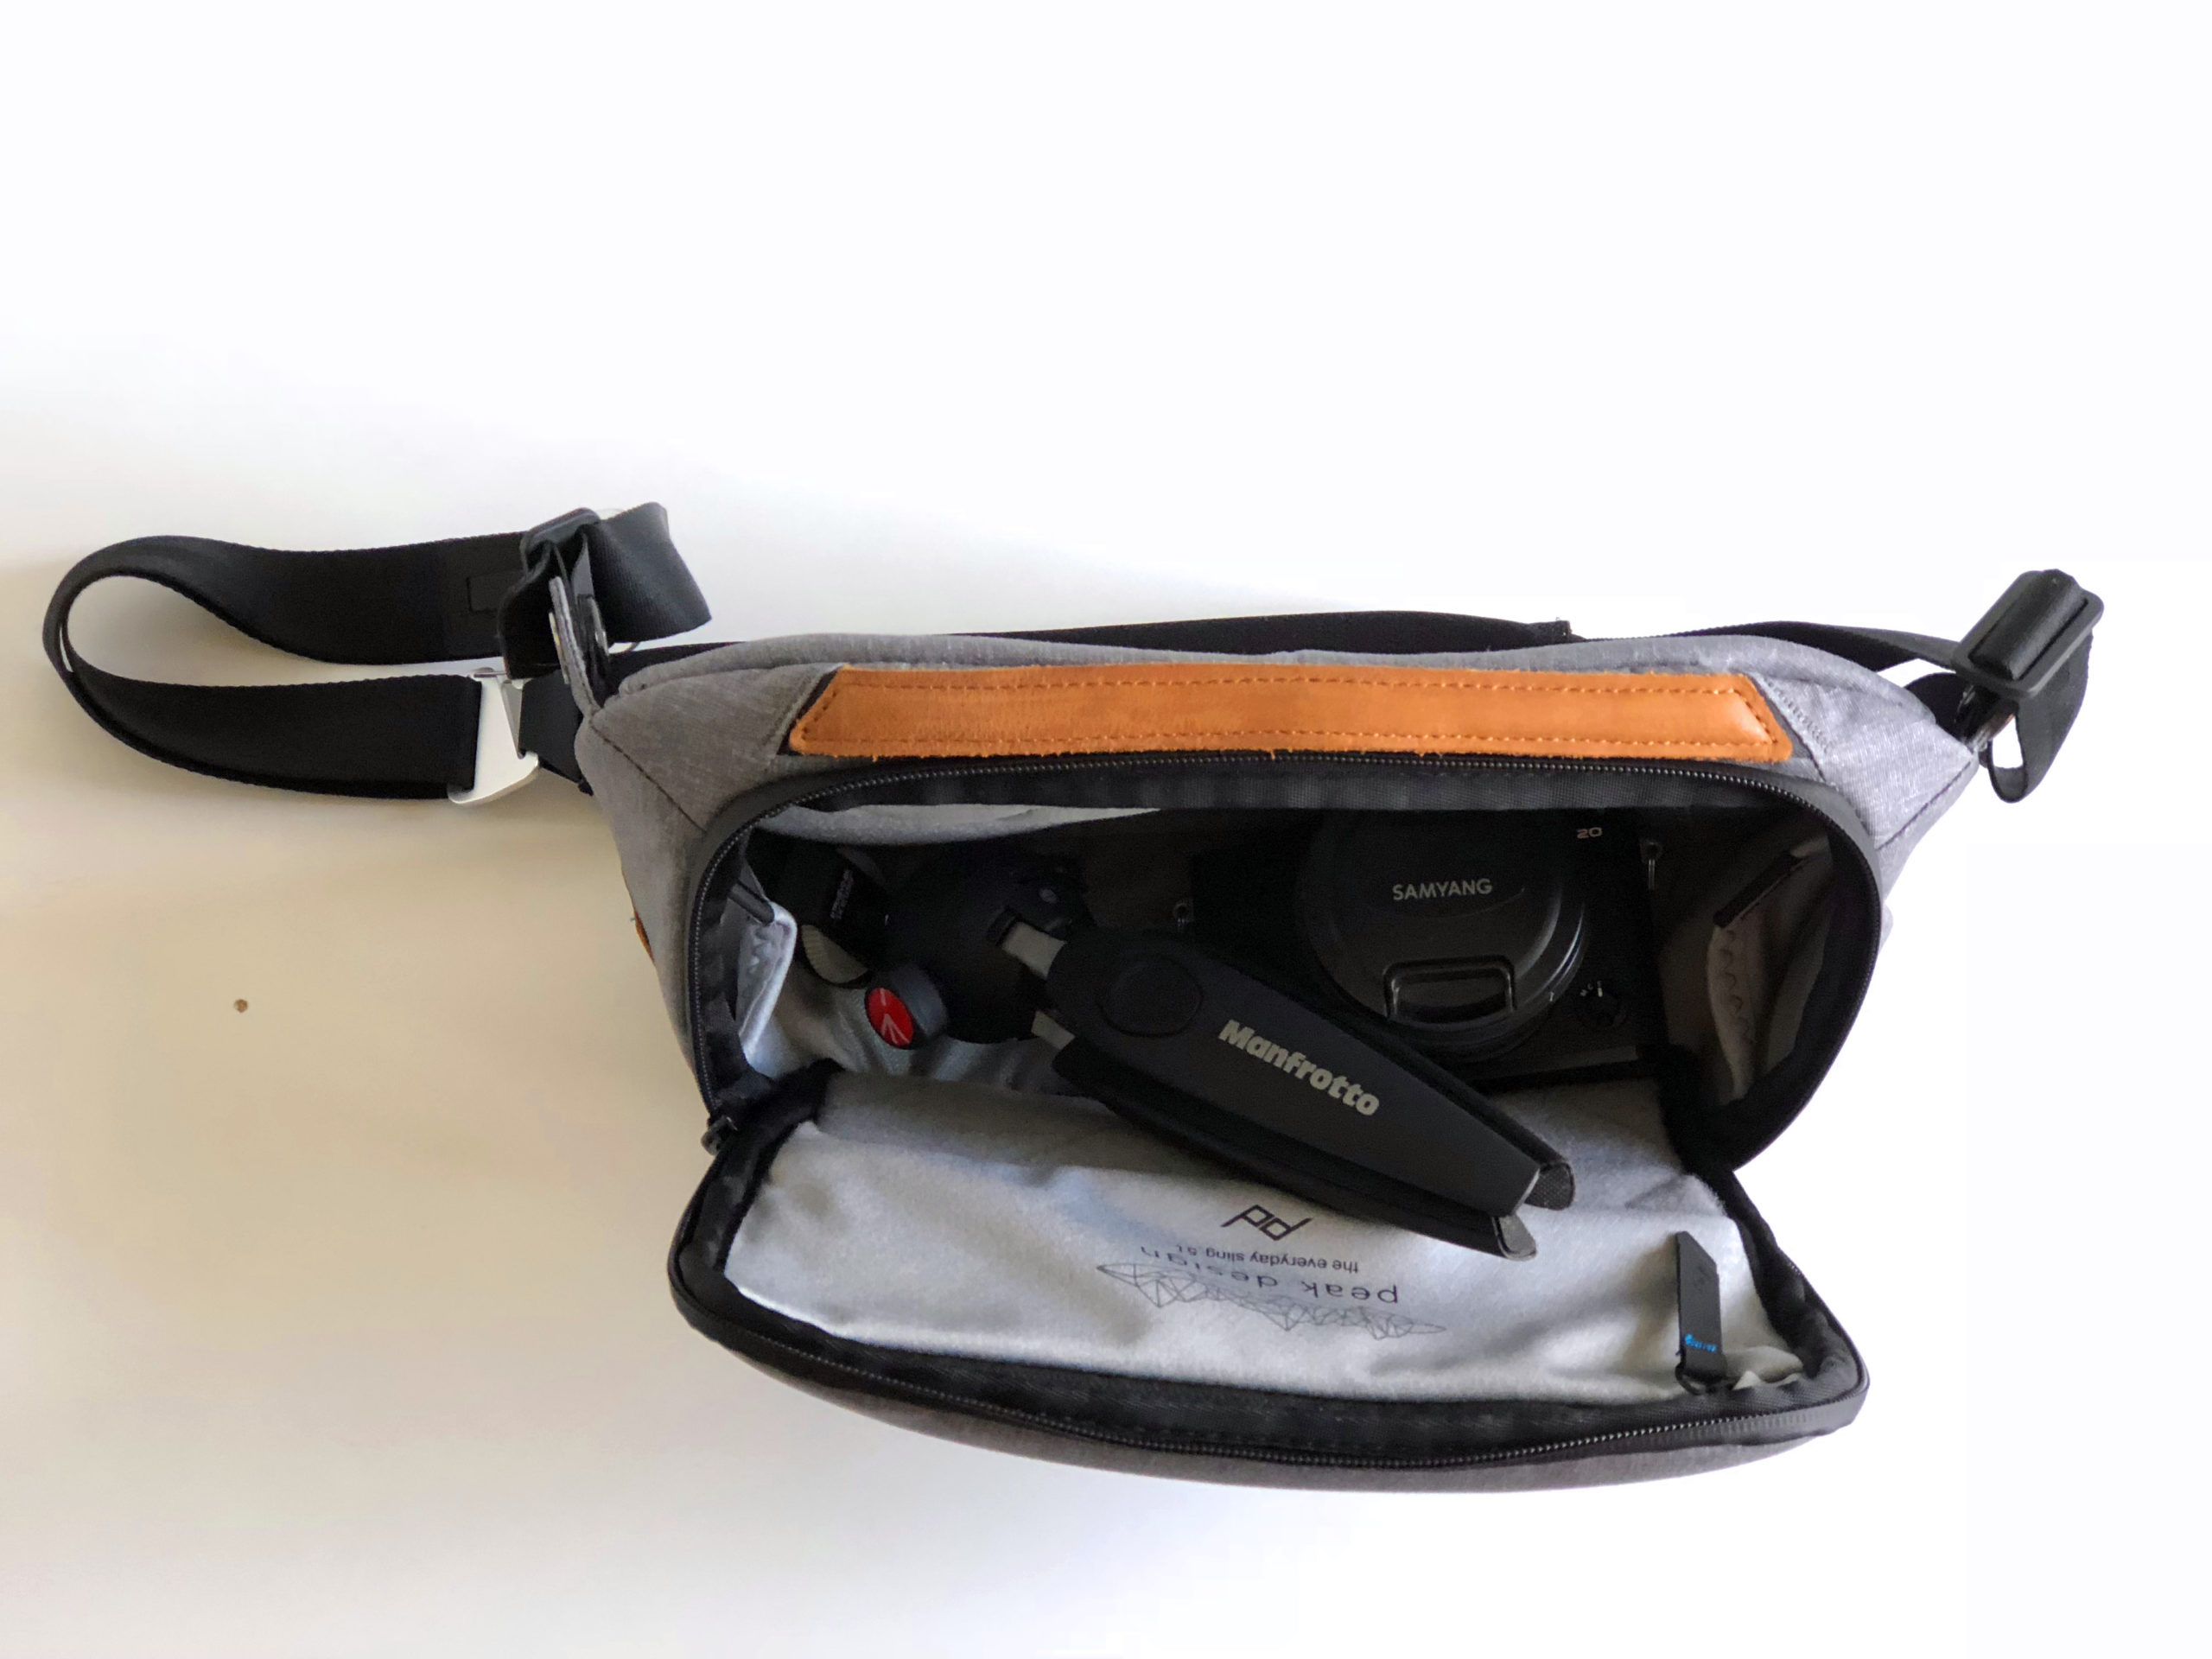
It's nice to have your hands free during a trip to your photography destination place. It's also comfortable not to carry a big bag on your back if you don't have to. For most astrophotography subgenres, you need a lot more heavy stuff - telescopes, mounts, computers, heavy batteries, etc. For pure, untracked Milky Way photography, all you need to have you can fit into a 5l bag. Comfort and portability.
Most useful beginner Milky Way Photography gear optional additions
A camera, lens, and tripod is the most basic beginner Milky Way photography gear that will allow you to take stunning pictures of the night sky. However, there are some handy upgrades you can make to get your photos to a whole new level (and still fit into a small kidney bag).
Memory card
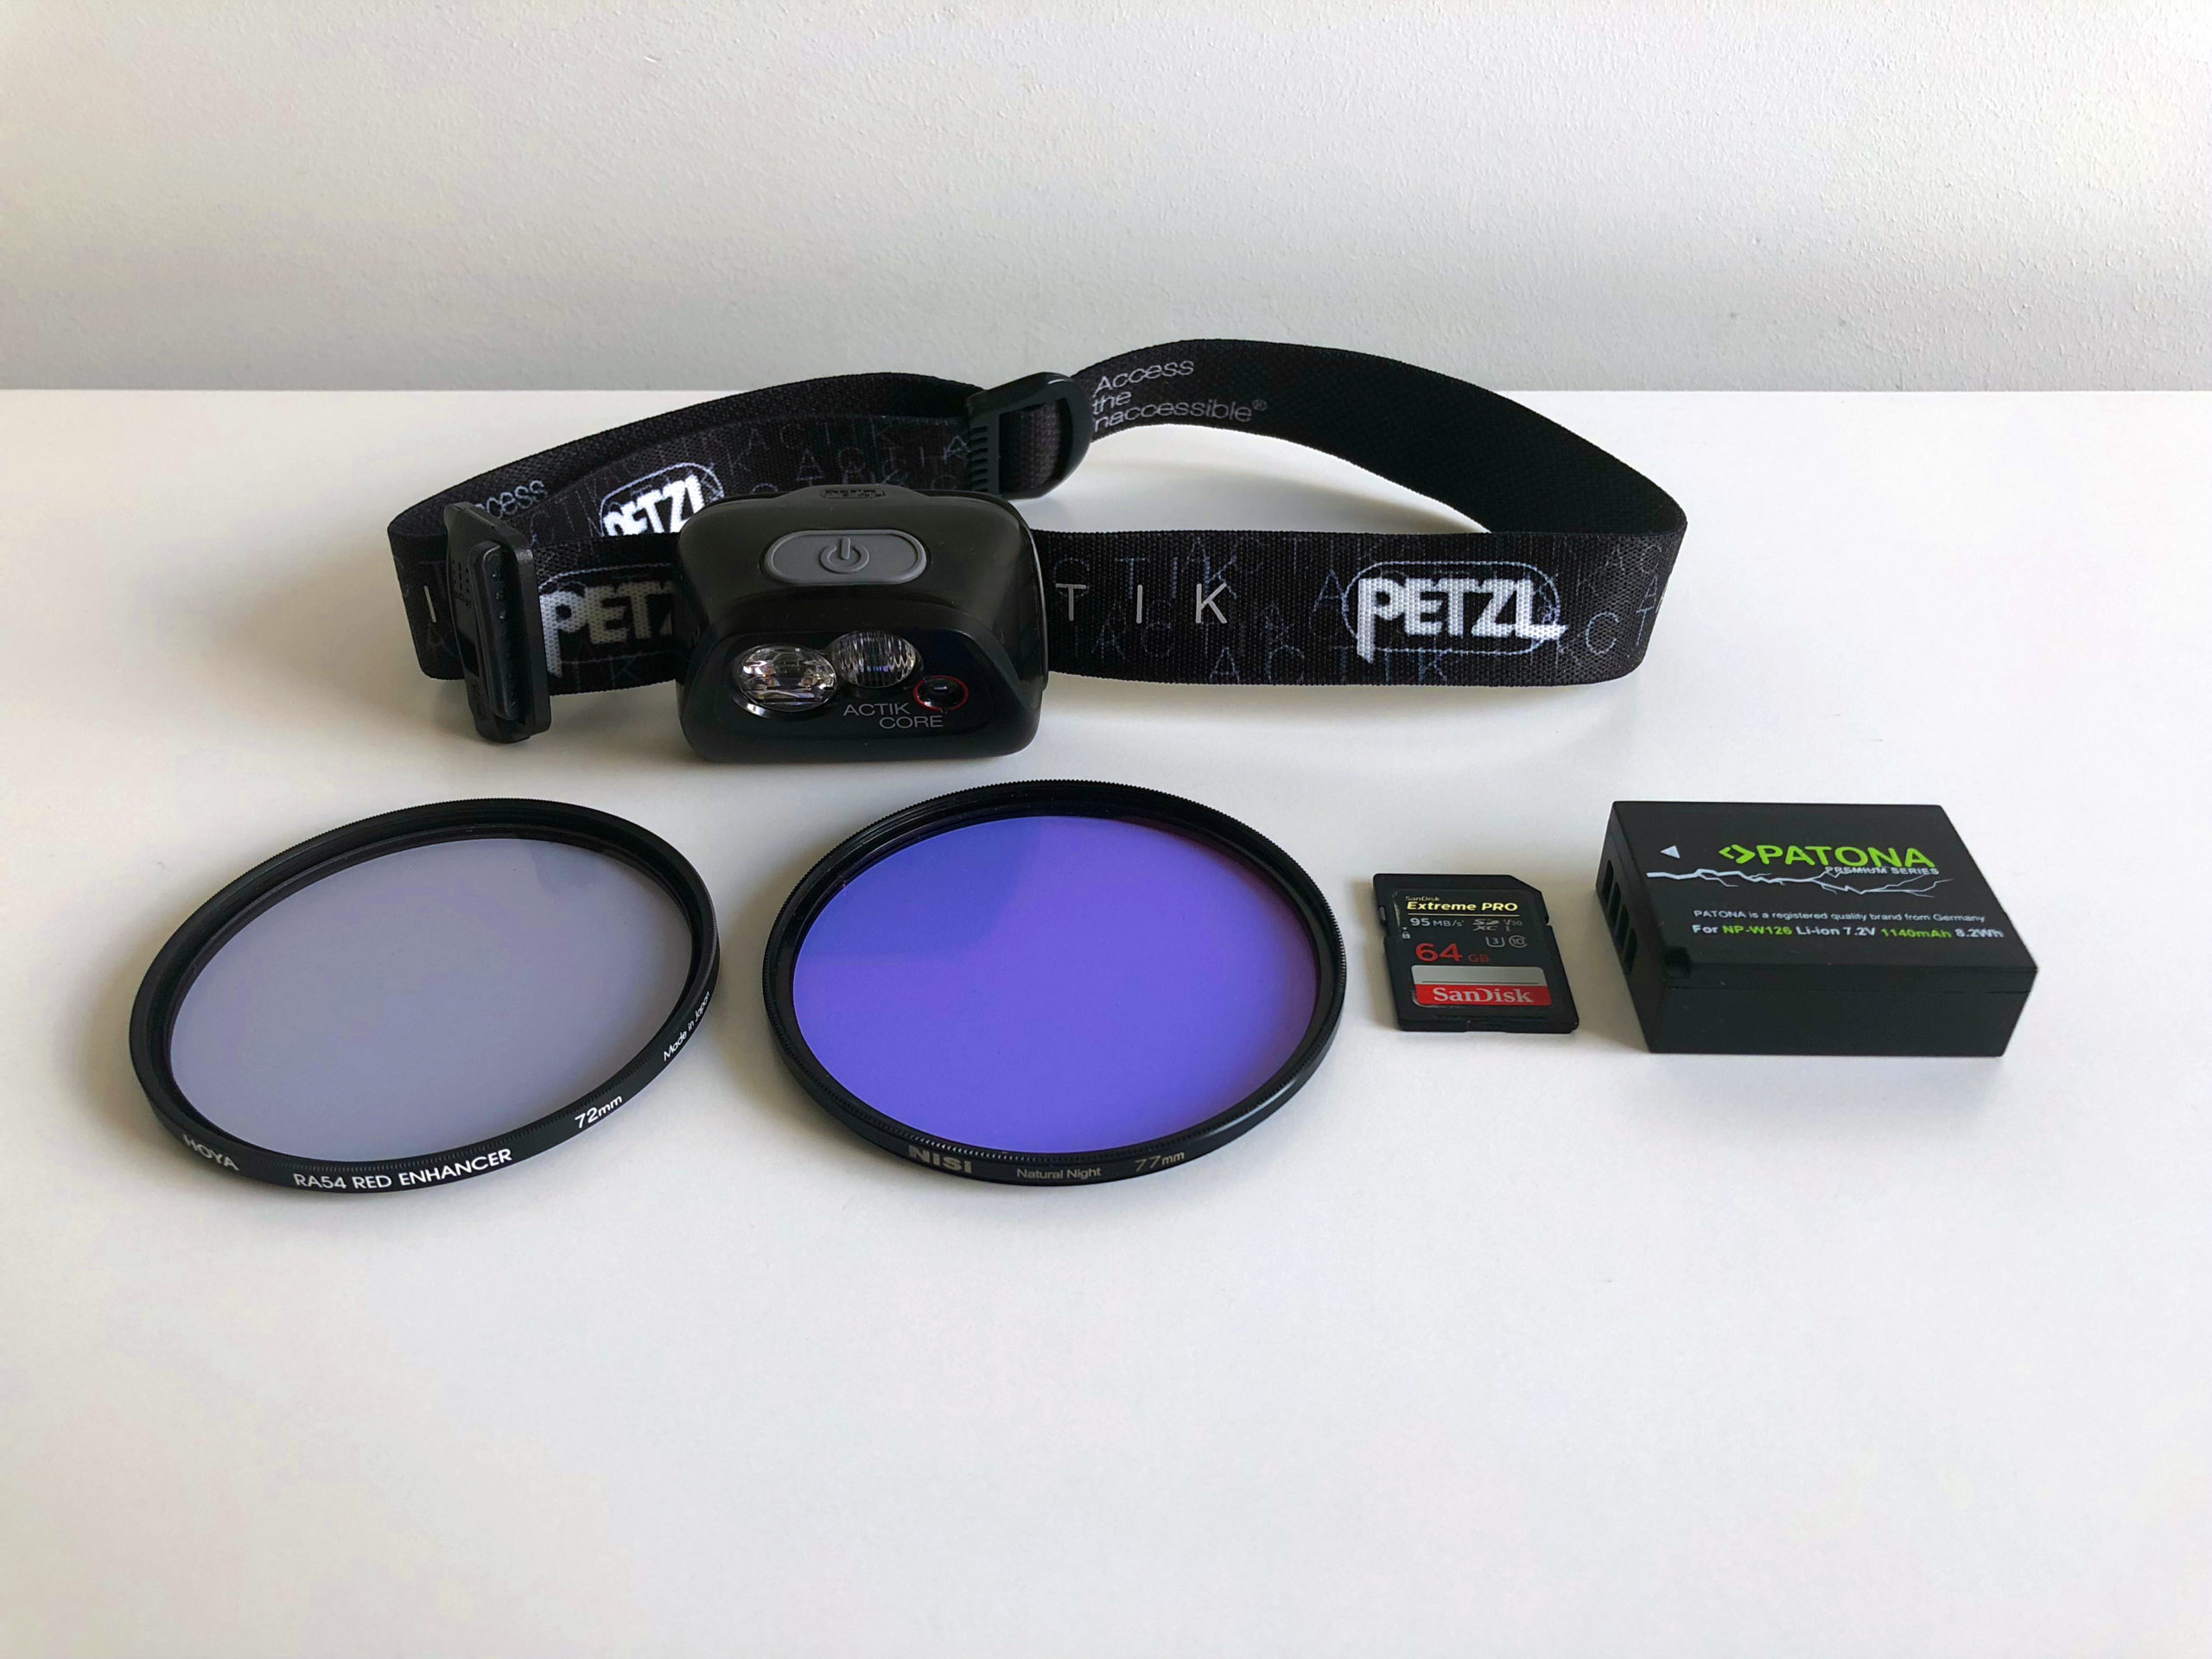
Most of today's cameras don't have internal memory storage, so you have to add a memory card to your astrophotography kit. The size is up to you. I would choose something somewhat bigger, like 32 or 64 GB, because you'll get the best results using the RAW file format instead of JPG, and RAWs take way more space on your card than JPGs. It's also convenient not to wait too long when your camera is saving pictures in the memory, so look for a fast card like UHS U1 speed rating or better. For my astrophotography, I use a single Sandisk 64 GB Extreme Pro.
Bigger tripod
OK, this one actually won't fit into your travel mini-bag, but sometimes it's worth having a bigger tripod. It's less comfortable to carry, but it's much more convenient to use at the astrophotography site (your back will thank you). If the weight of your equipment is crucial to you, look for a tripod made from carbon - they are lighter than others. Also, make sure your tripod has a little hook underneath - in windy conditions, you can attach a bag with some stones in it and make the overall setup heavier to resist the wind.
Headlamp
The darker the place you are shooting, the better the pictures you will produce. If you don't need to use a flashlight at the spot, you are in too much light-polluted areas.
Using a regular hand-flashlight is an option, but you'll figure out quickly that having two hands to operate your camera instead of just one is a real lifesaver. I used to work that way, and an option to put your light source on your forehead was a blessing.
Ideally, your headlamp should have two lightning options - white and red. White is handy for a walk to the photography location; red is useful when you are on the spot, and you don't want your eyes to lose night vision adapts.
I use the Petzl ACTIC CORE headlamp.
Light pollution filter
If you live in a city area, then you should think about getting a light pollution filter. Even small villages shine a lot of unnecessary (for us astrophotographers) light, which can ruin your Milky Way pictures. Light pollution filters won't magically cut all of it, but they will help and make your post-processing work shorter and more comfortable. My first light pollution filter was Hoya Red Intensifier, which later I upgraded to NiSi Natural Night.
Backup camera battery
You are in your dark Milky Way photography spot. You have set up everything - your tripod, camera, lens. Your focus on infinity is perfect. You see your photography target on the display screen.
Can it be something worse than realizing that you are fully set up, and you don't have enough power because you forgot to charge the battery before leaving home?
Just do yourself a favor and take a second (or even third) fully charged battery for your camera. Especially if there are cold conditions - in the Winter, your batteries will last a lot shorter than in the other seasons.
Star chart app
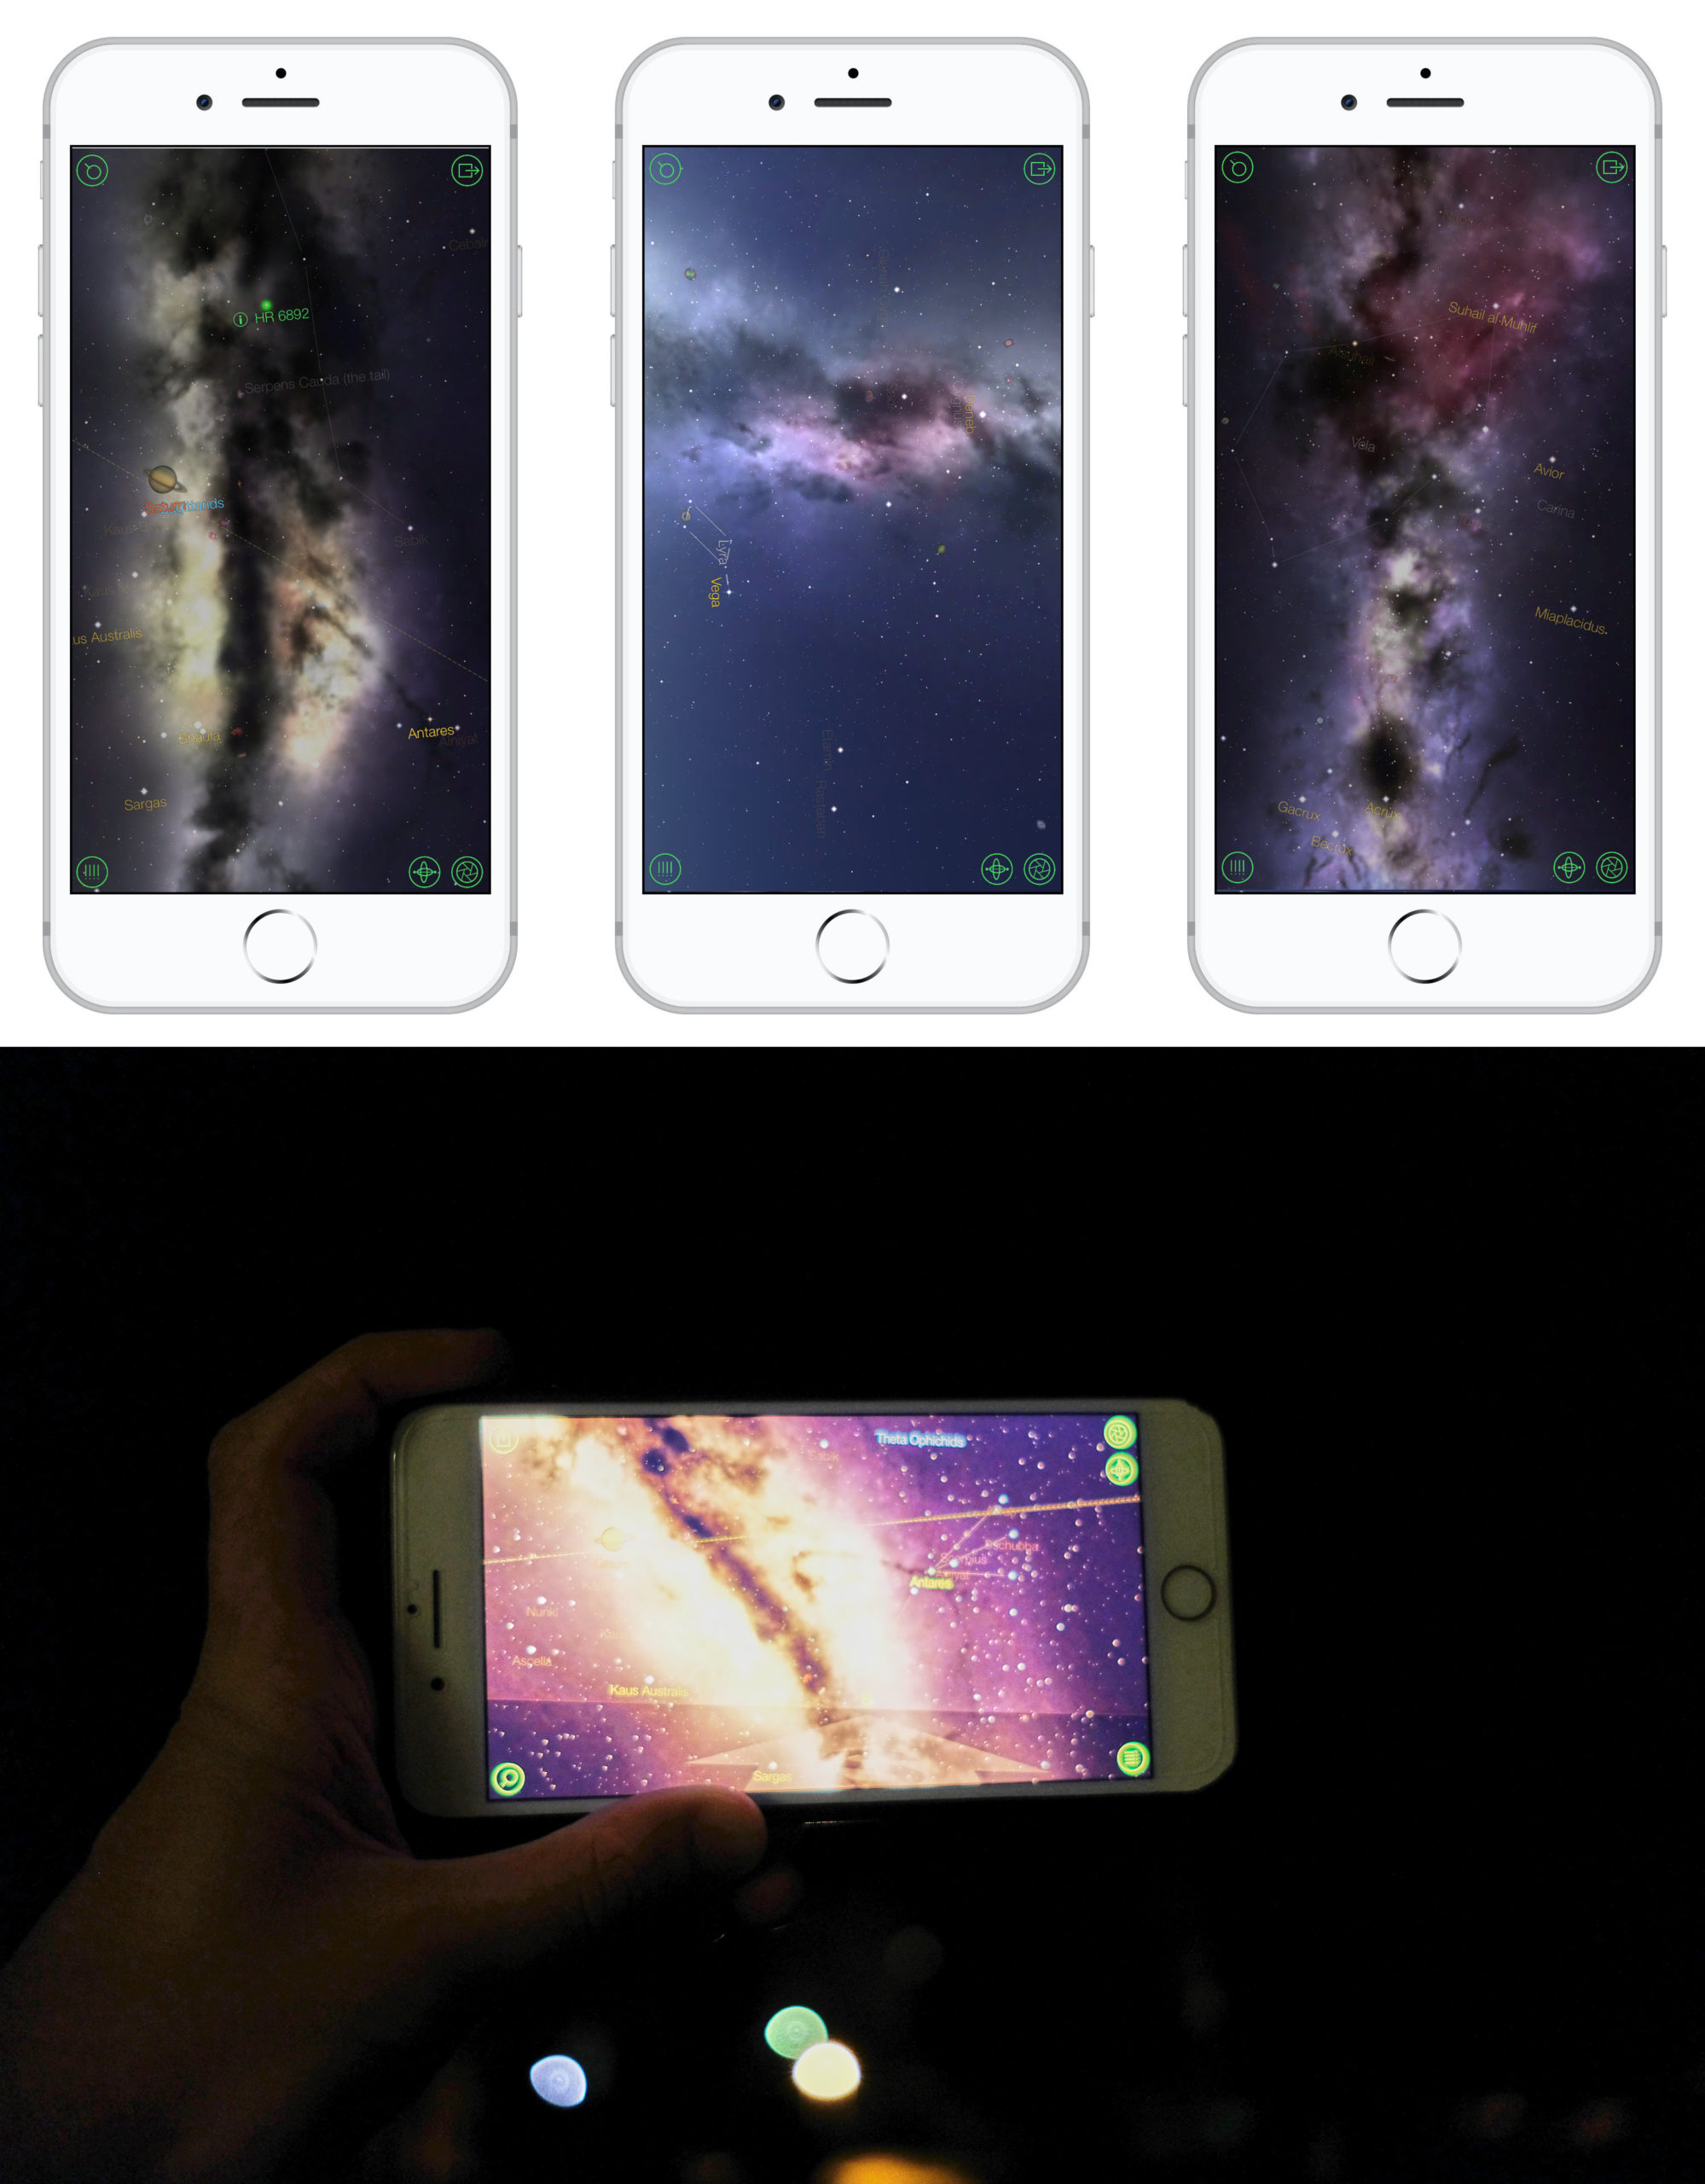
Depending on where you live, you may not be able to see the Milky Way with your bare eyes. As you naturally progress in your hobby, you'll be knowing in no time where the Milky Way position is on the night sky, but for a beginner, it can be not so obvious. Luckily we live in a modern world, and most of us have a smartphone, so installing a star-finder app is a matter of seconds. To quickly find the Milky Way, I use the Star Walk iOS app. If you are interested in more apps, check out my other post on astronomy apps for iPhone.
Your beginner Milky Way photography gear
Do you think the equipment I have presented is good enough to photograph the Milky Way? Maybe I have missed something? Give me some feedback below. I would also love to see your astrophotography gear in the comments!


Comments
No Comments